
Related Manuals for RealRooms Products 3022209RR


Summary of Contents for RealRooms Products 3022209RR
- Page 1 3022209RR (STAIN / WAX), 3022109RR (WHITE/LACQUER) RR CUBRIX CABINET 2D Weight Limit: 22 lbs / 10 kg (per shelf) B343022209RROO - 147552 ■ CJ 2023/12/04...
- Page 2 Read Before Beginning Assembly Limited 1 year Warranty RealRooms warrants this product to be free from defects in material and • Work in a spacious area and near where the unit will be used, preferably on a carpet, or use a piece of the cardboard packaging to protect your floor workmanship and agrees to remedy any such defect.
- Page 3 PARTS ■...
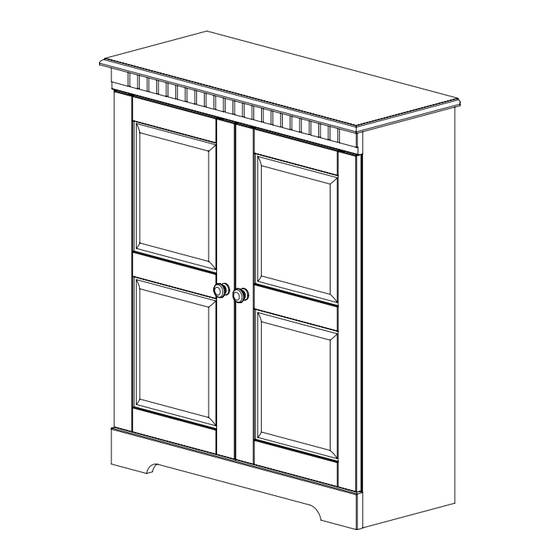
- Page 4 TOP PANEL BOTTOM PANEL 1 PC 1 PC FRONT APRON TOP FRONT MOLDING SHELF 1 PC 2 PC Each part has a unique part number. Please reference the appropriate part number when contacting customer service for replacement parts. Before throwing any packaging, please verify all contents and make sure you have received all the parts listed above! BACK PANEL PROFILE...
- Page 5 3022209 3022109RR (BROWN) (WHITE) 3022209-13 3022109-13 3022209-14 3022109-14 3022209-15 3022109-15 3022209-16 3022109-16 3022209-17 3022109-17 3022209-18 3022109-18 3022209-19 3022109-19 3022209-20 3022109-20 3022209-21 3022109-21 3022209-22 3022109-22 ■...
-
Page 6: Hardware List
HARDWARE LIST 08,0mm x 30mm 08,0mm x 31mm WOOD DOWEL MINIFIX SCREW CONNECTOR SHELF SUPPORT 14 PC 12 PC 8 PC 8 PC 04,0mm x 35mm 03,5mm x 14mm Ø15mm 04,0mm x 25mm SCREW SCREW MINIFIX SCREW 2 PC 19 PC 12 PC 8 PC 08,3mm x 10mm... - Page 7 HARDWARE LIST 200mm 04,5mm x 60mm Ø3/16" x 1mm WALL STRAP SCREW FLAT WASHER 1 PC 1 PC 2 PC 3022209 (BROWN) HP#: 3022209RR-00 HP#: 3022109RR-00 3022109 (WHITE) ■...
- Page 8 Step 1 Insert wooden dowels A into the end of the piece (16). Attach minifix screws B into piece (13). Insert connectors C into pieces (13) (16). ■...
- Page 9 Step 2 Insert wooden dowels A into the ends of the pieces (14) (15) (17). Attach minifix screws B into pieces (14) (15). Insert connectors C into pieces (14) (15). Insert shelf supports D into pieces (14) (15). Attach door stop K using screws F into piece (17). ■...
- Page 10 Step 3 Attach the bottom panel (16) with the left side (14) and the right side (15) using the minifix G. ■...
- Page 11 Step 4 Attach the top panel (16) with the left side (14) and the right side (15) using the minifix G. ■...
- Page 12 Step 5 Attach the top front molding (17) with the left side (14) right side (15) and the top panel (13) using the screws Attach the front apron (18) with the left side (14) right side (15) and the botton panel (16) using screws ■...
- Page 13 Step 6 Attach back panels (20) with back panel profile (21) and fix them using nails J. 90º ■...
- Page 14 Step 7 Insert shelves (19). ■...
- Page 15 Step 8 Attach hinges I to the doors (22) using screws F. Attach door knob L to the doors (22) using screw E. ■...
- Page 16 Step 9 Attach doors (22) to the side panels (14) and (15) using screws F . Door adjustment . ■...
- Page 17 Step 10 Fix on the wall with wall strap M using screw F, screw N and washers O. WARNINGS • Unit can tip over causing severe injury or death. • Anchor unit to stud or wall. • Do NOT allow children to climb on unit. •...
- Page 18 Helpful Hints CAUTION: This unit is intended for use only with the products and/or maximum weights indicated. Use with other products and/or products heavier than the maximum weights indicated may result in instability or cause possible injury. • Move your new furniture carefully, with two people lifting and carrying the unit to its new location.
- Page 19 3022209 (Marron) , 3022109 (Blanco) Gabinete Cubrix 2 puertas ■...
- Page 20 3022209 (MARRON) HP#: 3022209RR-00 3022109 (BLANCO) HP#: 3022109RR-00 3022209 3022109 (MARRON) (BLANCO) 3022209-13 3022109-13 3022209-14 3022109-14 LADO IZQUIERDO LADO DERECHO 3022209-15 3022109-15 3022209-16 3022109-16 BASE 3022209-17 3022109-17 ZÓCALO FRONTAL BASE ZÓCALO FRONTAL 3022209-18 3022109-18 3022209-19 3022109-19 ESTANTERÍA 3022209-20 3022109-20 PANEL TRASERO...
- Page 21 lnstrucciones Paso 1 Insertar clavijas de madera A en los extremos de las piezas (16). Fijar tornillos minifix B en las piezas (13). Inserte los conectores C en las piezass (13) (16). Paso 2 Insertar clavijas de madera A en los extremos de las piezas (14) (15) (17).
- Page 22 3022209 (Brun) , 3022109 (Blanc) Armoire Cubrix 2 portes...
-
Page 23: Liste Des Pièces
3022209 (BRUN) HP#: 3022209RR-00 3022109 (BLANC) HP#: 3022109RR-00 LISTE DES PIÈCES 3022209 3022109 ÉTIQUETTE DESCRIPTION (BRUN) (BLANC) DES PIÈCES 3022209-13 3022109-13 3022209-14 3022109-14 PANNEAU LATÉRAL GAUCHE PANNEAU LATÉRAL DROITE 3022209-15 3022109-15 3022209-16 3022109-16 BASE 3022209-17 3022109-17 SOCLE SUPÉRIEUR AVANT BASE FRONTALE SOCLE... - Page 24 Instructions Etape 1 Insérez des chevilles en bois A aux extrémités des pièces (16). Fixer les vis minifix B sur les pièces (13). Insérez les connecteurs C dans les pièces (13) (16). Etape 2 Insérez des chevilles en bois A aux extrémités des pièces (14) (15)(17).
Need help?
Do you have a question about the 3022209RR and is the answer not in the manual?
Questions and answers