Sunlighten Amplify III Assembly Instructions Manual
Hide thumbs
Also See for Amplify III:
- Assembly instructions manual (9 pages) ,
- Owner's manual (24 pages) ,
- Cleaning & maintenance instructions (5 pages)
Advertisement
Quick Links
K
1
2
3
2x
6x
4x
7
8
9
12x
12x
12x
A
B
6x
1x
F
1x
Back Wall
J
1x
Bench
1
sunlighten.com/gb-en
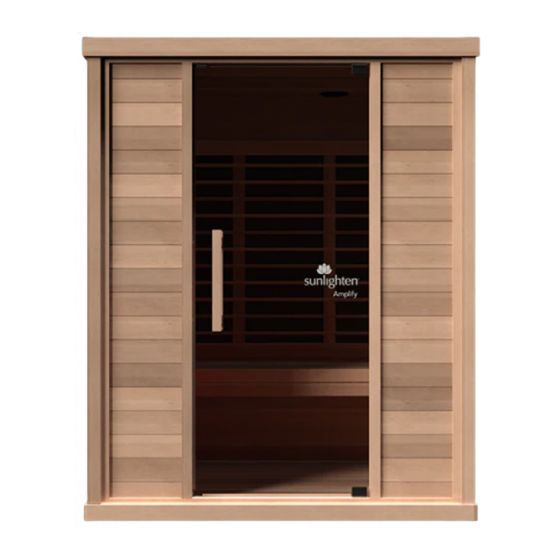
Amplify III
4
5
6
4x
8x
12x
10
11
12
12x
2x
Allen wrench
C
1x
G
1x
Right Wall
K
2x
Full Spectrum (FS) Heater
13
1x
1x
Philips Screw Driver
D
1x
Roof
H
1x
Front Wall with glass panel
L
2x
FS Heater Covers
E
1x
Floor
I
1x
Left Wall
M
2x
FS Heater Top Panel
N
4x
FS Heater brackets
Advertisement

Subscribe to Our Youtube Channel
Related Manuals for Sunlighten Amplify III


Summary of Contents for Sunlighten Amplify III
- Page 1 Amplify III Allen wrench Philips Screw Driver Roof Floor Right Wall Front Wall with glass panel Left Wall Back Wall Bench Full Spectrum (FS) Heater FS Heater Covers FS Heater Top Panel FS Heater brackets sunlighten.com/gb-en...
- Page 2 Place the back wall on the back of the floor panel back Be sure you have two people assisting with this step. This is the side with the sauna information label on the bottom edge. front left sunlighten.com/gb-en...
- Page 3 As you insert each wall segment, you will insert the U-clips in the pre-drilled holes in the corner. This will keep the walls sealed together. The front wall will be inserted next. Be careful of the glass door and panel as you insert the wall. sunlighten.com/gb-en...
- Page 4 STEP 6 Once all the U-clips have been inserted in the corners, the next step will be to place the roof on top. Make sure the side with the main power cord receptacle faces the back. sunlighten.com/gb-en...
- Page 5 The door handles come with the hardware and can easily be screwed right in. NOTE: screws should be visible from interior only. A second person should hold the handle while t while the other screws the bolts with the Allen wrench. heater frame sunlighten.com/gb-en...
- Page 6 Repeat Steps 9-11 for the second FS Heater on front left inside corner sauna walls. TIP: for best alignment, locate pre-drilled holes behind fabric cover with hands and then lift up heater with your foot so metal brackets align with the screw locations. sunlighten.com/gb-en...
- Page 7 STEP 13 STEP 14 Insert into pre-drilled holes on walls for the FS heater top panel Add FS heater top panel to both FS heaters. Screw into pre-drilled holes to secure brackets. sunlighten.com/gb-en...
- Page 8 Phillips screwdriver. CONGRATULATIONS, your sauna is now ready to enjoy! Turn on your sauna and test that all your wall heaters and full spectrum heaters are working. If you have any questions, please call Sunlighten Customer Support at 0330.808.1203. sunlighten.com/gb-en...
Need help?
Do you have a question about the Amplify III and is the answer not in the manual?
Questions and answers