Advertisement
Quick Links
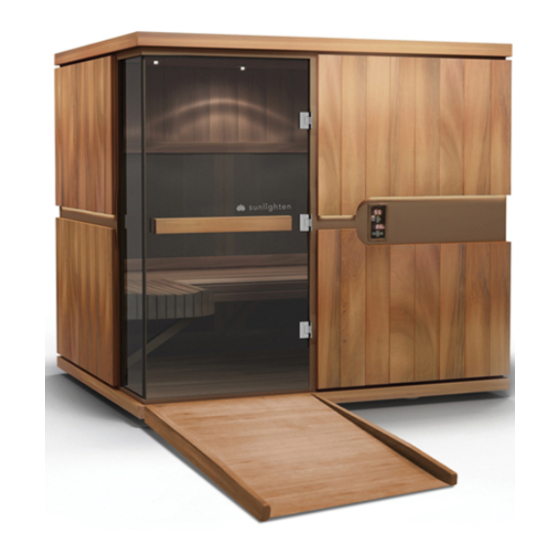
C o m m u n i t y S a u n a
b y S u n l i g h t e n
T M
A x 1
C x 1
E x 1
G x 1
A S S E M B L Y I N S T R U C T I O N S
H A R D W A R E
No.
1
*
Bolt M6x70
2
Plastic Washer 10x 6x8
3
Bolt M6x55
4
"U" Clip 6x12
5
Glass Door 711x1750
6
Allen Wrench
7
Philips Screw Driver
* Included in door handle
B x 1
D x 1
F x 1
H x 1
V e r s i o n 0 4 1 7 2 0 1 8
Qty.
x4
*
x4
x6
x4
x1
x1
x1
Advertisement

Related Manuals for Sunlighten ADA


Summary of Contents for Sunlighten ADA
- Page 1 C o m m u n i t y S a u n a A S S E M B L Y I N S T R U C T I O N S b y S u n l i g h t e n V e r s i o n 0 4 1 7 2 0 1 8 H A R D W A R E Qty.
- Page 2 M x 1 N x 1 PRE-STEPS Un-pack each wall segment from the shipping material, stage each wall segment in the room you will be assembling the unit. Remove the internal wooden heater frames during unpacking of the wall segments, set these DEDICATED aside for installation after the sauna is assembled.
- Page 3 STEP 3 STEP 4...
- Page 4 STEP 5 STEP 6...
- Page 5 STEP 7 STEP 8...
- Page 6 STEP 9 STEP 10 STEP 10...
- Page 7 STEP 11...
Need help?
Do you have a question about the ADA and is the answer not in the manual?
Questions and answers