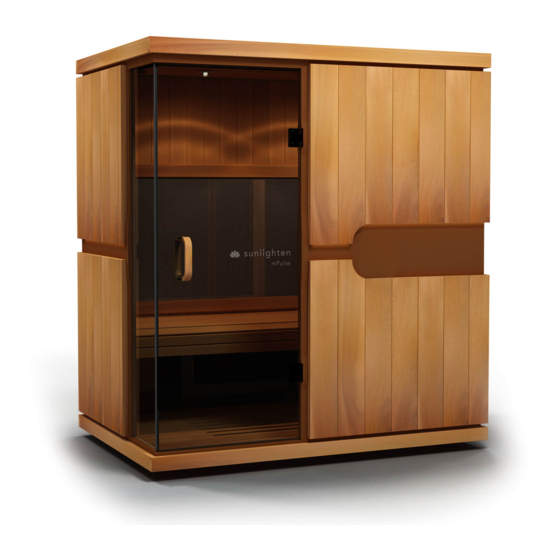
Sunlighten mPulse Aspire Assembly Instructions Manual
Hide thumbs
Also See for mPulse Aspire:
- User manual (36 pages) ,
- Owner's manual (20 pages) ,
- Cleaning & maintenance instructions (5 pages)
Advertisement
Quick Links
ASSEMBLY INSTRUCTIONS
ASSEMBLY INSTRUCTIONS
included in door handle
1
2
3
2x
4x
2x
A
B
5x
2x
E
1x
Roof
G
1x
Back Wall
I
1x
Left Wall with glass panel
K
1x
Bench
1
sunlighten.com
4
5
6
7x
4x
1x
Allen wrench
C
D
1x
1x
7
1x
Philips Screw Driver
F
1x
Floor
H
1x
Right Wall
J
1x
Front Wall
L
1x
Glass Front Door
M
2x
1x
11 in,
3 1/2 ft.
Advertisement

Related Manuals for Sunlighten mPulse Aspire


Summary of Contents for Sunlighten mPulse Aspire
- Page 1 ASSEMBLY INSTRUCTIONS ASSEMBLY INSTRUCTIONS included in door handle Allen wrench Philips Screw Driver Roof Floor Back Wall Right Wall Left Wall with glass panel Front Wall Glass Front Door Bench 11 in, 3 1/2 ft. sunlighten.com...
- Page 2 Back of sauna In this step make sure one person is holding the wall while the other helps balance it and press it in place. Front of sauna sunlighten.com...
- Page 3 A diagram showing the connection locations can be found on STEP 8. NOTE: If you ever have trouble getting a U-clip to slide in, this can be resolved by tapping it with a hammer. sunlighten.com...
- Page 4 In addition there will be one metal-loop lead. Those can be screwed into the radio antenna. Next is the bench . Make sure the heater frames are not mounted, otherwise they will prevent the bench from resting on the supports. sunlighten.com...
- Page 5 NOTE: Look at the back of the heater frames for the “This Side Up” sticker for proper orientation. Left Wall Heaters Back Wall Heaters Right Wall Heaters Lights, Stereo, Control Tablet sunlighten.com...
- Page 6 Make sure the rough-texture side of the gasket is against the glass door as your insert it. This will give it the grip needed to hang it. Likewise make sure the gaskets touching the hinges also are doing so by the rough side. sunlighten.com...
- Page 7 1/8 in. Open the glass door to 90°. Carefully remove the blue protection film. Make sure to clean the inside edge of the glass with a wet towel, then dry before applying the strips. sunlighten.com...
- Page 8 In case the strip hits the wooden frame, adjust the door hinge to increase the gap between the door and the wooden frame. CONGRATULATIONS, your sauna is now ready to enjoy! If you have any questions, please call Sunlighten Customer Support at 1-877-292-0020 x4. sunlighten.com...
Need help?
Do you have a question about the mPulse Aspire and is the answer not in the manual?
Questions and answers