Table of Contents
Advertisement
Quick Links
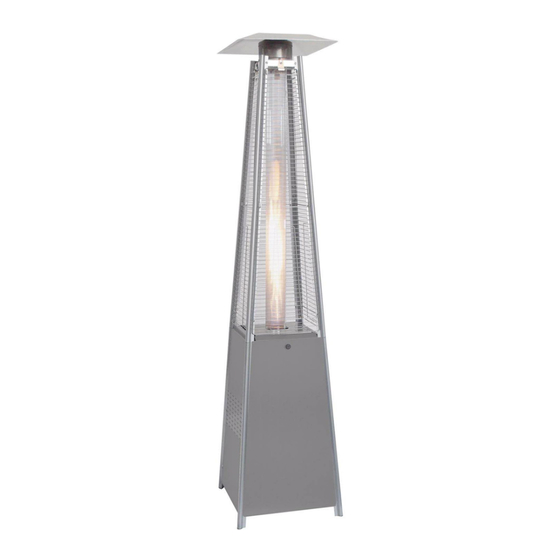
Pyramid Heater
Questions, problems, missing parts?
(8
c
@
FOR YOUR SAFETY:
If you smell gas:
Shut off gas to the appliance.
If Odour continues, keep away from
the appliance and immediately call your
gas
DANGER indicates an imminently
hazardous situation which, if not avoided,
will result in death or serious injury.
Failure to comply with the precautions
and instructions provided with this heater
can result in death, serious bodily injury
and property loss or damage from
hazards
and/or carbon monoxide
poisoning. Only persons who can
understand and follow the instructions
should use or service this heater.
This product can expose you to chemicals
including Lead, Chromium (hexavalent
compounds), Di(2-ethylhexyl) phthalate (DEHP)
and Diisononyl phthalate (DINP), which are known
to the State of California to cause cancer and birth
defects or other reproductive harm. For more
information, go to www.P65Warnings.ca.gov.
)
– Friday
Model#: FSD-C
Item #: PH-100066 GY
Do not store or use gasoline or other
vicinity of this or any other appliance.
An LP-cylinder not connected for use
shall not be stored in the vicinity of this
or any other appliance.
Improper installation, adjustment,
alteration, service or maintenance can
cause property damage, injury or death.
Read the installation, operation and
maintenance instructions thoroughly
before installing or servicing this
FOR OUTDOOR USE ONLY!
Electronic ignition.
+
Requires (1) AA Battery.
_
(Not Included)
a.m. – p.m., ST
®
.
Keep a copy of your proof of
which will be needed if you need
to contact us about warranty
coverage.
Serial No.
Purchase Date
Advertisement
Table of Contents

Related Manuals for Paramount Fitness FSD-C


Summary of Contents for Paramount Fitness FSD-C
- Page 1 ® Pyramid Heater Model#: FSD-C Item #: PH-100066 GY FOR YOUR SAFETY: Do not store or use gasoline or other If you smell gas: Shut off gas to the appliance. vicinity of this or any other appliance. An LP-cylinder not connected for use...
- Page 2 ® BEFORE YOU BEGIN Patio Heater. NOTE: Electronic ignition. Requires 1 (AA) battery. (Not Included)
- Page 3 SAFETY INFORMATION ® CAUTION indicates an imminently EXPLOSION—FIRE HAZARD CARBON MONOXIDE HAZARD • Keep solid combustibles, such as building hazardous situation which, if not avoided, • This heater is a combustion appliance. materials, paper, or cardboard a safe may result in minor or moderate personal All combustion appliances produce carbon distance away from the heater as injury, or property damage.
- Page 4 ® SAFETY INFORMATION WARNING • The installation of this unit must adhere to local codes or Propane Storage and Handling Code, CSA B149.2. • THIS UNIT IS INTENDED FOR OUTDOOR USE ONLY! This product shall be used outdoors, in a ventilated space and shall not be used in any enclosed area.
- Page 5 ® SAFETY INFORMATION • Do not disconnect any part while unit is in use. • Do not store a spare propane tank on or near this unit. • If the heating unit is indoors, detach the propane tank and leave outdoors. •...
-
Page 6: Table Of Contents
® PACKAGE CONTENTS HARDWARE Item Description Bolt M6x10 M6 nut Screw M5x10 Stud Wing nut Flat washer Fixing Bracket Screw 3/16” Knob Large flat washer Screw M4 X 8 Philips screwdriver Wrench AA Battery (1.5 V) Anchoring arm Screw M6X12... - Page 7 ® PACKAGE CONTENTS CONTENTS Item Description Reflector Top Plate Assy Glass Tube Upper Support Protective Guard Black Silicone Ring Side Panel Front Panel Gas Hose & Regulator Block belt Control Box Assy Lower Support Wheel Assembly Bottom Plate...
- Page 8 ® 1.Assemble the wheel assembly (M) to the bottom plate (N) using 4pcs bolt M6x10 (AA) and 4pcs M6 nut (BB). Hardware Used Bolt M6x10 M6 nut 2-1. Unscrew the ignition, load battery, tighten the ignition. Pile AA 2-2. Attach 4pcs anchoring arm (OO) to 4pcs lower support (L) using 4pcs screw M6X12 (PP).
-
Page 9: Cc Screw M5X10
® 3.Assemble block belt. Fix the block belt (J) to the 2pcs of lower support (L) using 2pcs screw M5x10. ATTENTION: Ensure the block belt and wheel assembly are on the same side. Screw M5x10 WARNING Remove protective cover before assembling. 4. - Page 10 ® 5-1. Insert upper support (D) to lower support (L) using 8pcs screw M5x10 (CC) . 5-2. Assemble top plate assy (B) to upper support (D) using 8pcs screw 3/16” (HH) . Hardware Used Screw M5x10 Screw 3/16” 6.Carefully install the glass tube (C) by lifting up and inserting through the centre hole in the top plate assy (B).
-
Page 11: Gg Fixing Bracket
® 7.Assembly the protective guard (E). Hang the hooks of the protective guard (E) onto the holes in upper supports Secure the protective guards (E) with fixing brackets (GG) with 4pcs Screw 3/16” (HH). Hardware Used Screw 3/16” Fixing Bracket 8. -
Page 12: Knob
® 9.Attach the knob (II) to front panel (H) using screw M4x8 (KK) and large flat washer (JJ). Note: Put screw (KK) through large flat washer (JJ) then through the end link of the Hardware Used retainer chain. Insert screw into hole on front door panel and attach the knob (II) Knob... - Page 13 ®...
- Page 14 ® Do not store a spare LP- adjustment of propane gas. Storage of an appliance indoors is permissible only gas cylinder under or near if the cylinder is disconnected and removed from the appliance. A cylinder must this appliance. be stored outdoors in a well-ventilated area out of the reach of children. A disconnected cylinder must have dust caps tightly installed and must not be beyond 80 percent full.
- Page 15 ® 1. Make 2-3 oz. of leak test solution • Perform all leak tests outdoors. • Your heater was designed and detergent and three parts water). • NEVER leak test when smoking • Do not use heater until all connections have approved for 2.
- Page 16 ® Before performing a leak test, be sure that no sparks can occur and you are in a spacious outdoor area. Connect the propane gas tank to the regulator and turn the valve on the unit to the “off” position. Brush a soap and water mixture on all connections. Turn the gas supply on; if bubbles occur on any connection there may be a leak.
- Page 17 ® For a safe and pleasant heating experience, perform this check before each use: I am familiar with entire owner’s manual and understand all precautions noted. All components are properly assembled, intact and operable. No alterations have been made. All gas connections are secure and do not leak. Wind velocity is below 10 mph.
- Page 18 CARE AND MAINTENANCE ® To enjoy years of outstanding performance from your heater, make sure you perform the following maintenance activities on a regular basis. Before performing any maintenance always disconnect propane gas tank.: FOR YOUR SAFETY Do NOT touch or move heater for at least 45 minutes after use.
- Page 19 ® Problem Cause Solution The burner will not light. The burner injector is clogged. Clean the burner injector. There is low gas supply pressure. Call your gas supplier. The burner flame goes off There is low gas pressure. Call your gas supplier. immediately after ignition.
- Page 20 IMPORTANT For questions, concerns or problems with our product please Si vous éprouvez si vous avez des questions ou des email our customer service department: préoccupations, prière de faire parvenir un courriel à notre service à la clientèle customercare@jrhome.com customercare@jrhome.com DATED PROOF OF PURCHASE REQUIRED FOR WARRANTY SERVICE UNE PREUVE D’ACHAT DATÉE EST REQUISE POUR SE PRÉVALOIR DE LA GARANTIE.
Need help?
Do you have a question about the FSD-C and is the answer not in the manual?
Questions and answers