
Subscribe to Our Youtube Channel
Related Manuals for urmet domus 1036/40


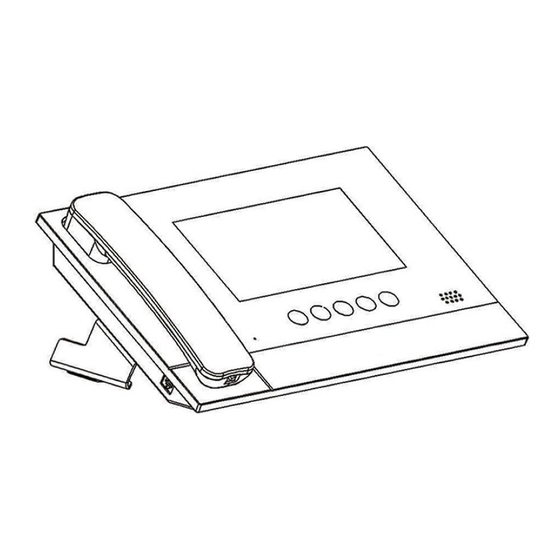
Summary of Contents for urmet domus 1036/40
- Page 1 USER MANUAL U1 Voice Switch Board Sch./Ref. 1036/40 Version: V1.1 Code: SRD-UME1036/40-0516-V1.1...
- Page 2 IS IN YOUR LIFE Preface Thank you for choosing Urmet product. This manual is the user manual of U1 series digital system U1 Voice Switch Board (Ref. 1036/40). Please read this manual carefully before using the U1 Voice Switch Board. Disclaimer Although all contents in this manual have been checked carefully, biases and errors may exist in it.
-
Page 3: Table Of Contents
IS IN YOUR LIFE Table of Contents Chapter 1 Function summary ................. 3 Chapter 2 Product introduction ..............4 2.1 Basic structure ..................4 2.1.1 Front view ................... 4 2.1.2 Rear view ..................5 2.2 Specifications ..................5 Chapter 3 Usage introduction ................ 7 3.1 Introduction of basic functions ............ -
Page 4: Chapter 1 Function Summary
IS IN YOUR LIFE Chapter 1 Function summary This product is the equipment based on TCP/IP transport protocol. It is a central equipment that is used to manage the hosts for community residents and at the entrance/exit. • Adopt 7-inch capacitive touch screen; •Allow callingU1 Voice IP Monitor and other U1 Voice Switch Boards;... -
Page 5: Chapter 2 Product Introduction
IS IN YOUR LIFE Chapter 2 Product introduction 2.1 Basic structure 2.1.1 Front view Figure2. 1 Front view Camera Touch screen Handle Card swiping area... -
Page 6: Rear View
IS IN YOUR LIFE 2.1.2 Rear view Figure2. 2 Rear view 2.2 Specifications Working voltage: DC 24V Local quiescent current:≤ 80 mA Local working current: ≤ 200 mA Display screen: 7 inches Resolution: 800 * 480... - Page 7 IS IN YOUR LIFE Outline dimension (L * W * D): 305 * 210 * 31.8 mm (excluding the base and handle) Ambient temperature: -10℃ ~ +55℃ Ring time: 30 seconds Call duration: 120 seconds Monitoring time: 30 seconds Administrator password: used for emergency unlock; initial administrator password is 999999.
-
Page 8: Chapter 3 Usage Introduction
IS IN YOUR LIFE Chapter 3 Usage introduction 3.1 Introduction of basic functions Figure3. 1 Standby interface Call Call community residents or other U1 Voice Switch Boards by clicking the key, selecting equipment type as U1 Voice IP Monitor or U1 Voice Switch Board, and enteringequipment number. -
Page 9: Call
IS IN YOUR LIFE Card management Conduct operations such as the registration, deletion, clearing and checking of access control card by clicking the key. Video surveillance Monitor unit U1 Voice Call Modules and IP cameras at all locations and the door of the community by clicking the key, selecting equipment type as unit U1 Voice Call Module, IP camera (the support of other equipment is... -
Page 10: Call Log
IS IN YOUR LIFE Figure3. 3 Equipment selection interface (short code) Call the U1 Voice IP Monitor Standard: select equipment type as U1 Voice 7” IP Monitor and enter the building number+ unit number + room number, then click the key to make the call. -
Page 11: Monitoring
IS IN YOUR LIFE Figure3. 4 Call log interface Check the call log between the management center and residents/visitors. The administrator may call back the residents and visitors or conduct operations such as checking or deleting the call log. 3.4 Monitoring Basic processes: Select equipment type Enter equipment number MonitorEnd Figure3. -
Page 12: Unlock During Monitoring
IS IN YOUR LIFE 2) Select equipment number. Tips: For U1 Voice Call Module, enter the building number + unit number + room number 3) Click the key to activate the monitoring function. 4) Click the key to terminate the monitoring. 3.4.1 Unlock during monitoring The administrator may unlock the door for the visitor by clicking during... -
Page 13: Chapter 4 System Setting
IS IN YOUR LIFE Chapter 4 System setting Enter the system setting interface by clicking the key on main interface as shown below. Figure4. 1 System setting interface Enter relevant system setting item by clicking corresponding function key. Attention: All units can be selected as incoming call management items, in this case, the U1 Voice Switch Board shall be general U1 Voice Switch Board;... -
Page 14: Chapter 5 Engineering Setting
IS IN YOUR LIFE Chapter 5 Engineering setting Enter into engineering setting interface by pressing the ENGINEERING SETTING key and entering the engineering password at system setting interface. The engineering setting interface is as follows: Figure5. 1 Engineering setting interface Standard dial is the defaulted dial method. -
Page 15: Restore Factory Setting
IS IN YOUR LIFE 5.1 Restore factory setting Restore the system to the state before it leaves the factory by pressing the RESTORE FACTORY SETTING keyReconfirm. Figure5. 3 Restoring factory setting confirmation interface Attention: All data will be cleared if restoring factory setting operation is executed within 30 seconds after power on. -
Page 16: Camera Settings
IS IN YOUR LIFE 5.2 Camera settings In camera settings page, you can choose to use either switchboard’s built-in camera or gateway’s IP camera. 1) Switchboard’s built-in camera is the system defaulted camera. Figure5. 4 Built-in camera setting interface 2) To use external camera, input gateway’s camera number click , and wait for the system prompt. -
Page 17: Notes
IS IN YOUR LIFE Notes 1. Please keep the equipment away from strong magnetic field, hot and moist environments; Be away from Be away from Be away from magnetic field hot environment moisture 2. Protect the equipment from falling down on the ground or being subject to high impact;... -
Page 18: Appendix Figure Index
IS IN YOUR LIFE Appendix Figure index Figure2. 1 Front view ....................4 Figure2. 2 Rear view ....................5 Figure3. 1 Standby interface ..................7 Figure3. 2 Equipment selection interface ..............8 Figure3. 3 Equipment selection interface (short code) ........... 9 Figure3.
Need help?
Do you have a question about the 1036/40 and is the answer not in the manual?
Questions and answers