Sign In
Upload
Download
Table of Contents
Contents
Add to my manuals
Delete from my manuals
Share
URL of this page:
HTML Link:
Bookmark this page
Add
Manual will be automatically added to "My Manuals"
Print this page
×
Bookmark added
×
Added to my manuals
Manuals
Brands
Insignia Manuals
Microwave Oven
NS-MW7BK5
User manual
Insignia NS-MW7BK5 User Manual
7 cu. ft. compact microwave
Hide thumbs
1
Table Of Contents
2
3
4
5
6
7
8
9
10
11
12
13
14
15
16
17
18
19
20
21
22
23
page
of
23
Go
/
23
Contents
Table of Contents
Troubleshooting
Bookmarks
Table of Contents
Table of Contents
Safety Information
Grounding Instructions
Radio Interference
Cookware and Cooking Materials
Materials You Can Use
Materials to be Avoided
Package Contents
Unpacking Your Microwave
Features
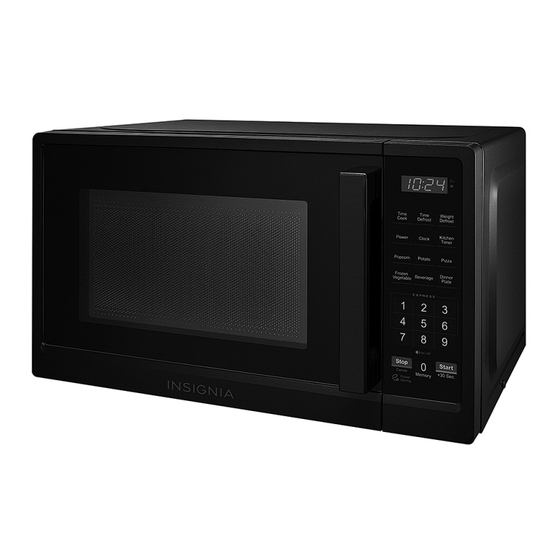
Microwave
Control Panel
Setting up Your Microwave
Installing the Turntable
Setting the Clock and the Timer
Setting the Clock
Using the Kitchen Timer
Cooking with Your Microwave
Microwave Cooking
Cooking Quickly
Cooking with the Auto Menus
Using a Memorized Procedure
Multi-Stage Cooking
Muting the Sound
Using ECO Mode
Defrosting in Your Microwave
Defrosting by Time
Defrosting by Weight
Changing Other Microwave Settings
Using the Child Lock
Checking the Time or Power Level
Cleaning and Maintaining Your Microwave
Cleaning the Outside of Your Microwave
Cleaning the Inside of Your Microwave
Troubleshooting
Specifications
One-Year Limited Warranty
Advertisement
Quick Links
Download this manual
USER GUIDE
.7 Cu. Ft. Compact
Microwave
NS-MW7BK5/NS-MW7WH5/NS-MW7BK5-C/NS-MW7WH5-C
Before using your new product, please read these instructions to prevent any damage.
Table of
Contents
Previous
Page
Next
Page
1
2
3
4
5
Advertisement
Table of Contents
Need help?
Do you have a question about the NS-MW7BK5 and is the answer not in the manual?
Ask a question
Questions and answers
Related Manuals for Insignia NS-MW7BK5
Microwave Oven Insignia NS-7CM6-WH User Manual
0.7 cu. ft. compact compact microwave oven (21 pages)
Microwave Oven Insignia NS-7CM6-BK User Manual
0.7 cu. ft. compact compact microwave oven (21 pages)
Microwave Oven Insignia NS-MW12SS6 User Manual
Microwave oven - stainless steel (24 pages)
Microwave Oven Insignia NS-MW09RD7 User Manual
(21 pages)
Microwave Oven Insignia NS-OTR16SS8Q Installation Manual
1.6 cu. ft. over-the-range microwave (48 pages)
Microwave Oven Insignia NS-OTR16SS8Q User Manual
1.6 cu. ft. over-the-range (20 pages)
Microwave Oven Insignia NS-OTR16WH8 User Manual
1.6 cu. ft. over-the-range (24 pages)
Microwave Oven Insignia NS-OTR16SS8 User Manual
1.6 cu. ft. over-the-range (24 pages)
Microwave Oven Insignia NS-MW16SS8 User Manual
1.6 cu. ft. microwave oven (24 pages)
Microwave Oven Insignia NS-MW11BS9-C User Manual
1.1 cu. ft. microwave oven (14 pages)
Microwave Oven Insignia NS-MW07BK0 User Manual
Compact microwave (24 pages)
Microwave Oven Insignia NS-MW09BK0 User Manual
.9 cu. ft. microwave oven (20 pages)
Microwave Oven Insignia NS-MWR07R2 User Manual
Retro microwave ovenretro microwave oven (23 pages)
Microwave Oven Insignia NS-MW11BK0 User Manual
1.1 cu. ft. microwave oven (14 pages)
Microwave Oven Insignia NS-MW9SS5 User Manual
9 cu. ft. countertop microwave (22 pages)
Microwave Oven Insignia NS-MW11BK5 User Manual
1.1 cu. ft. microwave (15 pages)
This manual is also suitable for:
Ns-mw7wh5
Ns-mw7bk5-c
Ns-mw7wh5-c
Table of Contents
Print
Rename the bookmark
Delete bookmark?
Delete from my manuals?
Login
Sign In
OR
Sign in with Facebook
Sign in with Google
Upload manual
Upload from disk
Upload from URL


Need help?
Do you have a question about the NS-MW7BK5 and is the answer not in the manual?
Questions and answers