
Subscribe to Our Youtube Channel
Related Manuals for Buyers SnowDogg VMXII Series


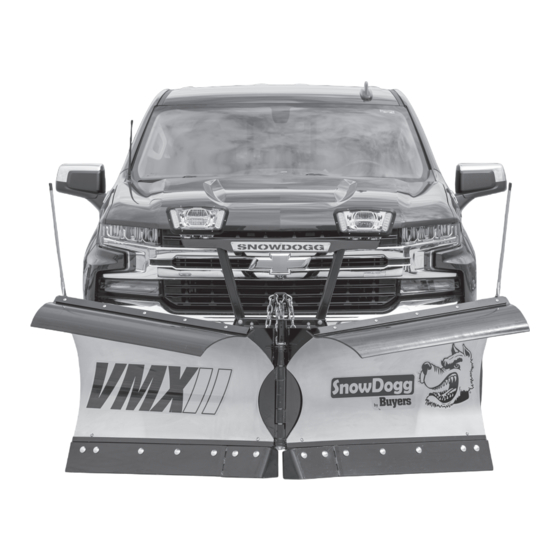
Summary of Contents for Buyers SnowDogg VMXII Series
- Page 1 www.buyersproducts.com Phone (440) 974-8888 Fax 800-841-8003 PATENTS PENDING 3052622_B...
-
Page 2: Table Of Contents
Warnings This manual is for the professional installation of SnowDogg ® VMXII with RapidLink™ snow plows. Review all instructions prior to installation. Installation related failures are not covered WARNING by warranty. Read this manual carefully before operating this snowplow. Table of Contents WARNING 1. -
Page 3: Vmxii Moldboard/Lift Frame Assembly
VMXII RapidLink Moldboard/Lift Frame Assembly ™ Fig. 1 Bill of Materials ITEM QTY. PART NO. DESCRIPTION 16014100 VMXII Lift Frame Assembly 16101170 VMXII Hinge Pin Kit 16102142 Clevis Pin Kit 7/8in x 3-1/4in 16113262 VMXII Center Deflector Cap Fig. 2 16122100 Blade Guide Kit (x2) 16022710... -
Page 4: Drop Foot Deployment
Drop Foot Deployment Fig. 3 1. Remove the snapper pin securing the drop foot to the lift frame and lift the drop foot off of the bracket. 2. Raise the rear of the a-frame approximately 6 inches from the floor. 3. -
Page 5: Vehicle Side Installation
Vehicle Side Installation Plowing is very hard on vehicles. For this reason any vehicle getting a plow mounted to it should be well maintained. Before installing a plow, and on a regular basis after, have the following systems checked and repaired as necessary: •... -
Page 6: Control Harness Installation
Control Harness Installation The truck side control harness is routed through the grill, by the battery, and through the firewall to the controller. It is preferable when possible to keep the plow connector on the driver side to make mount/dismount easier and faster. It is important that the 15A fused power lead go to an ignition switched source. -
Page 7: Light Harness Installation
Light Harness Installation The light harness is split into a RELAY MODULE and GRILL HARNESS to allow for easy installation. Connectors have been designed in such a way to prevent installation errors – but be sure to read all instructions. 1. -
Page 8: Optional Accessory Wires
Switched Ground 16160102 RELAY HARNESS "B" LONG LEAD TO HEADLIGHT ADAPTER TURN SIGNAL CONNECTORS "A" SHORT LEAD TO HEADLIGHT ADAPTER BLACK WIRE TO GROUND 16160104 WHITE/BLACK LIGHT/GRILL HARNESS ORANGE WIRE TO ORANGE TO GRILL HARNESS WHITE/BLACK TO RED/WHITE ON CONTROL HARNESS •... -
Page 9: Plow Mounting And Checkout
Plow Mounting And Checkout Your fully assembled plow is now ready to mount to the vehicle that you have prepared. Mount the plow using the instructions as shown. MOUNTED PLOW DISMOUNTED PLOW CHAIN LIFT DROP FOOT SNAPPER PIN CHAIN LIFT JACK RAISE (UP) JACK... -
Page 10: Light Aiming
Power on the plow controller and operate the plow through all functions CAUTION For safety reasons, the blade drops very slowly on the plow as shipped. To increase the drop speed of the blade, use a flat blade screwdriver to turn the lowering speed adjustment on the front of the hydraulic power unit coun- ter clockwise. -
Page 11: Storage/Maintenance
NOTE: Snowplow installers must certify that installation conforms to federal motor vehicle safety standards. Your plow and truck are now ready for operation. The hydraulic system has been filled at the factory and should be fully operational. It is possible that agitation due to shipping has introduced some air into the oil. When operating the plow for the first time some oil may exit the vent (by the coils). -
Page 12: Warranty Information
® free from defects in materials and workmanship for a period of two (2) years after the date of original purchase. Buyers Products warrants accessories, service parts, and components purchased separately to be free of defects in materials and workmanship for a period of one (1) year after date of original purchase.
Need help?
Do you have a question about the SnowDogg VMXII Series and is the answer not in the manual?
Questions and answers