Advertisement
Quick Links
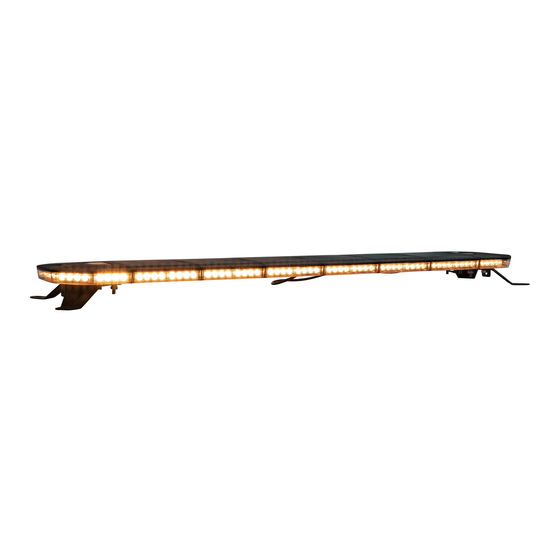
Installation Instructions
8893048 & 8893148 48" LED
Lightbar with Wireless Controller
• Working voltage: 10-30 VDC
• Working temp: -40°F to 158°F
MOUNTING INSTRUCTIONS
1. Track bolts insert from extrusion end pockets.
Attach mounting brackets to track bolts. Leave loose
for roof positioning. Adhere foam pads to bottom
sides of mounting bracket feet.
2. Attach the strap hook to the mounting bracket.
3. Position the lightbar on the vehicle roof.
4. Adjust the distance of the two strap hooks by
moving the brackets so that the strap hook's fits
around the vehicle gutters/sills.
5. Tighten the four nuts on each side of the mounting feet.
6. Place the strap hooks around the gutters and
tighten the screws so that the lightbar is securely
fastened.
For Wireless Remote Use:
Route cable to 15A ignition switched source. Red to
positive. If using a chassis ground, make sure to have
a clean bare metal surface. Take care not to chafe
wire, avoid all sharp edges, and avoid placing wire
near any and all moving objects. Secure cable along
the way with cable ties. NOTE: The yellow wire is not
used at this time.
For Hardwired Control:
Yellow wire for manual flash pattern selection (For
hardwiring to an optional wired controller)
YELLOW(SIGNAL)
BLACK(GROUND)
Ventilation
If moisture enters the interior, there are ventilation
holes on the underside. Remove the caps from
the ventilation holes and allow the moisture to dry
out. Then reassemble the caps. NOTE: It is not
recommended to use compressed air
1
www.buyersproducts.com
Phone (440) 974-8888
Fax 800-841-8003
RED(VCC)
Control Device
(+)
8893048INST_B
(-)
GROUND
Advertisement

Subscribe to Our Youtube Channel
Related Manuals for Buyers 8893048


Summary of Contents for Buyers 8893048
- Page 1 Phone (440) 974-8888 Fax 800-841-8003 Installation Instructions 8893048 & 8893148 48" LED 6. Place the strap hooks around the gutters and tighten the screws so that the lightbar is securely Lightbar with Wireless Controller fastened. • Working voltage: 10-30 VDC •...
- Page 2 2. Fully charge battery before first use (approx. 2 hrs) Charging Specs: 5VDC 500mA 3. Total of 13 flash patterns: Flash Patterns for Amber (8893048) PATTERN Single Flash By Day NOTE: Allow a 1 second delay when pressing Single Flash By Night buttons to change the flash patterns.
- Page 3 Normal wear is excluded. The sole responsibility of Buyers Products Co. under this warranty is limited to repairing or replacing any part or parts which are returned, prepaid, and are found to be defective by Buyers Products Co.
Need help?
Do you have a question about the 8893048 and is the answer not in the manual?
Questions and answers