Advertisement
Available languages
Available languages
Quick Links
Roll Top Door
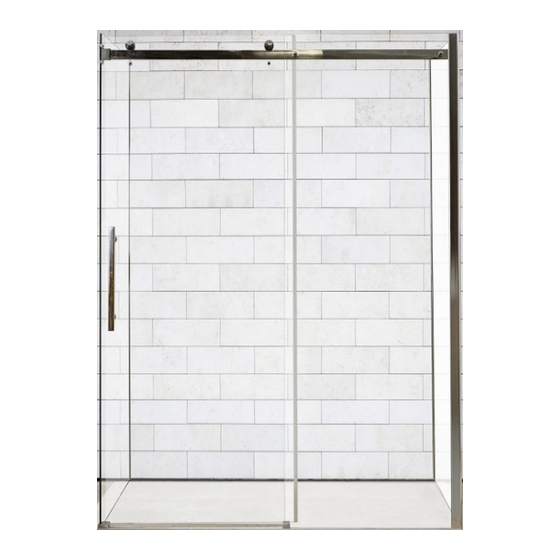
Shower Enclosure
Front Entry
INSTALLATION INSTRUCTIONS
Read all instructions
carefully
before proceeding
OWNER'S
MANUAL
Model No.
RT48FPS
RT60FPS
RT60BTPS
For ALL Installation & Product Related Inquires
Contact Mirolin Customer Care at 800. MIROLIN
Please Do Not Contact Retailer
Copyright Mirolin Industries corp., 2011
Copyright includes all content included in this document
mirolin.com
baths for this generation and the next
Mirolin Industries Corp
60 Shorncliffe Road, Toronto, ON M8Z 5K1
T 416 231 5790
800 MIROLIN (647 6546)
F 416 231 0929
800 463 2236
Advertisement

Related Manuals for Mirolin RT48FPS


Summary of Contents for Mirolin RT48FPS
- Page 1 RT60FPS RT60BTPS For ALL Installation & Product Related Inquires baths for this generation and the next Contact Mirolin Customer Care at 800. MIROLIN Mirolin Industries Corp Please Do Not Contact Retailer 60 Shorncliffe Road, Toronto, ON M8Z 5K1 Copyright Mirolin Industries corp., 2011...
- Page 2 Thank you and congratulations on the purchase of your Mirolin bath and/or shower product. Please read and follow the installation guide for detailed step by step instructions on how to install and care for your Mirolin product for years of continued performance and enjoyment.
- Page 3 INTRODUCTION This Roll Top Door Front Entry Shower Enclosure Installation Instruction Manual has been designed to make the installation as easy as possible. Please read this booklet completely prior to installing your unit. PARTS LIST: RT48FPS RT60FPS RT60BTPS EB6032LR, EB6036LR, EB4836, SB4836 60”...
- Page 4 EXPLODED VIEW Glass Glass 1 1/4” Philips Roller Retainer Machine Screw ROLL TOP DOOR ALCOVE ENTRY RIGHT HAND ASSEMBLY SHOWN Plastic Brass Insert Insert DETAIL VIEW 3-HEADER BLOCK ASSEMBLY- RT 20 RT 9 Inside RT 2 Outside Header Bracket Magnet Wall Jamb Plastic RT 3 Knob...
- Page 5 EXPLODED VIEW Glass Glass 1 1/4” Philips Roller Retainer Machine Screw ROLL TOP DOOR RT60BT 60” BATH TUB AND TILE WALL Plastic RIGHT HAND ASSEMBLY SHOWN Brass Insert Insert DETAIL VIEW 3-HEADER BLOCK ASSEMBLY- RT 20 RT 9 Inside RT 2 Outside Header Bracket Magnet Wall Jamb...
- Page 6 STEP 2: Note: If this door is installed onto a shower STEP: Remove the lid from box. Remove packaging base, the base must be level. and inspect all door components thoroughly before Measure the depth required. Mark obtained length at installation.
- Page 7 STEP 8: Screw Front Fixed Panel (RT 4) to the Wall STEP 7: Drill three holes in the Front Fixed Panel ( RT Jamb (RT 1) using Screws - 5/8” (RT 15) and Plastic 4) through pre-drilled holes of Left Wall Jamb (RT 1) Washer (RT 19) at the bottom, middle and the top.
- Page 8 STEP 14: Screw Header Bracket (RT 9) to the Magnet STEP 13: Repeat steps 7- 8 to finish with the Magnet Wall Jamb ( RT 2) using screwdriver and two screws Wall Jamb installtion. provided. Insert header into header bracket and slightly tighten two adjusting screws built in to block.
- Page 9 STEP 19: Install Door Handle (RT 10) on the Roll STEP 20: Note: Door package supplied with two Door Panel (RT 5) using two pre-drilled holes. Tighten guide blocks for the roll top door panel. Insert Guide the knob to snug the handle to the glass. Reference Block ( RT 7) into the Front Fixed Panel (RT4).
- Page 10 We want you to be completely satisfied with our products and service. If you have any comments or suggestions, please call 1-800-MIROLIN toll free. The company reserves the right to change models and specifications without notice.
-
Page 11: Manuel D'utilisation
Mirolin Industries Corp le service à la clientèle de Mirolin au 800. MIROLIN 60 Shorncliffe Road, Toronto, ON M8Z 5K1 Ne pas vous adresser au revendeur T 416 231 5790... - Page 12 Merci et félicitations pour avoir choisi votre baignoire ou votre douche de marque Mirolin. Veuillez lire et respecter le guide d'installation donnant les instructions étape par étape pour l'installation et l'entretien de votre produit Mirolin afin que celui-ci vous assure de longues années d'utilisation et de satisfaction.
- Page 13 Ce manuel d'installation et d'instructions pour cabine de douche à porte coulissante suspendue à entrée de face a été établi de façon à rendre l'installation de celle-ci aussi simple que possible. Veuillez lire complètement cette brochure avant d'installer votre cabine. RT48FPS RT60FPS RT60BTPS Liste des pièces:...
-
Page 14: Vue Éclatée
Dispositif de CABINE EN ALCÔVE retenue du verre Verre Galet de Vis à métaux roulement À PORTE COULISSANTE Philips 1 1/4 po SUSPENDUE Insert en MONTAGE AVEC PORTE À DROITE REPRÉSENTÉ plastique Insert en laiton RT 2 VUE DE DÉTAIL 3 - BLOC DE FIXATION Intérieur Extérieur Montant mural... - Page 15 VUE ÉCLATÉE Dispositif de retenue du verre Verre Galet de PORTE À ROULEAUX SUPÉRIEURS Vis à métaux roulement Philips 1 1/4 po RT 60BT - Baignoire à 60 po et murs décorés de céramiques. Insert en MONTAGE AVEC PORTE À DROITE REPRÉSENTÉ plastique Insert en laiton VUE DE DÉTAIL 3 - BLOC DE FIXATION...
- Page 16 ÉTAPE 2: Note: Si cette porte est installée sur une base ÉTAPE 1: Retirer le couvercle de la boîte. Ôter de douche, la base doit etre de niveau. l'emballage et contrôler soigneusement tous les Mesurer la profondeur voulue. Repérer la longueur composants de la porte avant installation.
- Page 17 ÉTAPE 8: Visser le panneau fixe avant (RT 4) au ÉTAPE 7: Percer trois trous dans le cadre du montant mural gauche (RT 1) à l'aide des vis de 5/8 po panneau fixe avant (RT 4) à travers les trous pré (RT 15) et des rondelles en plastique (RT 19) à...
- Page 18 ÉTAPE 14: Visser le support de linteau (RT 9) au ÉTAPE 13 : Répéter les étapes 7 à 8 pour terminer montant mural pour insert magnétique (RT 2) à l'aide l'installation du montant mural pour insert magnétique d'un tournevis et des deux vis fournies. Insérer le (RT 2).
- Page 19 ÉTAPE 19: Installer la poignée de porte (RT 10) sur ÉTAPE 20: Note : l'ensemble de porte est fourni avec deux blocs de guidage pour le panneau de le panneau de porte coulissant (RT 5) en employant porte coulissant suspendu. Insérer le bloc de guidage les deux trous pré...
- Page 20 Nous souhaitons que vous soyez entièrement satisfait de nos produits et de notre service. Si vous avez des commentaires ou des suggestions, veuillez composer 1-800-MIROLIN sans frais. La société se réserve le droit de changer les modèles et les spécifications sans préavis.
Need help?
Do you have a question about the RT48FPS and is the answer not in the manual?
Questions and answers