Advertisement
Available languages
Available languages
Quick Links
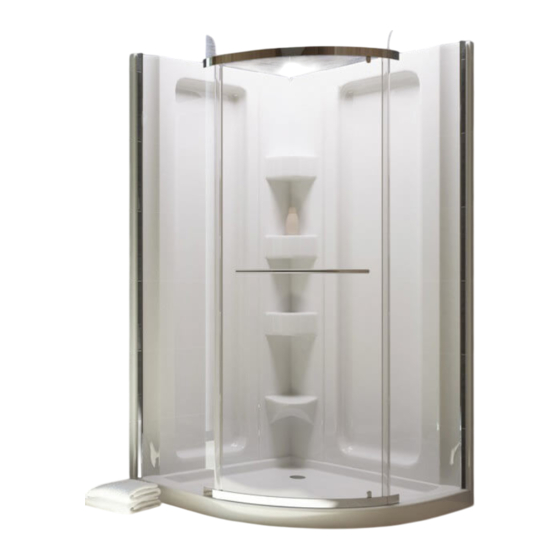
SORRENTO
INSTALLATION INSTRUCTIONS AND OWNERS MANUAL
READ ALL INSTRUCTIONS CAREFULLY BEFORE STARTING THE INSTALLATION
PLEASE RECORD THE SERIAL NUMBER ________________ OF YOUR SHOWER
INSTALLATION NOTES
Important: The Acrylic Shower was carefully
inspected and packed for shipment. You should check
your unit and if there are any problems, contact your
dealer before installation.
Protect the shower from dirt and damage by leaving
the polyethylene protective film in place until
installation and other related construction
complete.
Follow Local Building Codes.
PREPARATION
1. Install framing and blocking as shown in Figure 1.
2. Ensure that the floor is level, correct if necessary.
3. Figure 1 shows drain location and clearance.
Drain pipe must be vertical.
INSTALLATION
1. Place the unit into position and plumb vertical,
shim if necessary.
2. Dry fit drain to check position.
3. Mark and drill 1/4" (6 mm) pilot holes for fixtures.
4. Verify the holes are in the right location.
5. Remove the unit from the corner.
6. From the finished side of the unit, use the correct
size hole saw to cut the openings using the pilot
holes as guides.
7. Install the drain according to manufacturer's
instructions. Use a mildew resistant silicone
sealant to seal the drain to the top surface of the
base.
8. Move the shower into place.
9. Drill 1/8" (3mm) holes at approximately 8"
(200mm) intervals around the flanges as shown
Figure 2.The holes should go just through the
fibreglass.
™
ONE PIECE SHOWER ROUND FRONT
SAVE THIS MANUAL FOR FUTURE REFERENCE
is
R0084186, RevB
SC38RF™
From corner to centre line of stud
11
298 mm
FIGURE 1 - PREPARATION
mirolin.com
"
11
"
298 mm
5"
127 mm Ø Clearance
1
Advertisement

Summary of Contents for Mirolin SORRENTO 38
- Page 1 SC38RF™ mirolin.com ™ SORRENTO ONE PIECE SHOWER ROUND FRONT INSTALLATION INSTRUCTIONS AND OWNERS MANUAL READ ALL INSTRUCTIONS CAREFULLY BEFORE STARTING THE INSTALLATION PLEASE RECORD THE SERIAL NUMBER ________________ OF YOUR SHOWER SAVE THIS MANUAL FOR FUTURE REFERENCE INSTALLATION NOTES From corner to centre line of stud Important: The Acrylic Shower was carefully inspected and packed for shipment.
-
Page 2: Maintenance
Run water for 15 minutes to ensure that there are no leaks at the drain. Mirolin Industries Corp. will not be liable for any kind of damages as a result of not water testing the unit prior to use by end user. - Page 3 SC38RF mirolin.com SORRENTO DE DOUCHE RONDE AVANT MONOBLOC DIRECTIVES D’INSTALLATION ET MANUEL DU PROPRIÉTAIRE LIRE SOIGNEUSEMENT TOUTES LES INSTRUCTIONS AVANT L’INSTALLATION VEUILLEZ INSCRIRE LE NUMÉRO DE SÉRIE_____________ DE VOTRE DOUCHE GARDER CE MANUEL POUR RÉFÉRENCE MODE D’INSTALLATION Du coin à la ligne centrale du montant Important : Les douche en acrylique a été...
- Page 4 Faites couler l'eau pendant 15 minutes pour vous assurer qu'il n'y a pas de fuites au drain. Mirolin Industries Corp. décline toute responsabilité en cas de dommages résultant du défaut d'effectuer ce test de fuite avant utilisation par le client.
-
Page 5: Limited Warranty
APPLICABLE CARE AND CLEANING INSTRUCTIONS. replace, install or remove this product are not covered by this warranty. Mirolin Industries Corp. shall not be liable for any damage to the product ADDITIONAL RIGHTS resulting from reasonable wear and tear, outdoor use, misuse (including... -
Page 6: Garantie Limitée
à l’autre. et de nettoyage applicables. Mirolin Industries Corp. recommande Ceci est la garantie écrite exclusive de Mirolin Industries Corp. et la d’embaucher un plombier professionnel pour toute installation et garantie n’est pas transférable.


Need help?
Do you have a question about the SORRENTO 38 and is the answer not in the manual?
Questions and answers