Advertisement
Quick Links
Installation Instructions
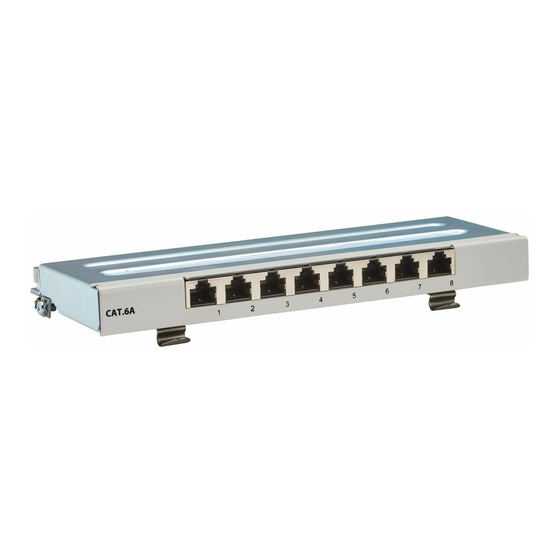
Cat6a DIN Mount/Desktop
STP Patch Panel
8-Port Model: N250-SH08-DIN6A
12-Port Model: N250-SH12-DIN6A
Este manual está disponible en español en la página de Tripp Lite:
Ce manuel est disponible en français sur le site Web de Tripp Lite :
Русскоязычная версия настоящего руководства представлена на
веб-сайте компании Tripp Lite по адресу: tripplite.com
Dieses Handbuch ist in deutscher Sprache auf der Tripp Lite-Website
WARRANTY REGISTRATION
automatically entered to win an ISOBAR
surge protector in our monthly drawing!
1111 W. 35th Street, Chicago, IL 60609 USA • tripplite.com/support
Copyright © 2022 Tripp Lite. All rights reserved.
tripplite.com
tripplite.com
verfügbar: tripplite.com
Register your product today and be
tripplite.com/warranty
1
®
Advertisement

Related Manuals for Tripp Lite N250-SH08-DIN6A


Summary of Contents for Tripp Lite N250-SH08-DIN6A
- Page 1 12-Port Model: N250-SH12-DIN6A Este manual está disponible en español en la página de Tripp Lite: tripplite.com Ce manuel est disponible en français sur le site Web de Tripp Lite : tripplite.com Русскоязычная версия настоящего руководства представлена на веб-сайте компании Tripp Lite по адресу: tripplite.com Dieses Handbuch ist in deutscher Sprache auf der Tripp Lite-Website verfügbar: tripplite.com...
- Page 2 Installation Shown: N250-SH08-DIN6A Shown: N250-SH12-DIN6A FRONT Step 1: Release the cover screws. Lift left and right sides of the metal cover and slide the metal cover backwards to remove it.
- Page 3 Installation 1 7 7 1 7 7 1 7 7 1 7 7 1 7 7 1 7 7 1 7 7 1 7 7 Wiring Label Wiring Label 1 7 7 1 7 7 1 7 7 1 7 7 1 7 7 1 7 7 1 7 7...
- Page 4 Installation Step 2: Strip and remove the cable jacket at the recommended length. Fold the braid shielding back over the cable jacket. Leave the foil on pairs intact and keep the pair foil at suggested length. 3 Pair 2 Pair 3 Pair 2 Pair 1 Pair...
- Page 5 Installation Step 3: Refer to the color coding labels to allocate the pairs according to the color coding in sequence. Use a punch down tool to press each conductor. Trim excess length until all pairs are terminated. Braid Shield...
- Page 6 Installation Step 4: Place the grounding clip on the cables, then screw on the bolt until the cables are fastened to secure grounding between cable and panel. Use supplied cable ties to tighten up the cables. Mount the metal cover to the panel and secure it into place to finish the installation.
-
Page 7: Warranty And Product Registration
Service under this Warranty can only be obtained by your delivering or shipping the product (with all shipping or delivery charges prepaid) to: TRIPP LITE; 1111 W. 35th Street, Chicago, IL 60609. Seller will pay return shipping charges. Visit tripplite.com/ support before sending any equipment back for repair. - Page 8 1111 W. 35th Street, Chicago, IL 60609 USA • tripplite.com/support 22-11-149 93-4685 RevA...
Need help?
Do you have a question about the N250-SH08-DIN6A and is the answer not in the manual?
Questions and answers