Table of Contents
Advertisement
Quick Links
Installation Guide
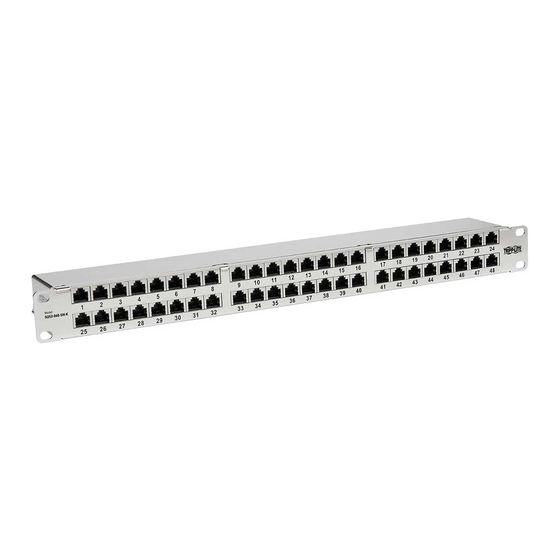
48-Port Cat6 Krone IDC STP
High-Density 1U Patch Panel
Model: N252-048-SH-K
Este guía esta disponible en español en la página de Tripp Lite:
www.tripplite.com/support
Ce guide est disponible en français sur le site Web de Tripp Lite :
www.tripplite.com/support
Русскоязычная версия настоящего краткого руководства
представлена на веб-сайте компании Tripp Lite по адресу:
www.tripplite.com/support
PROTECT YOUR INVESTMENT!
Register your product for quicker service and ultimate peace of mind.
You could also win an ISOBAR6ULTRA surge protector—a $100 value!
www.tripplite.com/warranty
1111 W. 35th Street, Chicago, IL 60609 USA • www.tripplite.com/support
Copyright © 2018 Tripp Lite. All rights reserved.
1
18-10-102-9338CD-EN.indd 1
11/2/2018 12:15:47 PM
Advertisement
Table of Contents

Subscribe to Our Youtube Channel
Related Manuals for Tripp Lite N252-048-SH-K


Summary of Contents for Tripp Lite N252-048-SH-K
- Page 1 Installation Guide 48-Port Cat6 Krone IDC STP High-Density 1U Patch Panel Model: N252-048-SH-K Este guía esta disponible en español en la página de Tripp Lite: www.tripplite.com/support Ce guide est disponible en français sur le site Web de Tripp Lite : www.tripplite.com/support...
- Page 2 Installation Separate the grounding wire (lug) and shielded cap from the top. Separate the 2-layer panel. 18-10-102-9338CD-EN.indd 2 11/2/2018 12:15:48 PM...
- Page 3 Installation Prepare cables. 5 cm Drain Wire Remove approximately 5 cm of cable sheath. Roll the exposed foil back along the cable sheath. Separate the conductors. Secure drain wires. Hook grounding wires on the rear edge of the panel. Drain Wire Punch down with a proper...
- Page 4 Installation Make sure the drain wire is tied between the panel and the rear cable manager. Drain Wire Drain Wire 18-10-102-9338CD-EN.indd 4 11/2/2018 12:15:53 PM...
- Page 5 Installation Use the included screws to combine the two patch panel layers. 18-10-102-9338CD-EN.indd 5 11/2/2018 12:15:55 PM...
- Page 6 Installation Use the included screws to attach the cap and grounding wire. Grounding Wire 18-10-102-9338CD-EN.indd 6 11/2/2018 12:15:56 PM...
- Page 7 Installation Attach the panel and grounding wire to a rack or cabinet. Grounding Wire 18-10-102-9338CD-EN.indd 7 11/2/2018 12:15:56 PM...
- Page 8 Warranty and Product Registration Lifetime Limited Warranty Tripp Lite warrants its products to be free from defects in materials and workmanship for life. Tripp Lite’s obligation under this warranty is limited to repairing or replacing (at its sole option) any such defective products. To obtain service under this warranty, you must obtain a Returned Material Authorization (RMA) number from Tripp Lite or an authorized Tripp Lite service center.
Need help?
Do you have a question about the N252-048-SH-K and is the answer not in the manual?
Questions and answers