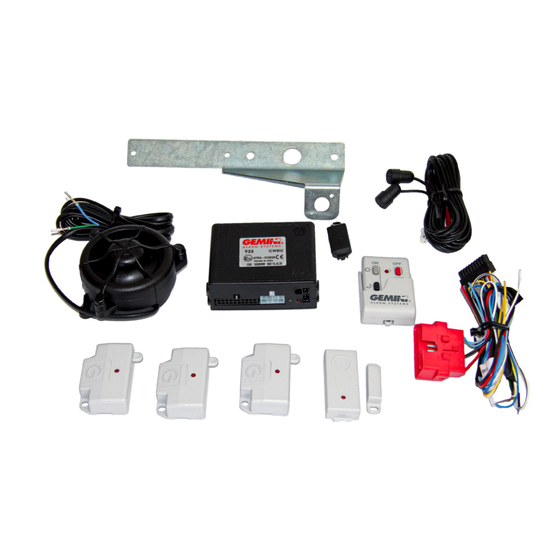
Table of Contents
Advertisement
Quick Links
INSTALLATION CERTIFICATE
The undersigned qualified installer attests to have personally fitted the here described vehicle
security system following the manufacturer instructions.
By :
933MH
Sold on :
933MH
Type of device :
................................................
Vehicle :
..........................................................................................................................
INSTALLATION AND
USE MANUAL
UK
GEMINI Technologies S.r.l.
Via Luigi Galvani 12 - 21020 Bodio Lomnago (VA) - Italia
Tel. +39 0332 943211 - Fax +39 0332 948080
www.gemini-alarm.com
AC2908/UK Rev.03 - 09/22
ISO 9001Certified Company
Made in Italy
Advertisement
Table of Contents

Summary of Contents for Gemini 933MH
- Page 1 Type of device : ..........Vehicle : .......................... INSTALLATION AND USE MANUAL GEMINI Technologies S.r.l. Via Luigi Galvani 12 - 21020 Bodio Lomnago (VA) - Italia Tel. +39 0332 943211 - Fax +39 0332 948080 www.gemini-alarm.com AC2908/UK Rev.03 - 09/22 ISO 9001Certified Company...
-
Page 2: Table Of Contents
1.0 - INTRODUCTORY NOTE TABLE OF CONTENTS Dear customer, thank you for choosing a GEMINI product.This 933MH CAN BUS alarm system has - INTRODUCTORY NOTE.................... PAGE 03 been specifically designed and manufactured in Italy for recreational vehicles. - GEMINI REMOTE CONTROL.................. -
Page 3: Gemini Remote Control
To arm the system without arming interior protection and the external sensors (wirless infrared or (selectable feature). wireless hyper-frequency), press button “ ” on the Gemini remote control or proceed as follows: • Touch the override key to its receptacle; the LED will give a quick flash. 3.8 - EMERGENCY DISARMING BY OVERRIDE KEY •... -
Page 4: Installer Manual
WIRE COLOUR connect again after - 1 - ----- ----- Connection of unit completion. - 2 - ----- ----- 933MH with supplied siren - 3 - ----- ----- OVERRIDE KEY - 4 - ----- ----- - 5 - Positive/negative input - door switches... -
Page 5: Vehicle Code Programming
In either case, repeat the entire procedure. 7.0 - CONNECTIONS TO ARM/DISARM THE SYSTEM The alarm system can work via CAN BUS (with the vehicle original remote control) and via the Gemini Plug the harness connectors into the alarm corresponding sockets. -
Page 6: Acoustic Signals
The procedure must be carried out entirely by scrolling from one feature to the other via the ignition key 9.0 - SYSTEM PROGRAMMING EXAMPLE or the override touch key. Here below is an example that illustrates the various steps to modify the programmable features. A lack of power during electrical system maintenance, will not affect the settings. -
Page 7: 10.0 - Program New Devices
10.0 - PROGRAM NEW DEVICES 11.0 - DELETE PROGRAMMED DEVICES To carry out the operation successfully, make sure the required electrical connections To carry out the operation successfully, make sure the required electrical connections (bonnet switch and ignition) are properly connected. (bonnet switch and ignition) are complete. -
Page 8: 12.0 - Ultrasonic Volumetric Protection
12.0 - ULTRASONIC VOLUMETRIC PROTECTION 14.0 - TECHNICAL SPECIFICATIONS 12.1 - CONNECTIONS AND POSITIONING Power supply 12 Vdc nsert the WHITE connector in the “W” marked socket and the RED connector in the “R” marked Current absorption @ 12Vdc with system armed and LED flashing 15 mA socket (see figure below).


Need help?
Do you have a question about the 933MH and is the answer not in the manual?
Questions and answers