Table of Contents
Advertisement
SKU# 1008992441
MODEL# IS08a240030WHTH
SKU# 1008992427
MODEL# IS08a240030BZTH
USE AND CARE GUIDE
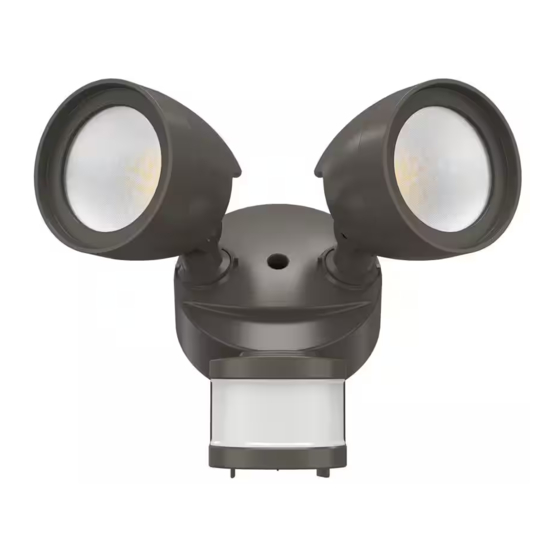
240° MOTION ACTIVATED OUTDOOR
INTEGRATED LED TWIN HEAD FLOOD LIGHT
Questions, problems, missing parts? Before returning to the store,
call Commercial Electric Customer Service
8 a.m. - 7 p.m., EST, Monday - Friday
9 a.m. - 6 p.m., EST, Saturday
1-877-527-0313
HOMEDEPOT.COM
THANK YOU
We appreciate the trust and confidence you have placed in Commercial Electric through the purchase of this LED
light. We strive to continually create quality products designed to enhance your home. Visit us online to see our full
line of products available for your home improvement needs. Thank you for choosing Commercial Electric!
Advertisement
Table of Contents

Subscribe to Our Youtube Channel
Related Manuals for Commercial Electric IS08a240030WHTH


Summary of Contents for Commercial Electric IS08a240030WHTH
- Page 1 THANK YOU We appreciate the trust and confidence you have placed in Commercial Electric through the purchase of this LED light. We strive to continually create quality products designed to enhance your home. Visit us online to see our full...
-
Page 2: Table Of Contents
Table of Contents Table of Contents........2 Package Contents ........3 Safety Information........2 Hardware Included.........3 Warranty ...........2 Installation ..........4 Pre-Installation.........3 Light Distribution........7 Care & Cleaning ........9 Planning Installation ......3 Troubleshooting ........9 Tools Required ........3 Safety Information NOTICE: This equipment has been tested and found to comply with the WARNING: Carefully read and understand the information limits for a Class B digital device, pursuant to Part 15 of the FCC Rules. -
Page 3: Pre-Installation
Pre-Installation PLANNING INSTALLATION Before beginning assembly, installation, or operation of the product, make sure all parts are present. Compare parts with package contents list and hardware contents list above. If any part is missing or damaged, do not attempt to assemble, install, or operate the product. -
Page 4: Installation
Installation Determining the mounting location NOTE: mounted higher than recommended, aiming the sensor down will reduce the coverage area. Wall Mount □ Determine the mounting location – wall or eave mount. □ Position the lamp heads (A) in the general direction of the desired light coverage. - Page 5 Installation (continued) Attaching the foam gasket to the electrical box □ Position the foam gasket (GG) between the electrical box and the back of the light fixture base (B) to create a weathertight seal. □ Pull the wires from the electrical box through one of the two openings in the foam gasket (GG).
- Page 6 Installation (continued) Attaching the light fixture to the mounting bracket □ Install the light xture base (B) to the mounting bracket (FF) using the long mounting screw (EE) provided, making sure no wires are visible outside the light xture. □ Insert the rubber plug (AA) into the hole on the light xture base (B) for a nished appearance.
-
Page 7: Light Distribution
Operation Setting the sensor for testing NOTE: The motion sensor will need to completely warm up (30 seconds) before beginning the setup process. NOTE: When the “Test / Timer” control is set to the “Test” night. The light will stay on for 5~8 seconds after all motion is stopped. - Page 8 Operation (continued) Adjusting the SENSITIVITY control □ To increase the sensitivity, turn the “SENSITIVITY” control counterclockwise. □ To decrease the sensitivity, turn the “SENSITIVITY” control clockwise. NOTE: The motion sensor (C) is more sensitive to motion moving across the front of the sensor. The motion sensor (C) is less sensitive to motion moving directly toward the front of the sensor.
-
Page 9: Care & Cleaning
Care & Cleaning CAUTION: Before attempting to clean the fixture, disconnect the power to the fixture by turning the breaker off or removing the fuse from the fuse box. □ Clean the fixture with a soft, dry cloth. □ Do not use cleaners with chemicals, solvents, or harsh abrasives. Troubleshooting WARNING: Before doing any work on the fixture, disconnect power to the light fixture. - Page 10 Troubleshooting (continued) Problem Possible Cause Solution □ □ The lights stay on continuously. The motion sensor may be picking up a Decrease the “SENSITIVITY” heat source, such as an air vent, dryer setting or reposition the motion sensor. surface. □ □...
- Page 11 Questions, problems, missing parts? Before returning to the store, call Commercial Electric Customer Service 8 a.m. - 7 p.m., EST, Monday - Friday 9 a.m. - 6 p.m., EST, Saturday 1-877-527-0313 HOMEDEPOT.COM Retain this manual for future use.
Need help?
Do you have a question about the IS08a240030WHTH and is the answer not in the manual?
Questions and answers