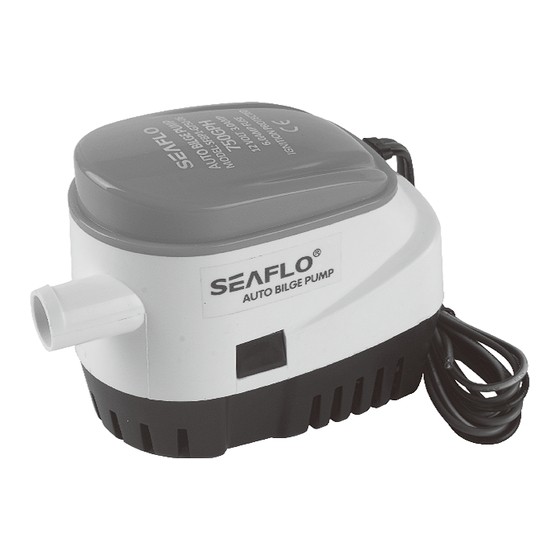
Advertisement
Quick Links
OPERATION
When the brown white wire of the auto bilge pump is connected to the battery's positive (+) terminal, the black
wire is connected to the battery's negative (-) terminal, the pump has automatic function.
1. When the water level rise above the bottom flat surface of the strainer 40 - 50 mm, the float switch's contact
point is connected then the pump works.
2. When the water level dropped to 20 -30 mm above the bottom flat surface of the strainer, the float switch's
contact point is disconnected, the float switch stops working, and then the pump ceases to work meanwhile.
When the brown wire of the auto bilge pump is connected to the battery's positive (+) terminal, the black
wire is connected to the battery's negative (-) terminal, this pump is same as the ordinary bilge pump and
has no automatic function.
WARNING INSTRUCTIONS
WARNING: Be certain that power source is 12-volt D.C. / 24-volt D.C. Higher voltage will damage the pump.
1. Using the full length of wire provided (and additional wire if necessary), connect wires to the pump as shown
in the diagram.(See Figure 2.)
2. Route wires out of the way and secure them to the bulkhead to avoid pulling.
3. Using butt connectors sized for 18-gauge wire, splice fuse holder into positive lead (brown) between the
battery and switch.
Position fuse holder in a location that is easily accessible for changing fuses.
IMPORTANT: Use fuses of the proper amperage (See Specification Chart at top of sheet.)
WARNING: Failure to properly fuse and make the appropriate waterproof
connections will void the product warranty.
4. Install a Three-way switch that allows for automatic or manual
switching models.
5. Turn the pump on and twist the Test Knob clockwise to check
operation. Feed water into the pump. If output appears to be
too low, check the wire connections. Reversed connections
result in opposite impeller rotation that drastically reduces
capacity and can cause premature pump failure.
CARE AND MAINTENANCE
Occasionally check your pump to be certain debris is not jamming the impeller and/or float within the
housing. Use the test knob by rotating in a clockwise direction. Careful attention will guarantee
outstanding pump performance.
To clean the water chamber remove pump housing from the mounting base by pressing in tabs on sides.
Lift the pump housing away. (See Figure 3)
To clean the impeller, remove the impeller guard screw and lift the impeller guard.
Remove all debris that has accumulated in pump chamber and around the impeller. Ensure that all debris
is removed from strainer slots around the pump base.
Inspect the impeller to ensure that it is firmly attached to
shaft and is not cracked or broken.
Replace impeller guard, screw, and pump housing on base.
Be certain that all tabs are fully engaged.
Periodically check the electrical connections to ensure they are
water-resistant and mounted high and dry.
Do not use household cleaners on the pump because many of
them may damage the pump materials. A
page
Figure 2
Black
Manual
Brown
Off
Brown / White
Automatic
12-Volt Battery /24-Volt Battery
Test Knob
3-way switch
Suitable Fuse (see chart)
Figure 3
Impeller Guard
Remove (3) Screw
Depress (2) Tabs
4
Automatic Bilge Pump Manual
06 Series
page
1
Advertisement

Summary of Contents for Seaflo 06 Series
- Page 1 WARNING: Be certain that power source is 12-volt D.C. / 24-volt D.C. Higher voltage will damage the pump. 06 Series 1. Using the full length of wire provided (and additional wire if necessary), connect wires to the pump as shown in the diagram.(See Figure 2.)
- Page 2 CAUTION PUMP MOUNTING INSTRUCTIONS Read all instructions carefully before installing and using this product. WARNING: Remove the pump mounting base (See Figure 3) This pump is sealed and, therefore, submersible. However, the electric wire connections must not be Remove the foam block that supports the float during shipping. submerged.


Need help?
Do you have a question about the 06 Series and is the answer not in the manual?
Questions and answers