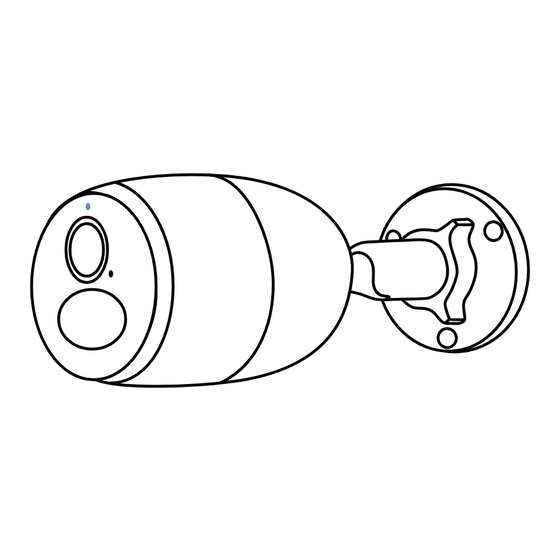
Summary of Contents for Reolink Go Ultra
- Page 1 A u g u s t 2 02 3 Q S G 1 _ A _ E N Quick Start Guide Apply to: Reolink Go Ultra, Reolink Go Plus 58 . 03 . 0 0 1 . 03 1 9A @ R e o l i n kTe c h...
-
Page 2: What's In The Box
Contents What's in the Box What's in the Box Camera Introduction Set up the Camera Charge the Camera Camera Outdoor Security Rechargeable Skin Reset Needle Install the Camera Mount Battery Safety Instructions of Battery Usage Troubleshooting Specification Notification of Compliance Surveillance Sign Quick Mounting Pack of Screws... -
Page 3: Camera Introduction
Camera Introduction Set up the Camera Activated the SIM Card for the Camera Status LED Infrared Lights • Choose a Nano SIM card that supports WCDMA and FDD LTE. • Activate the card on your smartphone or with your network carrier before inserting it Built-In Mic into the camera. - Page 4 “Data call failed. Please The SIM card has run out data plan for the SIM card Download path of the Reolink Client: Go to Reolink Official Store > Support > App & Client. confirm your cellular data of data or APN settings is still available.
-
Page 5: Charge The Battery
NOTE: If a moving object approaches the PIR sensor vertically, the camera may fail to detect motion. Charge the camera with a 5V power Charge the camera with the Reolink adapter (not included). Solar Panel (not included if you only purchase the camera). - Page 6 Mount the Camera to Wall Mount the Camera to Tree Drill holes in accordance with a mounting hole template and screw the security mount into the wall. If you are mounting the camera on any hard surface, insert plastic anchors into the holes first. Thread the provided strap to Attach the plate to the security Fasten the security mount to a the mounting plate.
-
Page 7: Troubleshooting
It’s designed to record motion events and to live view remotely only when you need it. Learn useful apply the following solutions: Support. tips on how to extend the battery life in: Reolink Official Store > Support > Troubleshooting Issues > • Make sure the insula- Power-on/Charging/Battery > How to Extend the Battery Life of Reolink Battery Powered tion film is peeled off from the battery be-... -
Page 8: Specifications
OPERATING FREOUENCY: If these won’t work, please contact Reolink NOTE: This equipment has been tested and Caution: Changes or modifications not Support. found to comply with the limits for a Class B expressly approved by the party responsible digital device, pursuant to Part 15 of the FCC for compliance could void the user’s authority... - Page 9 This product comes with a 2-year limited radiator and your body. warranty that is valid only if purchased from Reolink Official Store or a Reolink authorized Cet équipement est conforme aux limites reseller. Learn more: Go to Reolink Official d’exposition aux radiations IC CNR-102...


Need help?
Do you have a question about the Go Ultra and is the answer not in the manual?
Questions and answers