
Subscribe to Our Youtube Channel
Related Manuals for biodex Sit2Stand


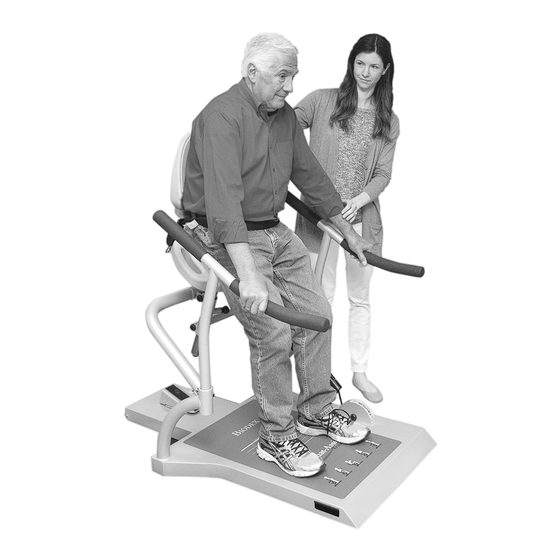
Summary of Contents for biodex Sit2Stand
- Page 1 SIT2STAND™ SQUAT-ASSIST TRAINER INSTALLATION AND ASSEMBLY GUIDE 950-560-10 FN: 15-460 Rev A 8/19...
- Page 2 Sit2Stand™ Squat-Assist Trainer This instructions for use document covers safe operation of the Sit2Stand Squat-Assist Trainer. Additional information and resources, such as compliance and clinical support documents, are available upon request or directly from the Biodex website: www.biodex.com. If the desired information is not found, Biodex can be contacted directly at supportservices@biodex.com...
-
Page 3: Table Of Contents
Table of Contents Accessories ........................4 Assembly Instructions ....................5 Handle Assembly (950-560-A080) .................. 5 Male Tube Subassembly (950-560-A040) ............... 5 Installing the Gas Spring ....................9 Maintenance ........................ 10 ... -
Page 4: Accessories
1. Accessories The following accessories come packaged with the Sit2Stand Trainer: Table 1-1. Accessory Parts PART NUMBER DESCRIPTION 1/8 Allen Wrench C1368 Gas Spring Mounting Block 950-560-M385 Adhesive, Loctite 243 Blue CPSL, 5ml C12636 Male Tube Subassembly 950-560-A080 Handle Assembly... -
Page 5: Assembly Instructions
2. Assembly Instructions Handle Assembly (950-560-A080) To attach each Handle Assembly, align the Handle groove with the tip of the Spring Loaded Plunger and insert the Handle into the opening until it “clicks” closed. See photos below. Figure 2.1. Properly Orientated Handle Assemblies. Figure 2.2. - Page 6 Figure 2.3. Gas Spring/Mounting Block Stopper (Left), Gas Spring with Mounting Block (Center), and Mounting Block Stopper (Right). When installing the Male Tube Subassembly, be careful not to dislodge the Bushing Front Guide with Cutout, which is glued into the bottom of the Seat Female Tube Assembly. Figure 2.4.
- Page 7 Figure 2.5. Grease the Shaft of the Male Tube Subassembly (Left), Inserting the Male Tube Subassembly (Center), and Engaging the Knob in the First Hole of the Shaft (Right). Ensure that the Gas Spring Mounting Block screw holes are clearly visible and lined up evenly with the holes of the Seat Female Tube Assembly (see left and center pictures in Figure 2.6).
- Page 8 Assembly Screw Hole (Center), and a 10 x 32 Screw to Secure Rubber Bumper Stop (Right). NOTE: This completes the installation and assembly of the Sit2Stand Trainer. For further instruction on the operation of the Sit2Stand Trainer see both the Sit2Stand Trainer IFU as well as the Sit2Stand eLearning course at www.biodex.com.
-
Page 9: Installing The Gas Spring
3. Installing the Gas Spring When required, reinstall the cartridge end of the Gas Spring into the back hole of the Male Tube Subassembly (see Figure 3.1). Use a screwdriver to compress the Gas Spring. With the screw holes facing out, insert the Mounting Block into the slot of the Male Tube Subassembly. -
Page 10: Maintenance
4. Maintenance The seat pad can be removed, cleaned, and reinstalled. To clean, use a spray disinfectant and wipe the pad dry with a dry cloth or paper towel. Figure 4.1. The Seat Pad can be Removed and Re-attached for Cleaning. Disposal An appropriate waste disposal company is to be contacted (i.e., the local collection point for waste separation).
Need help?
Do you have a question about the Sit2Stand and is the answer not in the manual?
Questions and answers