Advertisement
Preface
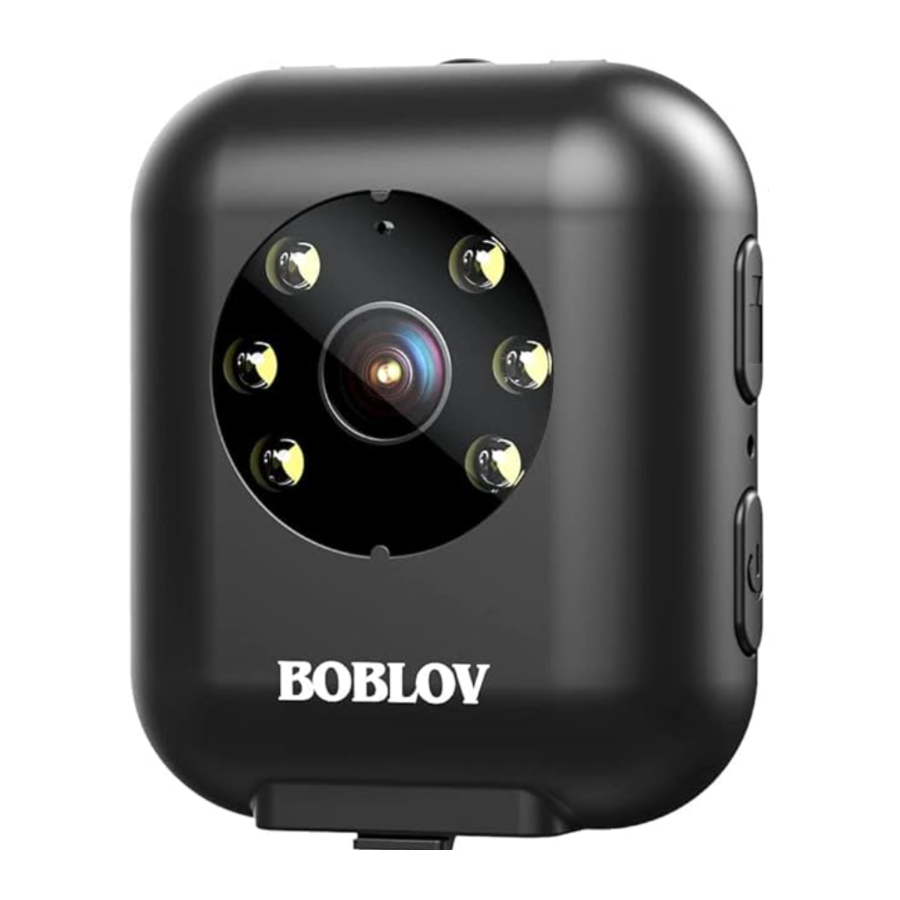
This manual is the introduction of the W4 mini body camera which includes its external structure, functions & operations, technical specifications, and caution items. Before using the product, please read the user manual carefully and keep it properly.
Structure Diagram


How to Insert the Memory Card
It is highly recommended to use a 16GB to 128GB (MAX) card, and choose the reliable and genuine brand of the classic 10 micro SD card for W4 camera. Such as Sandisk/Kingston
(Card Format: S32GB choose FAT32 format; 264GB choose exFat format)
Inserting Card Direction for reference:

Time/Date Setting
The W4 camera support to turn on or disable the time&date stamp of the video and photo files.
Steps for guidance:
- Connect the camera to the PC and the camera will auto-generate four files: "time" txt file, "VIDEO" folder, "AUDIO" folder, and "PHOTO" folder.
- Enter the "time" txt file to set the correct time and save.
(The "year" is 4-digit and the others are 2-digit in the setting. The second "Y" character means turn on the time stamp/tag of video files, if changed to character "N", then the video will have no tag/ timestamp.)- For Windows Computer
Just double click the "time" txt file then could open the file and edit.

- For Mac OS system Device
Right click the "time" txt file to "Open with" option, choose Text Edit software could open and edit the file.
![]()
(The setting tool is a txt file, so normally if the software could edit txt file, then could edit this setting time tool.)
- For Windows Computer
- Turn on the camera to get the changes to register in the camera properly.


If idle the camera for a long time or take out the card from the camera, all the settings will be restored. Need to connect the camera to PC and follow the above steps to set the correct time and save
Note: After changes, need to power on the camera once to read the change, otherwise it can't be changed successfully. Please check whether the time stamp is registered to the video file successfully or not, after setting correct, the time data in the "time" txt file will go back to the default time due to the software design. It will not affect your use. The camera will record along with the modified time.
Main Function
Powering On/Off & Standby
Long press  button to power on the camera, working indicators appear. The working indicator
  is solid red, and working indicator
  is solid green. Long press button to power off the camera. After powering on 5 minutes, if without any operation, the camera will flash red and blue indicators for seconds and auto shut off, long press the button to power on camera

Video Recording
Long press button to power on the camera, and short press  to record video. During this process, Working indicator and charging indicators are solid green; Working indicator is flash blue, press it again to stop recording and save, and video files are saved AVI format. The video file is auto saved every 15 minutes video as one file to avoid the file being too large and lost.

Audio Recording
This device is able to record separate audio files. After powering it on, short press  to record the audio. When recording, the working indicator is red flash, and the working indicator and charging indicators are solid green, press it again to stop recording and save, audio files are saved in WAV format. The audio file is auto saved every 15 minutes audio as one file to avoid the file being too large and lost.

Photo Taking
In standby mode, short press  button once could take a photo, and working indicator will flash blue once. Photo files are saved in JPG format.

White Illumination
After powering on, long press button to turn on/off the 6 pcs white lights, which acts as illuminating lights.
Reset
If the camera crashes or stops working, you could do a reset by poking the reset hole with a pin or thimble (be careful not to use excessive force). The reset hole is below the button.

The device will auto shut down after the reset and can be restarted by long pressing Button to turn it on.
Connect to Computer
Connect to the computer by the USB cable attached (Or just read the card using the card reader on the computer).
The camera enters a USB disk mode, then could review or delete the files on the computer. Also, you could set the time&date stamp in the "time" txt file, more details refer to Time/Date Setting Part.
Camera storage files as below shown:


Note:
- Please choose to eject the camera in the correct way, instead of just unplugging the cable from the computer.
- If the computer doesn't recognize it, or the removable disk logo doesn't pop up after a few seconds, reset the camera first then re-plug it to try again.
Camera TXT File Setting on the PC
After inserting the memory card into the camera, and then connect it to the computer, the camera will auto generate four files: "time" txt file, "VIDEO" folder, "AUDIO" folder, and "PHOTO" folder.
Double click the "time" txt file and get the below information:

Setting Options Description
- You could change the date and time to what you need, the format is as: year, month, day, hour, minute, second, and then save it.
The "year" is 4-digit and the others are 2-digit in the setting. The second "Y" character means turn on the timestamp/tag of video/photo files, if changed to character "N", then the video/photo will have no tag /timestamp. At this time, unplug the camera and turn it on to record videos or take photos, then re-plug the camera to the PC to check the recorded files so you could get the date/time stamp register to the camera correctly.
Note: After changing, need to power on the camera once to read the change, otherwise it can't be changed successfully.
Please check the timestamp is registered to the video file successfully or not, after the setting correctly, the time data in the "time" txt file will go back to the default time due to the software design. It will not affect your use. The camera will record along with the modified time. - The first "Y" character means turn on the Loop Recording function, if changed to character "N", then turn off the Loop Recording.
- The second "Y" character means turn on the time stamp/tag of video/photo files, if changed to character "N", then the video/photo will have no tag/timestamp.
Indicator Description

| Working Indicator | Charging Indicators | Working Indicator | |
| Power On/ Standby | Solid Red | Solid Green | Solid Green |
| Charging | Solid Red | Green Flash | Green Flash |
| Fully Charged | Solid Red | / | / |
| Video Recording | Solid Green | Solid Green | Blue Flash |
| Take Photos | / | Solid Green | Every press will flash blue once |
| Audio Recording | Red Flash | Solid Green | Solid Green |
| Low Battery in Standby (≤5%) | Solid Red | Green Flash | Green Flash |
| Low Battery in Video Mode (≤5%) | Green Flash | Green Flash | Blue Flash |
| Low Battery in Audio Mode (≤5%) | Red Flash | Green Flash | Green Flash |
Specifications
| Sensor | 5M CMOS sensor, 1/2.5" light sensitive area |
| Lens | Aperture 2.8, focal length 7.45mm |
| Video Resolution | FULLHD/1920*1080P 30 fps |
| Video File Format | AVI |
| Photo resolution | 4032*3024 |
| Photo File Format | JPG |
| Audio File Format | WAV |
| Memory Capacity | External memory card design; Support 16GB to 128GB(MAX) Micro SD card Classic 10 |
| Battery Capacity | 950mAh 3 7V |
| Charging time | 2.5-4H |
| Recording time | 5 Hours Video Recording |
| Time & Date Stamp | Support |
| Loop Recording | Default is on |
| Size | 40x25x50mm; 1.6x1x2in |
| Weight | 40g/1.4oz |
Troubleshooting
Q: The camera couldn't power on, does it stop working?
A:
- Charge the device for at least 3 hours and check whether the problem is solved.
- Please check whether the charger and the USB cable are normal.
- Connect your device to the wall socket, then press the power button to check whether it could be powered on.
- Use a pin to do a reset of the camera and repower on to check again.
- If the problem cannot be solved, please contact customer service for further help.
Q: Why did the camera stop recording? Can't store video anymore?
A:
- Physical Double check: Check whether the Video Button is intact and could be pressed down normally.
- Format the camera and do a hard reset then record again.
- Change another 64GB card to the camera to record again.
- If the problem cannot be solved, please contact customer service for further help.
Q: A video or audio cannot be played? Or no sound for videos?
A: It is recommended to play back videos/audio on the VLC media player on the computer.
Q: Why does the camera shut off auto?
A: After powering on for 5 minutes, if without any operation, the camera will flash red and blue for seconds and auto shut off, long press button to power on the camera.
Q: I lost the back clip or accessories, can I get the replacement part?
A: If you need the spare accessories or replacement parts, feel free to email our after-sale service: support@boblov.com
Packaging List

Please note: Accessories may be updated without prior notice, please refer to the actual receipt of the items.
Customer Service
BOBLOV is dedicated to offer the best service to our valuable customer.
To reach BOBLOV customer service, please e-mail us:
Official Email address: support@boblov.com
Official Website: www.boblov.com
Facebook: www.facebook.com/BOBLOVGIobal/
Tel: + 1(213) 905-9206
Address: 10700 Jersey Blvd #730 Rancho Cucamonga, CA 91730 USA

Documents / Resources
References

Download manual
Here you can download full pdf version of manual, it may contain additional safety instructions, warranty information, FCC rules, etc.
Advertisement


Need help?
Do you have a question about the W4 and is the answer not in the manual?
Questions and answers