Table of Contents
Advertisement
Quick Links
Advertisement
Table of Contents

Related Manuals for Uplift Desk FRM423


Summary of Contents for Uplift Desk FRM423
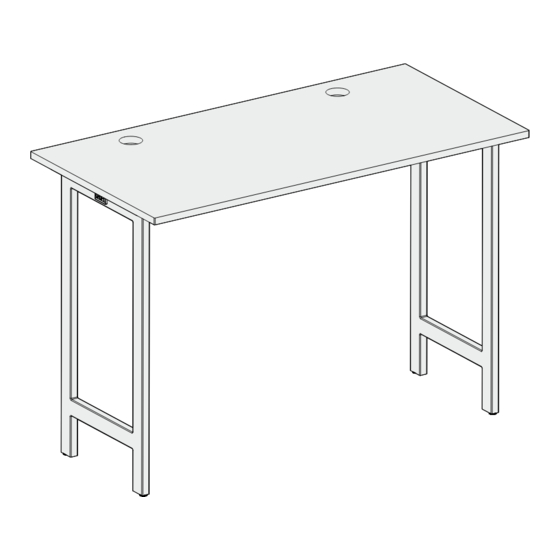
- Page 1 Standing Height 4-Leg Table FRM423 Two person Scan QR code for For assembly assistance, assembly product webpage visit upliftdesk.com/contact, or call 800-349-3839, or email info@upliftdesk.com Patented, ©2023 UPLIFT Desk®. All Rights Reserved...
-
Page 2: Safety And Warnings
Safety and Warnings WARNING: Inspect the table regularly and stop using immediately if you notice any damaged or loose parts. Only replace damaged parts with authorized UPLIFT Desk parts and instructions. Warning: The table is designed for use in dry environments, indoors only. -
Page 3: Component Diagram
Lay out the components from all boxes and make sure the items and quantities match what is shown in each of the package contents sections in these instructions. © UPLIFT Desk • 800-349-3839 • info@upliftdesk.com • upliftdesk.com... - Page 4 Step 2 - Attach Crossbar End A. Place one of the Legs (P1) on the ground with the tab facing up as shown. B. Position one of the Crossbar Ends (P2) into the opening in the Leg as shown so the holes in the Leg and the holes in the Crossbar End are aligned.
- Page 5 A. If the bottom side of your tabletop has threaded metal inserts or pre-drilled holes (see diagram), skip this step and proceed to Step 5. Tabletop with pre-drilled holes: Tabletop without pre-drilled holes: © UPLIFT Desk • 800-349-3839 • info@upliftdesk.com • upliftdesk.com...
- Page 6 B. Select the side that will be the top surface of your tabletop and make sure that side is facing down. Make sure you only drill into the bottom surface of the tabletop. C. Place the Leg assembly from Step 3 onto the tabletop as shown so the Leg assembly is centered between the front and back edges of the tabletop and approximately 1/4”...
- Page 7 Wood screw: pointed end D. Use a Phillips head screwdriver and the screws and washers determined above to attach the Leg to the tabletop, but do not tighten the screws completely yet. © UPLIFT Desk • 800-349-3839 • info@upliftdesk.com • upliftdesk.com...
- Page 8 E. Position the other Leg assembly onto the Crossbar Rails (P3) and repeat the steps above for attaching the other Leg. F. Tighten all of the screws that were started in this step. Take care when tightening not to strip the screws. 30”...
- Page 9 Screw (H4b) and one #10 Washer (H5) to attach each bracket to the tabletop. C. Tighten the four M8 x 10 Machine Screws that were started in this step using the 5mm Allen Wrench (H8). © UPLIFT Desk • 800-349-3839 • info@upliftdesk.com • upliftdesk.com...
-
Page 10: Step 8 - Install Accessories
Attach the tray to the tabletop using two #10 x 5/8” Wood Screws. Anchor Plates Various UPLIFT Desk accessories were designed to attach to the patented mounting points located along the sides of the Crossbar Ends (P2) on the frame. Some of these accessories require the use of the Anchor Plates. -
Page 11: Step 10 - Table Placement
Be sure to hold the frame when lifting. D. If your table does not have casters installed, adjust the Leveling Glides as needed to level the table. © UPLIFT Desk • 800-349-3839 • info@upliftdesk.com • upliftdesk.com... - Page 12 Copyright Notice: This guide is a component of this UPLIFT Desk product. This guide is a part of © the scope of delivery, even if the item is resold. This guide is also available on the UPLIFT Desk website: upliftdesk.com. These specifications are subject to United States copyright law.
Need help?
Do you have a question about the FRM423 and is the answer not in the manual?
Questions and answers