Table of Contents
Advertisement
Quick Links
Advertisement
Table of Contents

Related Manuals for Sachtler Video 25 II


Summary of Contents for Sachtler Video 25 II
- Page 1 Video 25 II Manual...
-
Page 2: Table Of Contents
Table of contents Table of contents Safety instructions ..............1 Operating elements ..............1 Operation................2 3.1 Levelling of the fluid head ..........2 3.2 Removing of the camera plate ........2 3.3 Mounting of the camera ..........2 3.4 Removing of the camera..........3 3.5 Positioning of the camera..........4 3.6 Adjusting the camera´s counterbalance.......5 3.7 Setting of the damping ..........5 3.8 Brakes ................5... -
Page 3: Safety Instructions
Manual Video 25 Plus / FB / Horizon Plus Safety instructions ➪ When the camera is mounted, the clamping screw of the fluid head must only be released if camera and tripod are secured against falling over. ➪ When placing the camera plate into the fluid head, make sure not to hold fingers within the range of the locking lever, since it will snap back. -
Page 4: Operation
Manual Video 25 Plus / FB / Horizon Plus Operation 3.1 Levelling of the fluid head (Video 25 Plus / Horizon Plus only) The fluid head has a bubble to facilitate levelling. Apply the vertical brake of the fluid head and hold the camera with one hand. -
Page 5: Removing Of The Camera
Manual Video 25 Plus / FB / Horizon Plus ➪ The springs of the counterbalance engage automatical- ly by tilting the camera through the horizontal position (audible clicking). ➪ Lock the head with the tilt safety lock. The blocking and clicking into position of the tilt safety lock is achieved by pulling out the red knob and turning it 90°. -
Page 6: Adjusting The Camera´s Counterbalance
Manual Video 25 Plus / FB / Horizon Plus ➪ Select 0 on the vertical drag adjustment ring. ➪ Open the lock of sliding balance plate. You have to push back red lever underneath the balance plate as far as possible. ➪... -
Page 7: Setting Of The Damping
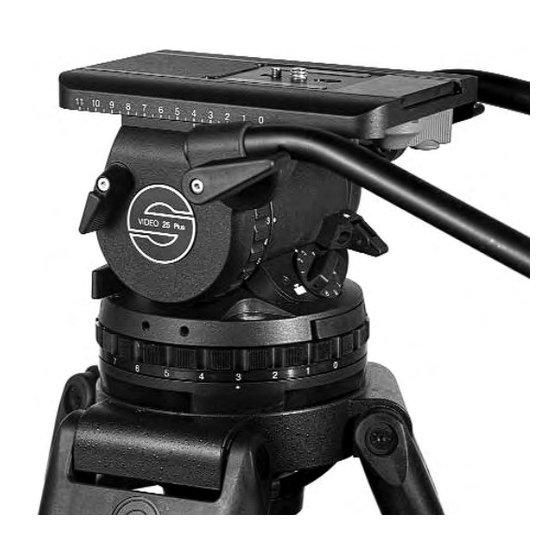
Manual Video 25 Plus / FB / Horizon Plus 3.7 Setting of the Damping The fluid head is equipped with seven damping levels hori- zontally and vertically and a zero setting. Turning the verti- cal or horizontal setting one selects the desired level of the fluid damping. -
Page 8: Technical Specifications
Manual Video 25 Plus / FB / Horizon Plus Technical specifications 4.1 General data Counterbalance: 69 Nm (in 7 Steps) Balance plate: 100 mm (4.3 in) sliding range (Video 25 Plus FB and Horizon Plus 35) 110 mm ( Video 25 Plus and Horizon Plus 16) Grades of drag: horizontall, and vertically 7 each and 0 Tilt angle:... -
Page 9: Dimensions
Manual Video 25 Plus / FB / Horizon Plus 4.2 Dimensions Ø The modular system Due to the Video 25 Plus / FB / Horizon Plus' modular design you may perform certain modifications yourself. In order to safe time you can do all work with an allen wrench #4 unless other- wise specified. -
Page 10: Conversion To Include Different Balance Plate
Now the Video 25 Plus can be mounted onto flat base tri- pods and pedestals with 4 bolt flat base directly. For Quick- fix mount and all Sachtler pedestals the Multi Disc from the Sachtler accessory range is required. It is mounted onto the fluid heads 4 bolt flat base. -
Page 11: Conversion Of The Horizon Plus To Include Mitchell Base
Take the Mitchell adapter piece with locking knob from the Sachtler accessory range. Place the adapter piece into the recess at the bottom side of the head. Fasten hand-tight the 4 allen screws.
Need help?
Do you have a question about the Video 25 II and is the answer not in the manual?
Questions and answers