Advertisement
Quick Links
ERGODESK
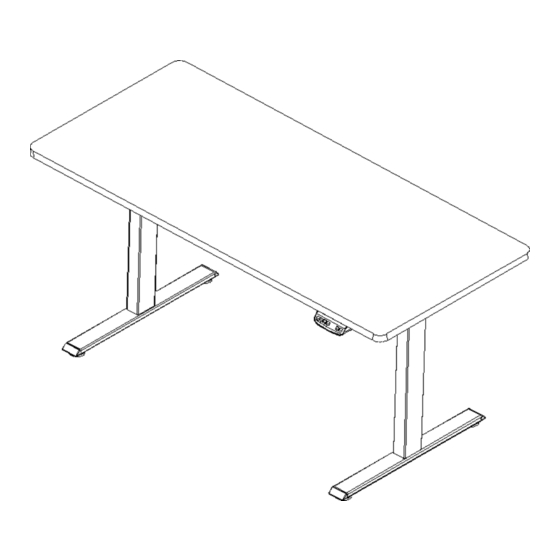
AUTO SERIES
USER MANUAL
PRODUCT MAY VARY SLIGHTLY FROM THE ITEM PICTURED DUE TO MODEL UPGRADES.
READ ALL INSTRUCTIONS CAREFULLY BEFORE USING THIS PRODUCT.
RETAIN THIS OWNER'S MANUAL FOR FUTURE REFERENCE.
NOTE:
THIS MANUAL MAY BE SUBJECT TO UPDATES OR CHANGES. UP TO DATE MANUALS ARE AVAILABLE THROUGH OUR
WEBSITE AT WWW.LIFESPANFITNESS.COM.AU
Advertisement

Related Manuals for LifeSpan AUTO Series


Summary of Contents for LifeSpan AUTO Series
- Page 1 ERGODESK AUTO SERIES USER MANUAL PRODUCT MAY VARY SLIGHTLY FROM THE ITEM PICTURED DUE TO MODEL UPGRADES. READ ALL INSTRUCTIONS CAREFULLY BEFORE USING THIS PRODUCT. RETAIN THIS OWNER’S MANUAL FOR FUTURE REFERENCE. NOTE: THIS MANUAL MAY BE SUBJECT TO UPDATES OR CHANGES. UP TO DATE MANUALS ARE AVAILABLE THROUGH OUR...
-
Page 2: Table Of Contents
TABLE OF CONTENTS Important Safety Instructions ....... 03 II. Product Technical Data ........05 III. -
Page 3: Important Safety Instructions
I. IMPORTANT SAFETY INSTRUCTIONS WARNING: Please read this manual before operating this equipment. NOTE Please use this equipment according to the instructions in this brochure to avoid accidents. • Keep children and pets away from the electric height-adjustable desk during the operation. Unplug the power cord during a thunderstorm or if you do not intend to use the desk for a long time. - Page 4 • DO NOT use this equipment in case of failure! • Before checking or wiping this equipment, please turn off the power! • Please DO NOT use water or alcohol to clean the equipment! • The company does not bear any warranty or liability for damage and human injury caused by any abnormal operation.
-
Page 5: Product Technical Data
II. PRODUCT TECHNICAL DATA ITEM Data Input 220~240VAC / 100~130VAC 50~60Hz Output 29VDC Max Loading 220 lbs / 100 kg Height Range (Without Desktop) 27.6"~47.3"/70CM~120CM Working Ability 2 Min / 20 Min IMPORTANT ELECTRICAL INFORMATION |... -
Page 6: Parts List
III. PARTS LIST Name Qty. Name Qty. Foot ST4.8*16 Screw Column ST2.9*15 Screw Side Bracket Power Cord Right Tube Power Adapter Left Tube Control Box Extension Tube Rubber M6*12 Bolt Cable Clip M6*16 Bolt Fixed Piece | PARTS LIST... -
Page 7: Assembly Instructions
IV. ASSEMBLY INSTRUCTIONS NOTE: Please check whether there is a lack of spare parts and adjust the frame expansion tube to the appropriate length. M6*12 Bolts Left Tube Right Tube Extension Tube Extension Tube Avoid excessive tightening of bolts. STEP 1 1. - Page 8 Fasten the bolts M6*12 Bolts M6*12 Bolts The following accessories can be installed or Avoid excessive tightening of bolts. not. The installation method is as follows. STEP 2 1. Insert the columns into the place which is between the left and right tubes respectively, line up the holes on the frame and column.
- Page 9 M6*16 Bolts Fasten the bolts Foot Avoid excessive tightening of bolts. STEP 4 1. Line up the screw holes with the feet and columns. 2. Fasten the bolts. ST2.9x15 Tapping Screw ST4.8x16 Tapping Screw The frame width is adjustable: 42inch-70 inch is suitable for different desktop. STEP 5 1.
- Page 10 STEP 6 1. Insert the handset on suitable position of desktop edge to avoid interference with human or chairs. 2. Tidy up all the power cables and fasten with cable clip. | ASSEMBLY INSTRUCTIONS...
-
Page 11: Usage Instructions
V. USAGE INSTRUCTION MANUAL RESET It is necessary to be reset manually after the initial installation and power switched off. Keep pressing until the display shows "rST" and the desktop starts moving down slowly to the lowest, then release to reset the system. NOTE: The anti-collision function is not enabled during all resets. - Page 12 ANTI-COLLISION FUNCTION Before use, please make sure to remove any obstacles in advance and ensure user is in a safe position. Once the desktop encounters an obstacle, the desktop will move in the opposite direction and will resume moving when the obstacle is removed. MOVEMENT LIMIT &...
- Page 13 AMEND THE DESKTOP HEIGHT DISPLAYED Keep pressing "M" and "^" for 5 seconds until the display shows "___" five times and then you will hear the sound of "beep". Press (2+3) until the display shows "C01 ESC". Press "^" until the display shows C07 boT. Press "M"...
- Page 14 CODE MEANING & TROUBLE SHOOTING CODE Information Operating Manual Resetting Refer to the progress of Manual Reset. oEr Lod Overload Protection Cut off the power, remove the load and re-connect the power. Let the desktop stop working for more than 18 minutes and Overheat Protection then adjust the height.
-
Page 15: Exercise Guide
VI. EXERCISE GUIDE PLEASE NOTE: Before beginning any exercise program, consult your physician. This is important especially if you are over the age of 45 or individuals with pre-existing health problems. The pulse sensors are not medical devices. Various factors, including the user’s movement, may affect the accuracy of heart rate readings. - Page 16 COOL DOWN Finish each workout with a light jog or walk for at least 1 minute. Then complete 5 to 10 minutes of stretching to cool down. This will increase the flexibility of your muscles and will help prevent post- exercise problems.
-
Page 17: Warranty
Any claim against this warranty must be made through your original place of purchase. Proof of purchase is required before a warranty claim may be processed. If you have purchased this product from the Official Lifespan Fitness website, please visit https://lifespanfitness.com.au/warranty-form For support outside of warranty, if you wish to purchase replacement parts or request a repair or service, please visit https://lifespanfitness.com.au/warranty-form and fill in our Repair/Service... - Page 20 W W W. L I F E S PA N F IT N ESS .CO M. AU...
Need help?
Do you have a question about the AUTO Series and is the answer not in the manual?
Questions and answers