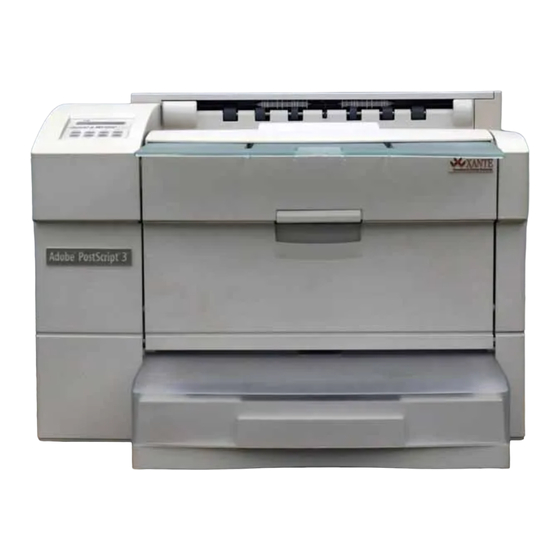
Summary of Contents for Xante Accel-a-Writer Accel-a-Writer 3DN
- Page 1 ® ® Repacking Procedure Version 1 3/29/01 ________________________________________________________________ Repacking Procedure 1...
-
Page 2: Before You Begin
• Duplexer (if applicable) • 2000 Sheet Feeder (if applicable) These items are to be stored according to the guidelines in your printer user’s guide or returned to their original packaging. 2 Repacking Procedure __________________________________________________________________ ® are registered trademarks of XANTÉ CORPORATION, registered in •... -
Page 3: Removing Toner Cartridges
Removing Cables, Cassette(s), and Media Turn off the power to the printer, and if a 2,000 sheet feeder is attached, turn off the power to it. Disconnect the printer power cord and all attached interface cables. If a 2,000 sheet feeder is attached, disconnect its power cord. - Page 4 Oversize Media Support If an oversize media support is attached to your printer, it must be removed before the printer is shipped. Lift the oversize media support up until its large tab is free of the mounting well in the center front of the multipurpose feeder (fig.
- Page 5 Remove the 2 IOT screws securing the feeder to the printer (fig. 10). Then, have someone help you lift the printer straight up until the printer is free of the feeder’s stubs (fig. 11) and set the printer aside on a stable surface that will support its weight.
- Page 6 Removing a 2,000 Sheet Feeder If a 2,000 sheet feeder is attached to your printer, it must be removed before the printer is shipped. Make sure the feeder’s power cord is disconnected and any media is removed from the feeder’s drawer.
-
Page 7: Removing A Duplexer
If a duplexer is attached to your printer, it must be removed before the printer is shipped. Remove the paper guide (fig. 19) and loosen the 2 screws holding the duplexer to the printer (fig. 20). Fig. 19 Remove the Paper Guide ________________________________________________________________ Fig. -
Page 8: Packing The Printer
Disconnect the duplexer cable (fig. 21) and lift the duplexer off of the printer and set the duplexer on its back (fig. 22). Fig. 21 Disconnect the Duplexer Cable Insert the duplex access panel’s top tabs into the notches on the top of the fuser cover; rotate the access panel down and snap its bottom tabs into place (fig. - Page 9 Lift the printer with the help of another person, and if you still have the printer’s orginal protective plastic bag, place the printer back into this bag. Then, align the printer to face the wider piece of base foam and lower the printer into its box.
- Page 10 10 Repacking Procedure __________________________________________________________________...


Need help?
Do you have a question about the Accel-a-Writer Accel-a-Writer 3DN and is the answer not in the manual?
Questions and answers