
Related Manuals for Draper 88988


Summary of Contents for Draper 88988
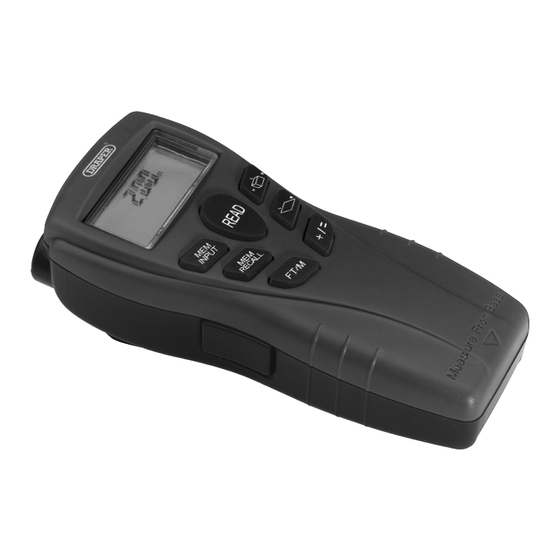
- Page 1 Original Instructions Version 2 2-IN-1 LASER STUD FINDER AND DISTANCE MEASURER 88988...
- Page 2 All photographs and drawings within this manual are document is part of the product; retain it for the life supplied by Draper Tools to help illustrate correct of the product, passing it on to subsequent holders. operation of the product.
- Page 3 2. Contents 1. Preface 1.1 Product Reference 1.2 Revisions 1.3 Understanding the Safety Content of This Manual 1.4 Copyright © Notice 2. Contents 3. Product Introduction 3.1 Intended Use 3.2 Specification 4. Health and Safety Information 5. Assembly 6. Disposal 7. Warranty 8. Operation and Use 8.1 Stud Detector 8.2 Distance Detection –...
-
Page 4: Product Introduction
Scope text inserted in here. Sample text only. Any other application beyond the conditions established for use respected. will be considered misuse. Draper Tools accepts no Read this manual in full before attempting to assemble, responsibility for improper use of this product. -
Page 5: Warranty
− DO NOT burn or mutilate batteries, this may release toxic or corrosive substances. • DO NOT abandon in the environment. 7. Warranty Warranty is 12 months - Visit drapertools.com/warranty/ for more information. Proof of purchase must be provided. Draper Tools Limited – 5 –... - Page 6 8. Operation and Use 8.1 Stud Detector 8.2 Distance Detection Fig. 2 Place the detector flat against the wall. Press and hold button (B) to calibrate the unit. The buzzer will sound to confirm and the display will read ‘Stud’. Important: If by chance, the calibration is carried out too close or over a stud the detector will not pick up a reading and will give false information.
- Page 7 8. Operation and Use TO ADD RESULTS: (without using the memory) TO TAKE VOLUME MEASUREMENTS: • Press button (D) to take the measurement. • Press button (I) to enter volume mode. • Press button (E) to enter the addition mode. • The symbol will appear on the LCD with the ‘L’ flashing.
-
Page 8: Contact Details
Telephone Sales Desk: +44 (0) 23 8049 4333 General Enquiries: +44 (0) 23 8026 6355 General Fax: +44 (0) 23 8026 0784 Please contact the Draper Tools Product Helpline for repair and servicing enquiries. © Published by Draper Tools Limited © Published by Draper Tools Limited...
Need help?
Do you have a question about the 88988 and is the answer not in the manual?
Questions and answers