Advertisement
Quick Links
Unbox & Mow
Installation Guide
Need additional information?
Scan the QR code below to watch a video about Vision setup.
Watch now!
Need extra magnetic strips or RFID
tags? Shop now on worx.com.
Troubleshooting
Phone: 888-997-8753
Email: worx.landroid@positecgroup.com
1
Assemble the Charging Station
Connect all pieces of the charging base, as pictured below. Look for the base
of the charging station at the bottom of the product box.
5
Insert Battery & Begin Charging
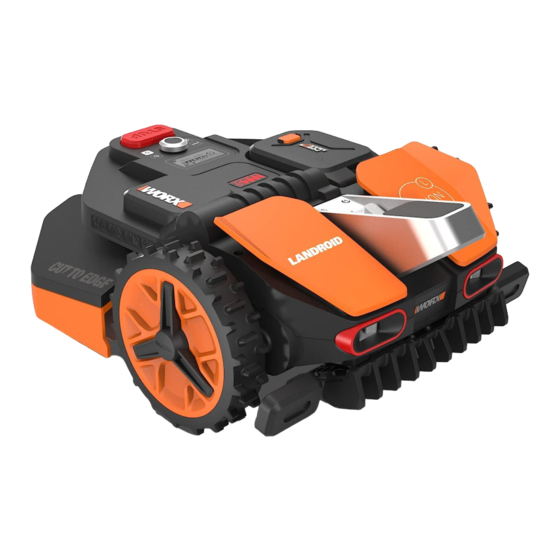
Insert the battery into the battery compartment found on top of the mower.
Place Vision onto the charging station and push onto the charging terminals, as
pictured below. To begin charging, push the Power On button located to the right
of the central knob on the mower.
The initial default code on the mower will read "0000."
Click!
2
Place the Charging Station
Choose a flat, level area to place the charging station.
The charging station is properly leveled if you can easily push Vision onto the
charging terminals without lifting or adjusting it.
Left
Front
Right
*IMPORTANT* Enhancements are made for Vision through over the air updates.
Please make sure Vision is located in a strong wi-fi coverage area.
6
Download App & Connect Vision
Download the free Worx Landroid App for your mobile device and
create an account.
"Worx Landroid" App
Google Play and the Google Play logo are trademarks of Google LLC.
Apple logo® and Apple Store® are registered trademarks of Apple Inc.
3
Position & Connect the Charging Station
Position the charging station so Vision can enter it from a counterclockwise path.
The right side of the station should be near the edge of the lawn.
Plug the charging station into a 120V outlet. The weather-resistant power supply
can be mounted with mounting screws or placed on a ground surface.
2–6 in. (5–15cm)
Right
Front
≥
≥
6 ft. (2m)
6 ft. (2m)
*IMPORTANT* Vision setup cannot be completed unless the charging station is
correctly installed. Make sure Vision properly returns to the base after its first
run (see Step 8). If it has trouble, make adjustments until it successfully returns.
7
Connect to Wi-Fi & Finish Setup
Follow the App instructions to pair Vision with your phone. Choose "Wi-Fi" when
asked how you want to connect. Select your Wi-Fi network and enter the password.
*IMPORTANT* Enhancements are made for Vision through over the air
updates. Please make sure Vision is located in a strong wi-fi coverage area.
4
Assemble Headlight Accessory
Attach the headlight to Vision with with screws provided, as pictured
below. You will need to remove the plastic protective caps on both the light
connection and mower connection to successfully connect. The light is
included with models WR220, WR230, & WR235.
8
Start Mowing
Once powered on, the initial Pin is "0000" (four zeros). Once connected, press
the "Start" button
on Vision's control panel and then press the control dial
for
1
2
mowing to begin.
Wait for Vision to exit the charging station. When the LCD screen reads "Is it
the identified mowing zone?" select "Yes" by pressing the dial on the control
panel. Next, Vision will start mowing.
(1)
(2)
Congratulations!
You've just completed your first successful single-zone Unbox & Mow.
Get ready to sit back, relax, and enjoy easier lawn care!
See reverse side for instructions on setting up multi-zones or restricted areas.
*IMPORTANT* If Vision doesn't re-dock properly after mowing, reposition the
charging station (see Step 3) and try again until re-docking is successful.
Advertisement

Subscribe to Our Youtube Channel
Related Manuals for Worx VISION


Summary of Contents for Worx VISION
- Page 1 Wait for Vision to exit the charging station. When the LCD screen reads “Is it The initial default code on the mower will read “0000.” the identified mowing zone?” select “Yes” by pressing the dial on the control “Worx Landroid”...
- Page 2 Vision for a more unique lawn layout. 2–6 in. (5–15cm) Magnetic Strip You may need to install the included magnetic strip to keep Vision from crossing over into grassy areas that are connected to the mowing area—such as steep drop-offs, neighboring lawns, and ditches.
Need help?
Do you have a question about the VISION and is the answer not in the manual?
Questions and answers