Table of Contents
Advertisement
Quick Links
Technical Support and E-Warranty Certificate
www.vevor.com/support
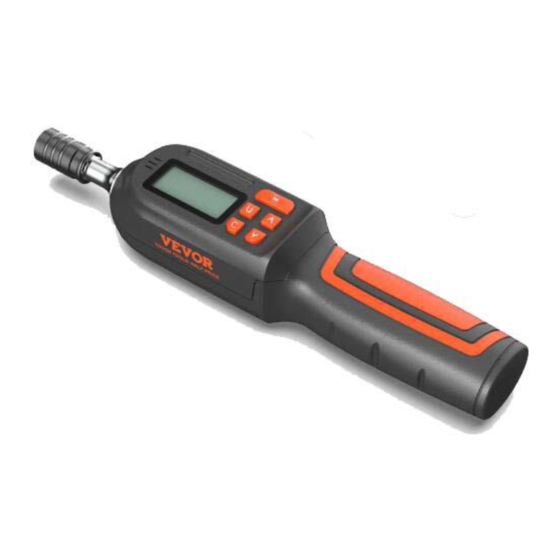
DIGITAL TORQUE WRENCH
USER MANUAL
We continue to be committed to provide you tools with competitive price.
"Save Half", "Half Price" or any other similar expressions used by us only represents an
estimate of savings you might benefit from buying certain tools with us compared to the major
top brands and doses not necessarily mean to cover all categories of tools offered by us. You
are kindly reminded to verify carefully when you are placing an order with us if you are
actually saving half in comparison with the top major brands.
Advertisement
Table of Contents

Related Manuals for VEVOR DSM1-100008B


Summary of Contents for VEVOR DSM1-100008B
- Page 1 Technical Support and E-Warranty Certificate www.vevor.com/support DIGITAL TORQUE WRENCH USER MANUAL We continue to be committed to provide you tools with competitive price. "Save Half", "Half Price" or any other similar expressions used by us only represents an estimate of savings you might benefit from buying certain tools with us compared to the major top brands and doses not necessarily mean to cover all categories of tools offered by us.
- Page 2 CustomerService@vevor.com This is the original instruction, please read all manual instructions carefully before operating. VEVOR reserves a clear interpretation of our user manual. The appearance of the product shall be subject to the product you received. Please forgive us that we won't inform you again if there are any technology or software updates on our product.
- Page 3 IMPORTANT SAFETY INSTRUCTIONS Warning - To reduce the risk of injury, user must read instructions manual carefully. This symbol, placed before a safety comment, indicates a kind of precaution, warning, or danger. Ignoring this warning may lead to an accident. To reduce the risk of injury, fire, or electrocution, please always follow the recommendation shown below.
-
Page 4: Product Structure
1. Product structure 1. jump ring 10. PEAK (peak mode)/TRACK (Follow Mode) 2. sensor 11. Battery display 3.LCD screen 12. Torque display value 4. buzzer 13. Unit display 5. Key buttons 14. Power/Cancel button 6. Correction point 15. Unit/Set button 7. -
Page 5: Main Functional Features
6. Can be preset to P-P8, and can store 500 sets of data. 3. PRODUCT PARAMETERS 1) Model: DSM1-100008B 2) Range: 0.3~8N.m 3) Increment : 0.01N.m 4) Support unit: N.m, ft-lb, in-lb, and kg.cm 5) Use 2pcs AAA 7 batteries;... - Page 6 4.Setting Step 1: Unit selection Step 2: Set the target torque value - 5 -...
- Page 7 Step 3: Peak Hold/Trace Step 4:Trace ability mode operation ability Mode Selection steps and functions 5. Precautions before using a screwdriver 5.1 Battery installation 1.Open the battery cover direction 2.Place two AAA 7 batteries into the battery box, paying attention to the - 6 -...
- Page 8 ofthe positive and negative electrodes. 3.Install the battery onto the back cover and tighten the screws. Battery replacement method: Remove two screws and the back cover, install the battery and cover the back cover, and tighten the screws. 5.2 Turn on the power and reset the wrench 1.
-
Page 9: Matters Needing Attention
5.4 Wake up the screwdriver in power saving mode 1. To save power, press and hold the wrench when it is not working Key can shut down. 2.press The key can awaken the screwdriver for normal operation. 5.5 Battery handling method 1. -
Page 10: Fcc Declaration
7. Disposal This product is subject to the provision of European Directive2012/19/EC. The symbol showing a wheelie bin crossed through indicates that the product requires separate refuse collection in the European Union. This applies to the product and all accessories marked with this symbol.Products marked as such may not be discarded with normal domestic waste, but must be taken to a collection point for recycling electrical and electronic devices. - Page 12 Technical Support and E-Warranty Certificate www.vevor.com/support...
Need help?
Do you have a question about the DSM1-100008B and is the answer not in the manual?
Questions and answers
Bonjour, comment effectuer le réglage P-P8 et une explication comment utiliser les différent modes. Merci
To adjust P-P8 and use different modes on the VEVOR DSM1-100008B:
1. Adjusting P-P8: The device can be preset to P-P8, which likely refers to preset torque values. You can store up to 500 sets of data. Use the interface to set these values under the preset mode.
2. Using Different Modes:
- Unit Selection: First, select the desired torque unit (N.m, ft-lb, in-lb, or kg.cm).
- Set Target Torque: Input the desired torque value.
- Mode Selection:
- Peak Hold Mode: Captures and holds the maximum torque value.
- Trace Mode (Real-Time Mode): Continuously displays the current torque as you apply it.
- Backlight Function: Press the backlight button to toggle the display light. Long press for 3 seconds to lock the button and prevent accidental changes.
These steps allow you to preset torque values, choose units, and switch between real-time and peak measurement modes.
This answer is automatically generated