Advertisement
Advertisement
Table of Contents

Related Manuals for Provision ISR 5MP 4 in 1 Series


Summary of Contents for Provision ISR 5MP 4 in 1 Series
-
Page 1: User Manual
USER MANUAL 5MP 4 in 1 Series... - Page 2 Contents Cautions: Product Introduction Camera Introduction Product Features Menu Setup Product Installation General Notes Installation Tools and Information Installation Method Setting the Camera Setting the video output type Connection OSD Control OSD Menu Scheme Technical Specification...
- Page 3 1 Cautions: 6. In order to ensure smooth and satisfactory image, the power and video cables shouldn’t be too long. Please follow general AHD/Analog sepcifications for 1. To reduce the risk of electric shock, do not open the cables types and lenghts. camera or perform internal maintainance by yourself.
-
Page 4: Product Introduction
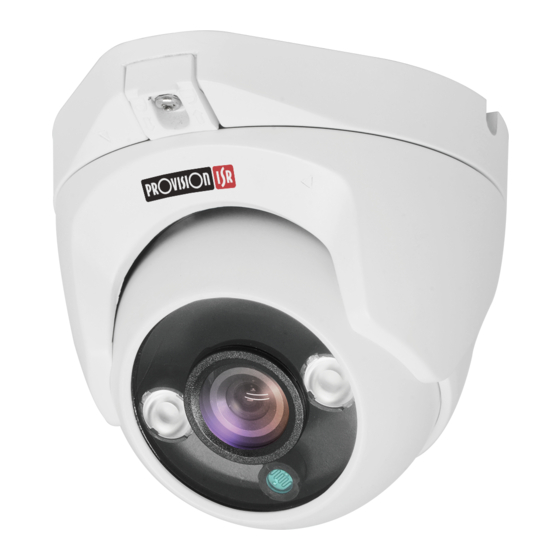
2 Product Introduction 3 Menu Setup 2.1 Camera Introduction AHD/TVI: Click on “Iris+” button from the DVR’s PTZ interface to call the OSD Menu. Use the PTZ interface to PROVISION-ISR’s new series of cameras have scroll through the menu and “Iris+” to confirm. adopted a high performance CMOS image sensor, which provides mega pixel resolution and supports HD CVI: Click “... - Page 5 4.2 Installation Tools and Information b. Bullet Camera Adjust the body so that the lens aims at the main Prepare the required tools and instructions. Before monitoring point and gives a clear picture. Tighten the installation please prepare the following tools: screws to ensure that it does not move.
- Page 6 4.8 OSD Menu Scheme: 4.6 Connection Main Menu Second Menu Third Menu Connection as shown in the figure below Brightness 1~20 GLOBE Exposure Mode BLC(1-9) RGAIN 1~127 BGAIN 1~127 Auto Day / Night Color Contrast 1~16 Sharpness 1~16 4.7 OSD Control Image Enhance Color Gain 1~16...
-
Page 7: Specifications
5 Specifications: 5MP 4 in 1 camera DI-350A36 / DI-350AVF / DAI-350AVF I3-350A36 / I4-350AVF Model Model DI-350A36 DI-350AVF DAI-350AVF I3-350A36 I4-350AVF Image Sensor 1/2.7" 5MP Sensor Image Sensor 1/2.7" 5MP Sensor Effective Pixels 2592(H)×1944(V) Effective Pixels 2592(H)×1944(V) Scanning System Progressive Scanning System Progressive...
Need help?
Do you have a question about the 5MP 4 in 1 Series and is the answer not in the manual?
Questions and answers