Advertisement
Quick Links
Advertisement

Related Manuals for Shure MXA920


Summary of Contents for Shure MXA920
- Page 1 Shure Array Microphone Setup Tips for Lumens CamConenct...
- Page 2 • Help users quickly install Lumens CamConnenct Pro and Shure Array Microphones. • Especially focus on the setting tips of Shure array microphone. • These setting tips are the sharing of the key steps summarized after we have installed this system many times.
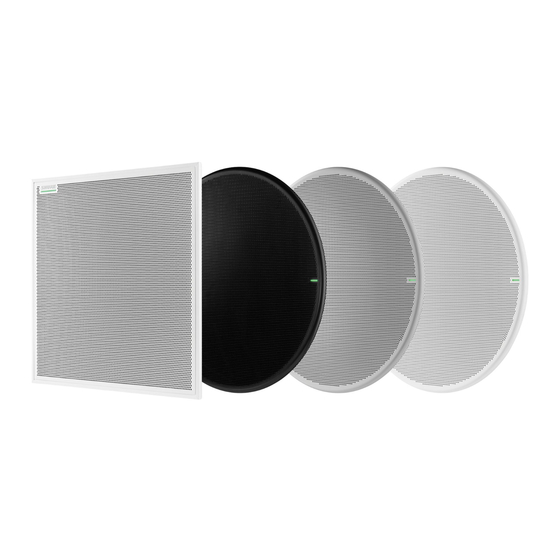
- Page 3 C network). • For the first installation, you need to prepare a router or Switcher with DHCP server function. • Shure MXA920 installed in the ceiling above the center of a conference table Copyright © Lumens. All rights reserved.
-
Page 4: Device Discovery
Discovery“ software from below hyperlink. https://www.shure.com/en- US/products/software/shure_web_device_discover y_application 2. Install and run this software. 3. You will get the IP address for the Shure ceiling microphone. 4. Open the web browser and enter the webpage of MXA920. Copyright © Lumens. All rights reserved. - Page 5 Automatic coverage: off It is recommended to set “Automatic coverage” to Copyright © Lumens. All rights reserved.
- Page 6 Coverage 1. Go to the “Coverage” page. 2. If someone has set other channels before, please remove all channels first. Only keep channel 1. Copyright © Lumens. All rights reserved.
-
Page 7: Add Channel
Add channel Manually add the channel Copyright © Lumens. All rights reserved. - Page 8 Auto position 1. Need to find someone to speak at this seat position in the conference room 2. Select channel N, then press “Auto positon” button. 3. Press “Listen” button in Auto position windows. 4. Then the position of channel N will be found automatically. Copyright ©...
- Page 9 Lobe width for the channel Set the lobe width of each channel as “Narrow” or “Medium”. This will reduce the area covered by each lobe and increase the accuracy of voice tracking. Copyright © Lumens. All rights reserved.
- Page 10 IntelliMix Please go to the “IntelliMix” page. There are also some settings here that will affect the tracking results of CamConenct. Copyright © Lumens. All rights reserved.
- Page 11 Priority • If we enable “Priority” on channel 1. This means that when both channel 1 and channel 2 are talking, the signal of Channel 1 will be sent first • For example, in a meeting. The main speaker is in the position of Channel 1. Channel 1 can be set with higher priority Copyright ©...
- Page 12 If we enable “Always on” on channel 1. • This means that Shure MXA920 will continue to send channel 1 is active. • For example, in a meeting. The main speaker is in the position of Channel 1. Channel 1 can be set with higher priority Copyright ©...
- Page 13 Send to mix • If a certain channel has a fixed noise that keeps interfering, you can turn off its "Send to mix", and the voice trigger signal will not be sent from this channel. Copyright © Lumens. All rights reserved.
- Page 14 Leave Last Mic On • Leave Last Mic On Keeps the most recently used microphone channel active. The purpose of this feature is to keep natural room sound in the signal so that meeting participants on the far end know the audio signal has not been interrupted.
- Page 15 Gating Sensitivity • Gating Sensitivity Changes the threshold of the level at which the gate is opened Generally set between 2~5. You can start testing from 2. Find the most appropriate effect for your meeting space. The higher the number, the more sensitive the trigger of Voice will be, and the chance of Camera switch will be relatively increased.
-
Page 16: Voice Activation
Voice activation • On the IntelliMix page, you can test whether the correct channel is activated when someone speaks on different channels Copyright © Lumens. All rights reserved. - Page 17 • 1. Select the device as “Shure MXA920” • 2. Mapping the “Array No.” to the Shure “Lobe channel number”. • 3. Lumens will continue to provide videos of CamConnect Pro settings. So, other settings will not be repeated in this document.
- Page 18 Copyright © Lumens. All rights reserved.
Need help?
Do you have a question about the MXA920 and is the answer not in the manual?
Questions and answers