
Subscribe to Our Youtube Channel
Related Manuals for Vitek VTM-LCD203P


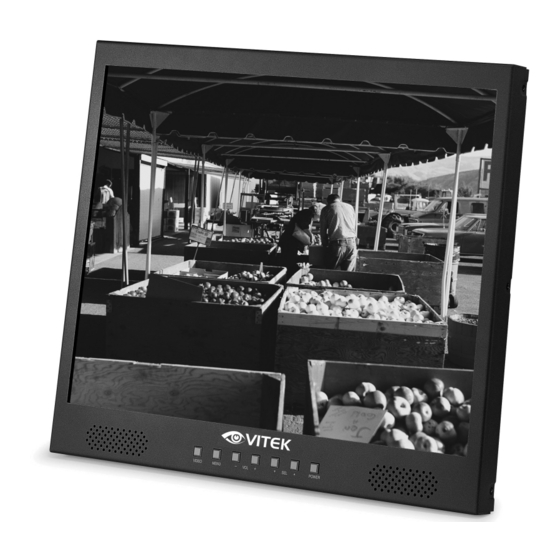
Summary of Contents for Vitek VTM-LCD203P
- Page 1 VTM-LCD203P 20.1” Professional LCD Monitor • 20.1" Color TFT LCD Display • VGA, BNC Composite, S-Video, and Component Video Inputs • Stereo RCA & PC Audio Inputs • Built-In Stereo Speakers...
-
Page 2: Safety Instructions
SAFETY INSTRUCTIONS CAUTION : TO REDUCE THE RISK OF ELECTRIC SHOCK, DO NOT REMOVE COVER, NO USER- SERVICEABLE PARTS INSIDE. REFER SERVICING TO QUALIFIED SERVICE PERSONNEL. NOTE : This equipment has been tested and found to comply with the limits for a Class B digital device, pursuant to Part 15 of the FCC Rules. - Page 3 11) Power Sources This product should be operated only from the type of power resource indicated on the marking label. If you are not sure of the type of power supply to your home, consult your appliance dealer or local power company. For products intended to operate from battery power or other sources, refer to the operating instructions.
-
Page 4: Table Of Contents
TABLE OF CONTENTS Safety Instructions ............2 Table of Contents . -
Page 5: Front Panel Controls
The VOL button controls the volume of the sound and is used to adjust values within the OSD menus. SEL (Select) The SEL button navigates through the OSD menus. POWER The POWER button turns the monitor on and off. FRONT PANEL CONTROLS... -
Page 6: Rear Panel Connections
REAR PANEL CONNECTIONS HEADPHONE Audio output for use with devices that utilize a 3.5mm interface including: headphones, PC speakers, and computers. DVD IN Analog Y, Pb, Pr component video input. DVD AUDIO Stereo RCA audio input enabled while DVD Input is enabled. A/V IN RCA Video and Stereo RCA audio input. -
Page 7: Connecting To A Video Source
(monitor, recorder, ETC.) can be connected via VIDEO OUT. Connect a set of RCA audio cables between the A/V-IN (L, R) on the monitor and the out terminals on the device. For non-stereo audio sources, connect a single cable from the device to the Left A/V IN Connection. -
Page 8: Osd Menu Index (Video Mode)
The OSD (On Screen Display) Menu can be accessed by pressing the Menu button on the front of the monitor. Below are the OSD Menus and Sub-Menus while using the Video Inputs. Menus and functions that are unavailable in Video Mode are shaded gray. -
Page 9: Osd Menu Index (Pc Mode)
The OSD (On Screen Display) Menu can be accessed by pressing the Menu button on the front of the monitor. Below are the OSD Menus and Sub-Menus while using the PC Input. Menus and functions that are unavailable in PC Mode are shaded gray. -
Page 10: Picture Menu (Video Mode)
FUNCTION PICTURE MENU ADJUSTMENTS: Press the Menu button on the front of the monitor to access the OSD Index menu. Move the curser to Picture by pressing SEL (up) or SEL (down). Press VOL (up) or VOL (down) to enter the Picture Sub-Menu. -
Page 11: Picture Menu (Pc Mode)
FUNCTION PICTURE MENU ADJUSTMENTS: Press the Menu button on the front of the monitor to access the OSD Index menu. Move the curser to Picture by pressing SEL (up) or SEL (down). Press VOL (up) or VOL (down) to enter the Picture Sub-Menu. -
Page 12: Sound Menu (Video & Pc Mode)
FUNCTION SOUND MENU ADJUSTMENTS: Press the Menu button on the front of the monitor to access the OSD Index menu. Move the curser to Sound by pressing SEL (up) or SEL (down). Press VOL (up) or VOL (down) to enter the Sound Sub-Menu. -
Page 13: Geometry Menu (Pc Mode)
FUNCTION GEOMETRY MENU ADJUSTMENTS: Press the Menu button on the front of the monitor to access the OSD Index menu. Move the curser to Geometry by pressing SEL (up) or SEL (down). Press VOL (up) or VOL (down) to enter the Geometry Sub-Menu. -
Page 14: Function Menu (Pc Mode)
FUNCTION FUNCTION MENU ADJUSTMENTS: Press the Menu button on the front of the monitor to access the OSD Index menu. Move the curser to Function by pressing SEL (up) or SEL (down). Press VOL (up) or VOL (down) to enter the Function Sub-Menu. -
Page 15: Vesa Wall Mount / Extension Arm Installation
VESA WALL MOUNT / EXTENSION ARM INSTALLATION Monitor Stand Screws REMOVAL / INSTALLATION: Remove the four screws from the monitor stand. Securely fasten the VESA wall mount or VESA extension arm to the back of the monitor. Extension Arm Installation Wall Mount... -
Page 16: Troubleshooting
TROUBLESHOOTING... -
Page 17: Specifications
DETAILED SPECIFICATIONS Panel Type 20.1" (51cm) TFT Color LCD Display Area 16.08" x 12.06" (408mm x 306mm) Display Colors 16.7 Million Pixel Pitch 0.6375mm x 0.6375mm Recommended Resolution 640 x 480 @ 85Hz Contrast Ratio 400:1 Brightness 400cd/m Viewing Angle H: 140 degrees V: 120 degrees Scanning Frequency H: 31-69kHz V: 56-85Hz... - Page 18 NOTES...
-
Page 19: Warranty Information
LCD Panels which carry a one (1) year warranty. VITEK warrants to the purchaser that products manufactured by VITEK are free of any rightful claim of infringement or the like, and when used in the manner intended, will be free of defects in materials and workmanship for a period of two (2) years, or as otherwise stated above, from the date of purchase. - Page 20 28492 CONSTELLATION ROAD VALENCIA, CA 91355 WWW.VITEKCCTV.COM | 888-VITEK-70...
Need help?
Do you have a question about the VTM-LCD203P and is the answer not in the manual?
Questions and answers