
Subscribe to Our Youtube Channel
Related Manuals for Vitek VTM-LCD194M


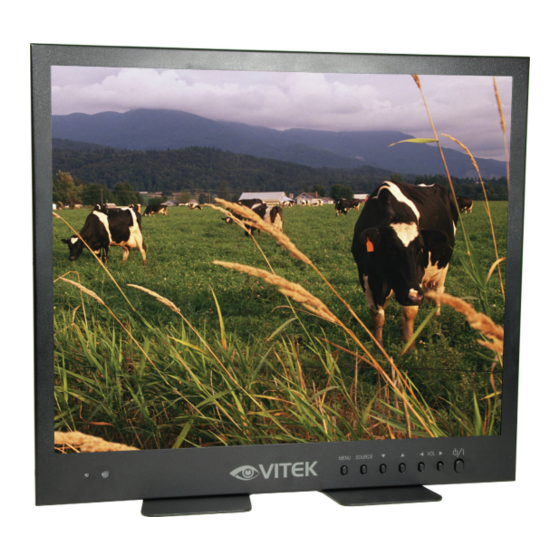
Summary of Contents for Vitek VTM-LCD194M
- Page 1 VTM-LCD194M 19” Metal Encased Professional LCD Monitor • 19" LCD Display Panel • Heavy-Duty Metal Case • Dual Looping BNC Composite & 1 VGA Video Inputs • Dual Looping Audio Inputs • Front Panel Controls • Internal Speakers • VESA 100mm Standard Mounting...
- Page 2 Use at the rated power voltage. Use of non-rated voltage may cause fire, electric shock and breakdown. Do not open the cabinet and external cover. The high voltage inside of this product may cause the electric shock. Do not remodel or disassemble this product. Remodeling or disassembling in wrong method may cause fire, electric shock or breakdown.
- Page 3 18. Do not install it at the place with poisonous gas. It may cause the fire. 19. Do not install it at the location with continuous vibration. It may be tipped over as it loses balance or damaged as it is fallen down. 20.
- Page 4 Explanation of Safety Related Symbols CAUTION RISK OF ELECTRIC SHOCK DO NOT OPEN CAUTION : TO REDUCE THE RISK OF ELECTRIC SHOCK, DO NOT REMOVE COVER (OR BACK). NO USER-SERVICEABLE PARTS INSIDE. REFER SERVICING TO QUALIFIED SERVICE PERSONNEL. Shock Hazard Marking and Associated Graphical Symbols CAUTION RISK OF ELECTRIC SHOCK DO NOT OPEN...
- Page 5 This marking shown on the product or its literature, indicates that it should not be disposed with other household wastes at the end of its working life. To prevent possible harm to the environment or human health from uncontrolled waste disposal, please separate this from other types of wastes and recycle it responsibly to promote the sustainable reuse of material resources.
- Page 6 Q'ty Description 19-inch TFT LCD monitor with attached stand (removable) Power cord VGA cable with 15-pin D-sub connection Installation/ Operation manual Remote Control unit AAA Batteries...
-
Page 7: Wall Mount
WALL MOUNT Do not use longer screw than 12mm length except mount parts when you use vesa mount bracket. - Page 8 T o output DC power from monitor(12V, Max. 0.5A) 1. DC OUT: 2. Audio(loop through): Mono RCA audio inputs. 3. S-Video(loop through): Connection of S-Video signals from external sources. Video loops through the four-pin DIN S-Video output. 4. Video(loop through): Input connections from Digital Video record or time-lapse VCRs.
- Page 9 1. MENU: Displays the main on-screen menu. 2. SOURCE: Selects the input source and confirms your choice. : Navigates through the on-screen menu. 4. Vol : Increases or decreases the volume. Also selects or adjusts items on the on-screen menu. 5.
- Page 10 Open and remove the battery cover on the back of the remote control. Install two AAA size batteries (supplied). Match the positive (+) and negative (-) signs on the batteries to the signs on the battery compartment. Close the battery cover. Make sure the lock snaps closed. WARNINGS: Dispose of batteries in a designated disposal area.
- Page 11 1. POWER: Turn the monitor on or off . 2. MUTE: Temporarily silence the sound. To return the sound: press MUTE again, VOL +, or VOL -. 3. VIDEO1: Select VIDEO1 as the Source. 4. VIDEO2: Select VIDEO2 as the Source. 5.
-
Page 12: Input Source Display
Input Source Display Input source name is displayed on the upper left-hand corner in case of changing input source, or pressing ENTER key on the remote controller. To use the menus: 1. Press the MENU button to access the Main menu. 2. - Page 14 Video1 Video2, S-Video Mode Menu Field Definitions Source: Select VIDEO1, VIDEO 2, S-VIDEO. Contrast: Adjusts black level of the video screen image (0 to 100). Brightness: Adjusts white level of the video screen image (0 to 100). Sharpness: Adjust the picture softer or sharper (0 to 15). Color: Adjusts the color saturation of the video signal (0 to 100).
- Page 16 VGA Mode Menu Field Definitions NOTE: It consists of the following options: Source, Contrast, Brightness, H-Position, V-Position, Frequency, Phase, Language, Key Lock, Screen Size, OSD Setting, Color Temp. Reset Source: Select VGA. Contrast: Adjusts black level of the video screen image (0 to 100). Brightness: Adjusts white level of the video screen image (0 to 100).
- Page 17 If the quality of the picture is poor and cannot be improved by making adjustments on the front control panel, inspect all system connections and cable runs. WARNING: To reduce the risk of electrical shock, do not remove the cover or back of the monitor. No user- serviceable parts are inside.
- Page 19 Specifications Panel Type 19" TFT Color LCD Display Colors 16.2 Million Colors Pixel Pitch 0.294 mm Resolution SXGA (1280 x 1024) Contrast Ratio 700:1 Brightness 300 cd/m2 Viewing Angle H: 160 degrees V: 160 degrees Response Time Scanning Frequency H: 31~65kHz V: 56~75Hz Video Inputs/Outputs Dual Looping BNC Composite / Looping S-Video PC Inputs...
- Page 20 28492 CONSTELLATION ROAD VALENCIA, CA 91355 WWW.VITEKCCTV.COM | 888-VITEK-70...
Need help?
Do you have a question about the VTM-LCD194M and is the answer not in the manual?
Questions and answers