Table of Contents
Advertisement
Quick Links
Advertisement
Table of Contents

Subscribe to Our Youtube Channel
Related Manuals for Masport LIGNA


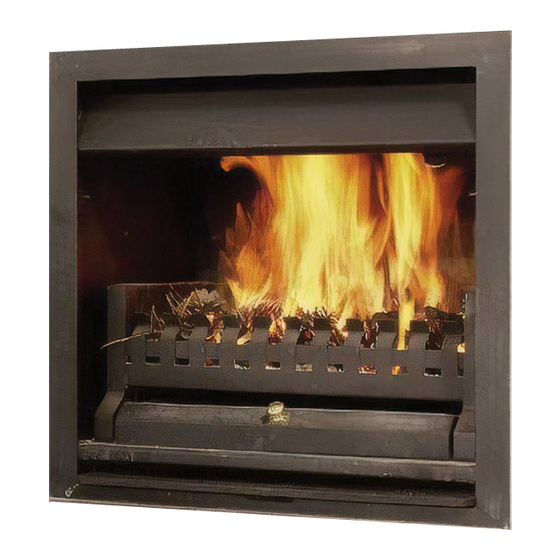
Summary of Contents for Masport LIGNA
- Page 1 L IG N A O P E N F I R E P L A C E S Y S T E M INSTALLATION INSTRUCTIONS...
- Page 2 Glen Dimplex Australia proudly supports the activities of Landcare Australia through its membership of the AHHA. MASPORT LIGNA 700/800/900 VERSION 13...
-
Page 3: Table Of Contents
TABLE OF CONTENTS Important Information ......Flue Damper System ......Appliance Dimensions . -
Page 4: Important Information
IMPORTANT INFORMATION FLUE DAMPER SYSTEM Most building regulatory authorities in Australia require The Masport Ligna features a flue damper system (see any wood heater installation to comply with Installation below). The damper is positioned to rest on a support Standard AS/NZS 2918:2018. Different states and during transportation. -
Page 5: Appliance Dimensions
APPLIANCE DIMENSIONS INNER INNER FLUE FLUE SPIGOT SPIGOT FRONT SIDE MODEL DIMENSIONS FLUES Inner Outer (9”) (11”) (10”) (12”) 1020 (11”) (13”) -
Page 6: Masonry Installation
Step by step installation instructions: Take note of your selected Ligna model and construct the floor protector according to the details in “4.1. Floor Protector for Masonry Install” on page 4. Position heater on floor protector, and install flues - see “7. Flue Clearance Requirements”... -
Page 7: Masonry Enclosure
4.2. MASONRY ENCLOSURE COMBUSTIBLE WALL Construct enclosure with a minimum thickness of 75mm from non-combustible materials i.e. masonry, Hebel blocks or equivalent. It must completely surround the sides, back and breast above top of unit. Place insulation with minimum thickness of 50mm on top of gather and tuck into enclosure. -
Page 8: Zero Clearance Install
ZERO CLEARANCE INSTALL OVERVIEW The Masport Ligna open fireplace can be installed as a built in appliance within a zero clearance box. Refer to this section for clearance requirements and instructions if the heater is to be in a zero clearance installation. When installing your Ligna open fIreplace, please be sure to read these instructions carefully and comply with all clearances. -
Page 9: Timber Frame For Zc Install
10mm to the sides, 15mm to the top, and 35mm to the back of the box. Note: If Ligna is to be installed elevated from the ground, a 6mm layer of compressed fibre cement is required between the base of the ZC box and any timber or combustible studwork. -
Page 10: Mantelpiece Shelf & Columns
50mm. In (Ligna 700/800), 120mm (Ligna 900) above the top this scenario, this dimension can be 830mm (Ligna 700) / edge of the unit. 950mm (Ligna 800) / 1070mm (Ligna 900). -
Page 11: Flue Clearance Requirements
FLUE CLEARANCE REQUIREMENTS 7.1. FLUE INSTALLATION The Masport Ligna has been tested to AS/NZS 2918 with a double skin flue system. All other aspects of the installation must comply with this standard. You can install your Masport Ligna flue system two ways: ●... -
Page 12: Timber Framed Flue Enclosures
7.3. TIMBER FRAMED FLUE ENCLOSURES 7.3.1. BELOW CEILING DOUBLE Between top of the Masport Ligna open fireplace and SKIN FLUE the ceiling, a double-skin flue system must be used – a SYSTEM stainless steel active with a single outer casing. The outer casing must be 2 inches (50mm) in diameter larger. - Page 16 Glen Dimplex Australia Pty Ltd 8 Lakeview Drive, Scoresby Victoria 3179 Australia T: 1300 556 816 | F: 1800 058 900 General and Sales Enquiries: flame@glendimplex.com.au Technical Service: service@glendimplex.com.au www.glendimplex.com.au...
Need help?
Do you have a question about the LIGNA and is the answer not in the manual?
Questions and answers