Table of Contents
Advertisement
Quick Links
Stainless Steel Pump
for use with buckets
MODELS INCLUDE:
CP-3L
CP-5L
CP-5.5L
CP-10L
CP-SS
Thank You
...for purchasing our Stainless Steel Pump.
This quality pump delivers precise portions
Your pump may vary
and lasts for years of service.
depending on specific
model number.
CONSISTENT PORTIONS—SERVE BETTER
Advertisement
Table of Contents

Related Manuals for Server CP-3L


Summary of Contents for Server CP-3L
- Page 1 Stainless Steel Pump for use with buckets MODELS INCLUDE: CP-3L CP-5L CP-5.5L CP-10L CP-SS Thank You ...for purchasing our Stainless Steel Pump. This quality pump delivers precise portions Your pump may vary and lasts for years of service. depending on specific model number.
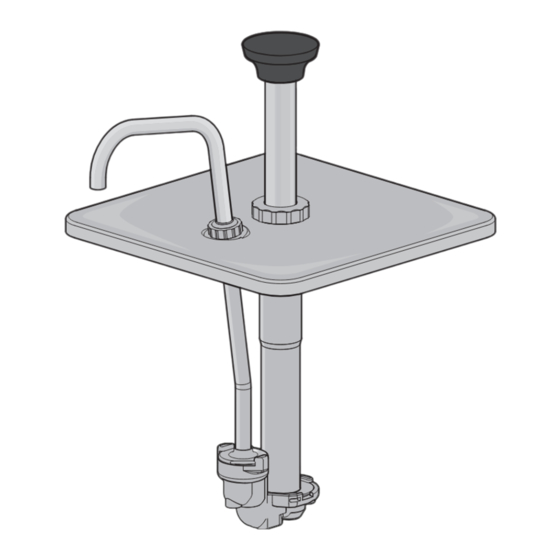
- Page 2 CYLINDER* MODEL SERIES O-RING, 1-5/16" XXXX ##X ##X 82323 ##### VALVE BODY* For additional details about your pump, visit www.Server-Products.com SOME MODELS INCLUDE SUCTION TUBES Enter your P/N into the search bar. Page 2...
- Page 3 Be aware of the product you are serving and the hazardous foods.” temperature the product is required to maintain. Server Products, Inc. cannot be responsible for the Exception: European model CP-SS serving of potentially hazardous product. is not listed with NSF.
- Page 4 CLEAN-IN-PLACE PROCEDURE FOR PUMPS CLEAN • Pump out all (if any) remaining food product from inside pump body. • Wash and rinse off outside of pump body. • Flush out and rinse inside of pump. • Place lower end of pump into container full of water and operate pump until all (if any) remaining product is expelled and only warm water flows from discharge...
- Page 5 DISASSEMBLY If pump has been in use, first rinse and flush pump. See PUMP CLEANING on page 3. During disassembly, collect small parts in a container to prevent loss. REMOVE PLUNGER & LID Turn locking collar and discharge tube nut counterclockwise to loosen and remove.
- Page 6 ASSEMBLY WASH ALL PARTS PROPERLY BEFORE EVERY USE. See page 3. PREPARE PISTON INSTALL SMALL O-RING into seal. INSTALL SEAL onto piston head. Apply food equipment lubricant to outside of seal. TIP: Flared end of seal should face away from piston head. SLIDE WASHER onto piston.
- Page 7 INSTALL LARGE O-RING into valve body. Apply food equipment lubricant on o-ring. INSTALL CYLINDER onto valve body. TILT wide edge of cylinder under nub on rim of valve body. FIT TABS on cylinder into corresponding notches in valve body. PRESS DOWN firmly and ROTATE cylinder clockwise to secure into slots.
- Page 8 Server Products customer service to request a Return Authorization Number. Merchandise must be sent to Server Products with this number. Service is extremely prompt. Typically, units are repaired Server Products equipment is backed by a and ship out within 48 hours of receipt.
Need help?
Do you have a question about the CP-3L and is the answer not in the manual?
Questions and answers