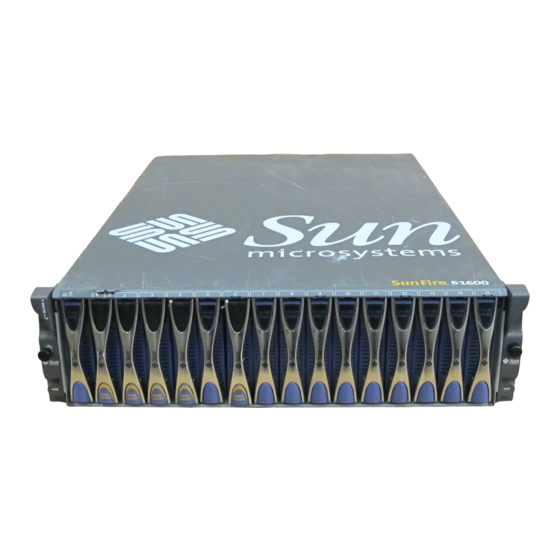
Sun Microsystems Sun Fire B1600 Replacement Manual
Blade system chassis dimm
Hide thumbs
Also See for Sun Fire B1600:
- Administration manual (402 pages) ,
- Installation manual (98 pages) ,
- Administration manual (170 pages)
Advertisement
Quick Links
Advertisement

Summary of Contents for Sun Microsystems Sun Fire B1600
- Page 1 Sun Fire™ B1600 Blade System Chassis DIMM Replacement Guide For The B200x Blade Sun Microsystems, Inc. 4150 Network Circle Santa Clara, CA 95054 U.S.A. 650-960-1300 Part No. 817-3434-10 July 2003, Revision A Send comments about this document to: docfeedback@sun.com...
- Page 2 LOOK GUIs and otherwise comply with Sun’s written license agreements. Use, duplication, or disclosure by the U.S. Government is subject to restrictions set forth in the Sun Microsystems, Inc. license agreements and as provided in DFARS 227.7202-1(a) and 227.7202-3(a) (1995), DFARS 252.227-7013(c)(1)(ii) (Oct. 1998), FAR 12.212(a) (1995), FAR 52.227-19, or FAR 52.227-14 (ALT III), as applicable.
-
Page 3: Before You Start
Note – Do not remove the blade until one of these LED states is displayed. See the Sun Fire B1600 Blade System Chassis Administration Guide for details of how to shut down the blade safely. -
Page 4: Replacing The Dimm
1. Remove the blade cover screws ( FIGURE 1 Use a Phillips No. 2 screwdriver to remove the screws. Removing the Blade Cover Screws FIGURE 1 Sun Fire B1600 Blade System Chassis DIMM Replacement Guide For The B200x Blade • July 2003... - Page 5 2. Lift the blade cover away from the blade ( FIGURE 2 Slide the cover off and then lift it away from the blade body. Caution – Lift the blade cover perpendicularly away from the blade to ensure that the integrity of the blade EMI fingers is not affected. Lifting the Blade Cover Away From the Blade FIGURE 2 Replacing DIMMs in the Sun B200x Blade...
- Page 6 Caution – Do not use a screwdriver to lever the ejectors. The use of excessive force might cause damage to both the ejector and other blade components. DIMM Ejector DIMM Ejector Removing the Existing DIMM FIGURE 3 Sun Fire B1600 Blade System Chassis DIMM Replacement Guide For The B200x Blade • July 2003...
- Page 7 To Install the New DIMM The B200x blade has four DIMM slots. In a standard configuration, slots 2A and 2B are populated. Additional DIMM pairs should be installed in slots 1A and 1B. Note – DIMMs should be replaced in pairs. A DIMM pair must be of the same size, type and manufacturer.
- Page 8 DIMM Ejector DIMM Ejector Engaging the DIMM Ejectors FIGURE 4 Sun Fire B1600 Blade System Chassis DIMM Replacement Guide For The B200x Blade • July 2003...
- Page 9 4. Place the blade cover on to the blade ( FIGURE 5 Keep the blade cover level with the blade chassis and slide the cover in position. Check that the bottom retention lugs of the chassis engage in the blade cover. Retention Lugs Lowering the DIMM Cover on to The Blade Enclosure FIGURE 5...
-
Page 10: Installing The Blade
See the Sun Fire B200x Server Blade Installation and Setup Guide for details of how to install the blade into the system chassis, and how to bring the blade online. Sun Fire B1600 Blade System Chassis DIMM Replacement Guide For The B200x Blade • July 2003...


Need help?
Do you have a question about the Sun Fire B1600 and is the answer not in the manual?
Questions and answers