
Related Manuals for JWA OLD GREENWICH 77684


Summary of Contents for JWA OLD GREENWICH 77684
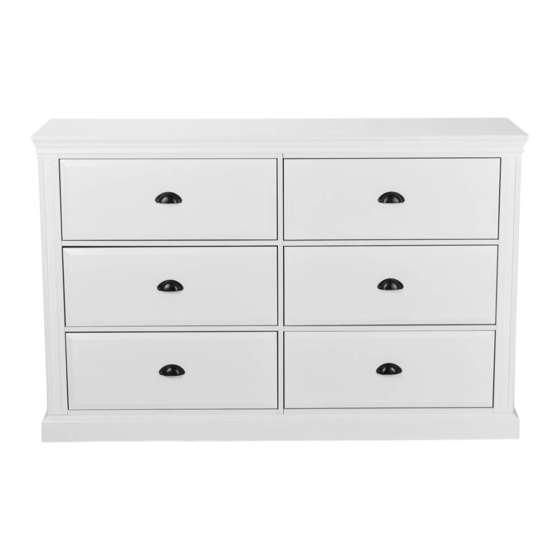
- Page 1 ASSEMBLY INSTRUCTION OLD GREENWICH 6 DRAWER DRESSER ITEM CODE 77684 Imported by JWA Furniture Pty Ltd, Qld, Brisbane Australia. For any assistance with assembly or for missing parts please refer to your receipt...
-
Page 2: Pre-Assembly Preparation
PRE-ASSEMBLY PREPARATION Before you start: 1.Choose a clean, level, spacious assembly area. Avoid hard surfaces that may damage the product 2.Take care when li�ing. Product should be assembled as near as possible to the point of 3.Ensure that you have all required contents for complete assembly 4.Always read the assembly instruc�ons carefully before beginning assembly. -
Page 3: Parts List
PARTS LIST... - Page 4 PARTS LIST ITEM QTY NO. ITEM 6PCS 66PCS Φ6*35 66PCS 72PCS Φ3*12 Φ15*10 32PCS 12PCS Φ6*30 24PCS 8PCS Φ6*20 Φ2.5*12 2PCS 12PCS Φ3*14 36PCS 12PCS Φ4*35 Φ4*25 12PCS Φ3*16 12PCS...
-
Page 5: Back Panel
PARTS LIST ITEM ITEM QTY NO. QTY NO. ITEM ITEM 6 PCS TOP PANEL 1 PC DRAWER BOTTOM PANEL 1 PC LEFT SIDE PANEL 3 PCS CROSSING BAR 1 PC 4 PCS RIGHT SIDE PANEL CROSSING BAR 1 PC BOTTOM PANEL 6 PCS DRAWER SUPPORT PANEL 4 PCS... - Page 6 STEP 1: STEP 2:...
- Page 7 STEP 3: STEP 4:...
- Page 8 STEP 5:...
- Page 9 STEP 6:...
- Page 10 STEP 7: STEP 8:...
- Page 11 STEP 9: STEP 10:...
- Page 12 STEP 11: STEP 12:...
- Page 13 STEP 13: STEP 14:...
- Page 14 STEP 15: STEP 16:...
- Page 15 STEP 17: STEP 18:...
- Page 16 STEP 19: STEP 20:...
- Page 17 STEP 21: To insert Drawers: a) Bring the ball-bearing slider on Drawer Glide Track(K1) forward to the front edge of(K1). b) Align the back open-end of the Drawer Glide Runner(K2) on each side of the drawer to fit squarely into the groove on the open front-end of(K1).Be sure the drawer/K 2 is not tilted or angled, and gently push in drawer squarely.
- Page 18 STEP 23: WALL ASSEMBLY IS COMPLETE CAUTION:Always Lift Your Furniture When Moving /Relocating - Do Not Drag. Dragging Can Cause The Legs To Bend/Break.
- Page 19 SAFETY BRACKETS INSTRUCTIONS 1. Attach the strap to the furniture frame with the small screw and washer. 2. Move the furniture to its final position.Attach the strap to the wall with the large screw and washer. If mounting into brick or masonry you will need to acquire wall anchors.
- Page 20 To protect your furniture, we suggest the following: • Avoid placing your furniture in direct sunlight. • Do not place furniture directly under windows. • Do not place sharp materials (knife, fork, etc.) directly onto your furniture as sharp material may scrape and damage the finish.
Need help?
Do you have a question about the OLD GREENWICH 77684 and is the answer not in the manual?
Questions and answers