Sign In
Upload
Download
Table of Contents
Contents
Add to my manuals
Delete from my manuals
Share
URL of this page:
HTML Link:
Bookmark this page
Add
Manual will be automatically added to "My Manuals"
Print this page
×
Bookmark added
×
Added to my manuals
Manuals
Brands
Optoma Manuals
Projector
OMA-S
User manual
Optoma OMA-S User Manual
Hide thumbs
1
Table Of Contents
2
3
4
5
6
7
8
9
10
11
12
13
14
15
16
17
18
19
20
21
22
23
24
25
26
27
28
29
30
31
32
33
34
35
36
37
38
39
40
41
42
43
44
45
46
47
48
49
50
51
52
53
54
55
56
57
58
59
60
61
62
page
of
62
Go
/
62
Contents
Table of Contents
Troubleshooting
Bookmarks
Table of Contents
Table of Contents
Safety
Important Safety Instruction
Laser Radiation Safety Information
Copyright
Disclaimer
Trademark Recognition
Fcc
Declaration of Conformity for EU Countries
Weee
Cleaning the Lens
Introduction
Package Overview
Standard Accessories
Optional Accessories
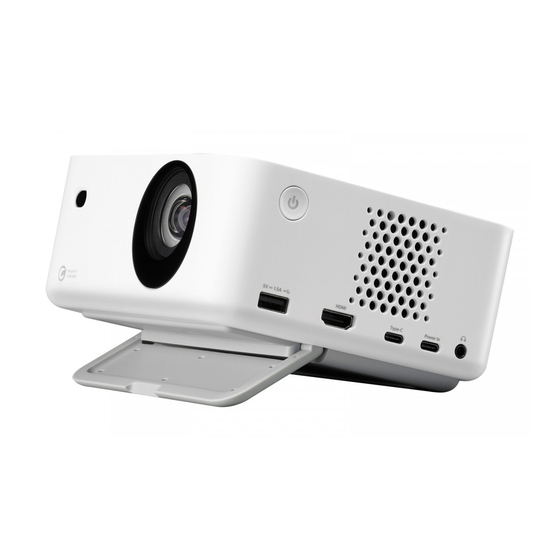
Product Overview
Connections
Remote Control
Setup and Installation
Installing the Projector
Connecting Sources to the Projector
Adjusting the Projector Image
Installing / Replacing the Battery
Using the Projector
Powering on / off the Projector
Selecting an Input Source
Launcher Screen Overview
System Date and Time
Control Menu
Menu Navigation and Features
OSD Menu Tree
Image Settings Picture Mode Menu
Image Settings Dynamic Range Menu
Image Settings Brightness Menu
Image Settings Contrast Menu
Image Settings Sharpness Menu
Image Settings Gamma Menu
Image Settings Dynamic Contrast Menu
Image Settings Puremotion Menu
Image Settings Tint Menu
Image Settings Color Temperature Menu
Image Settings Saturation Menu
Image Settings Color Space Menu
Image Settings Reset Menu
Display Focus Setting Menu
Display Geometric Correction Menu
Display Projection Location Menu
Display Projection Orientation Menu
Display Digital Zoom Menu
Display Aspect Ratio Menu
Display Eye Protection Sensor Menu
System Auto Source Menu
System Direct Power on Menu
System Signal Power on Menu
System Auto Power off Menu
System Digital Signage Menu
System Light Source Mode Menu
System High Altitude Menu
System HDMI CEC Settings Menu
System Reset All Settings Menu
Audio Volume Menu
Audio Mute Menu
Audio Mode Menu
Information Menu
Android Settings Menu
Selecting an Input Source Manually
Selecting an App
Additional Information
Compatible Solutions
Supported Formats for Multi-Media
Supported Formats for Digital Signage
Image Size and Projection Distance
Projector Dimensions and Ceiling Mount Installation
IR Remote Codes
Troubleshooting
Warning Indicators
Specifications
Optoma Global Offices
Advertisement
Quick Links
Download this manual
DLP
Projector
®
User manual
Table of
Contents
Previous
Page
Next
Page
1
2
3
4
5
Advertisement
Table of Contents
Need help?
Do you have a question about the OMA-S and is the answer not in the manual?
Ask a question
Questions and answers
Related Manuals for Optoma OMA-S
Projector Optoma ML1080 Quick Manual
Rs232 mode- enable/disable (2 pages)
Projector Optoma EP776 Service Manual
Projection system (111 pages)
Projector Optoma EP1080 Service Manual
Projection system (90 pages)
Projector Optoma EP1690 Service Manual
(86 pages)
Projector Optoma DV10 MovieTime Manual
Optoma dv10: user guide (52 pages)
Projector Optoma EP783 Service Manual
(100 pages)
Projector Optoma EP721 Family Service Manual
Ep721/727/723/728 family / ew1610 family projection system (87 pages)
Projector Optoma EP720 Family Service Manual
Ep720 family/ep726 family projection system (86 pages)
Projector Optoma OP1500 Manual
(27 pages)
Projector Optoma UHD51A Setup Manual
4k uhd voice-enabled home cinema projector (11 pages)
Projector Optoma ZU610T-B User Manual
(49 pages)
Projector Optoma EP739 User Manual
Optoma ep739: user guide (36 pages)
Projector Optoma H56 User Manual
Optoma h56: users manual (33 pages)
Projector Optoma GT1080Darbee User Manual
(53 pages)
Projector Optoma ZU606Te User Manual
(67 pages)
Projector Optoma ZU606TSTe User Manual
(67 pages)
This manual is also suitable for:
Ml1080st
Ml1080
Table of Contents
Print
Rename the bookmark
Delete bookmark?
Delete from my manuals?
Login
Sign In
OR
Sign in with Facebook
Sign in with Google
Upload manual
Upload from disk
Upload from URL


Need help?
Do you have a question about the OMA-S and is the answer not in the manual?
Questions and answers