
Related Manuals for Kozyard Mogan


Summary of Contents for Kozyard Mogan
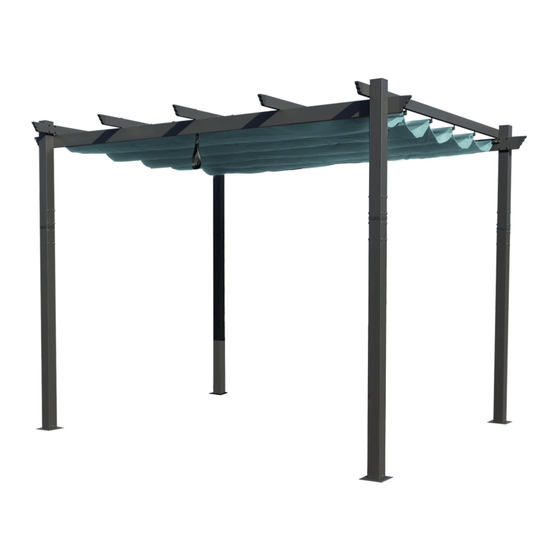
- Page 1 Mogan 10’x13’ Aluminum Pergola Assembly Manual Kozyard LLC Products www.kozyard.com © Copyright 2016 - 2023 Kozyard LLC. | All Rights Reserved. Version:20231006...
-
Page 2: Warnings And Cautions
Warnings and Cautions • Please read and follow this assembly and operation guide to reduce the risk of personal injury and damage to your gazebo. • Do not discard any of the packaging until you have checked that you have all the parts in place. •... - Page 3 Attention: Prior to assembly, verify that all parts and pieces are included to ensure an efficient installation process. 1 or 3 2 or 4 Position Position Short Short Pole Pole Pole Side Tube Side Tube Side Tube Side MiddleTube Side Tube Side MiddleTube Side Track Tube Side Track Tube...
- Page 4 Bolt Bolt Bolt 32X+2X Hook Hook Lock Hook Canopy Ribbon Connector Allen Connector Connector Plastic Cover OVERALL G&G1 H&H1 B&B2&B1 C&C2&C1 Page 3...
- Page 5 Step 1: First, remove the plastic plugs from Part A1/A2 and Part A. Then, place Part X on the four poles (Part A) and connect A and (A1 or A2) by using Bolt J to attach the four poles. A1 A2 M6x 16 Do not tighten the bolts too much when inserting A into A1 and A2.
- Page 6 Step 3: Connect Part B, Part B1,Part B2 using Bolt J to assemble Main Beam 1. Connect C, C1, C2 using Bolt J to assemble Main Beam 2. Simultaneously, attach Part R to C2 using Bolt J. V1 4x M6x 16 Page 5...
- Page 7 Step 4: Connect Main Beam 1 and Main Beam 2 to the Poles using Bolt M. M 6x 15 B/B2/B1 C/C2/C1 Step 5: 1. Insert Hook Part N into the slot of Part D. Repeat twice. 2. Insert Hook P and Hook O into the slot of Part E. •...
- Page 8 Step 6: Connect D and D1 to assemble the Cross Beam (D and D1) using Bolt J. V2 2x M6x16 Step 7: Connect the Cross Beam (D and D1) to the four Poles using Bolt M. A1 A2 M6x15 B/B2/B1 C/C2/C1 d1= d2 Page 7...
- Page 9 1. Connect E and E1 Step 8 using Bolt J to assemble the Cross Beam (E and E1). 2. Using the same method, assemble the Cross Beam (F & F1) with F and F1. M6x16 V2 3x Step 9: Connect the Cross Beams (E and E1) and (F and F1) to Main Beams 1 and 2.
- Page 10 Step 10: Insert G, G1, H, and H1 into the canopy from the side. Step 11: Connect G and G1 to B and B1 using bolt K, and secure the canopy with the frames. M6x16 B/B2/B1 H&H1 & M6x30 C/C2/C1 3.Connect the canopy and 2.Pull the line from the canopy the Hook using Bolt J...
- Page 11 Step 12: C/C2/C1 Hang Part T on Hook P Step 13: Secure Part T to beam B/B1 to attach the Top Fabric. B/B2/B1 B/B2/B1 Page 10...
- Page 12 Step 14: Secure Foot I to the ground using Part U. Step 15: Before use, ensure that all screws are completely tightened. Page 11...
- Page 13 Don't hesitate to contact us directly if you are missing parts or need a replacement. Kozyard LLC © Copyright 2016 - 2023 Kozyard LLC. | All Rights Reserved.
Need help?
Do you have a question about the Mogan and is the answer not in the manual?
Questions and answers