Subscribe to Our Youtube Channel
Summary of Contents for HOMCOM A91-190
- Page 1 INamb004_ES_EN A91-190 IMPORTANT, RETAIN FOR FUTURE REFERENCE: READ CAREFULLY USING INSTRUCTION...
-
Page 2: Mantenimiento Diario
Información de Seguridad Importante MANTENIMIENTO DIARIO 1. Lubrique las piezas regularmente. 2.Inspeccione y apriete todas las piezas del equipo antes de utilizarlo. 3.Limpie el banco de pesas con una toalla húmeda después de utilizarlo, y evite utilizar los solventes químicos para limpiarlo. ES-2... -
Page 3: Diagrama De Componentes
DIAGRAMA DE COMPONENTES 2. Conjunto de tubo estabilizador frontal y trasero (mismo tamaño), 2 1.Grupo de marco principal 1 PIEZA PIEZAS 3. Tornillo de carro M8 * 60, tuerca de bloqueo d8 con arandela plana; 2 PIEZAS para cada tubo estabilizador 4. -
Page 4: Instrucciones De Montaje
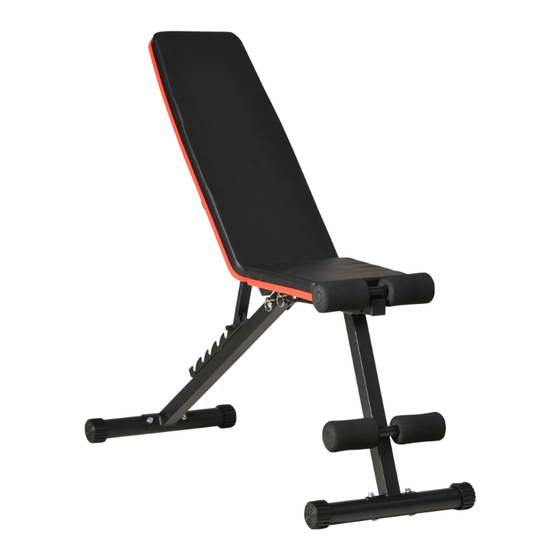
INSTRUCCIONES DE MONTAJE PASO DE MONTAJE (1) Paso 1: Retire el grupo del marco principal (1) del paquete, ábralo de acuerdo con la dirección indicada por la flecha, y colóquelo de lado en el piso en la dirección indicada de la imagen de arriba, y alinee los orificios de pasadores correspondientes, luego inserte los 3 pasadores d10 * 60 (4) en los orificios respectivamente (como lo que se muestra en la imagen de arriba). - Page 5 Ajuste hacia arriba y hacia abajo Tapón de tubo poligonal Este es el banco montado completamente Cojín de asiento Cojín de respaldo Espuma para pies Tubo frontal para pies Pata trasera Almohadilla de espalda ES-5...
- Page 6 CONSEJOS: El espesor de bordes de las 4 ruedas es diferente, puede girarlas para realizar ajuste, si el piso es irregular. Método 1: Girar la rueda negra puede resolver el problema causado por el piso irregular en la may- oría de los casos. Método 2: Si el método 1 no resuelve el problema, puede probar este método: 1.
- Page 7 ES-7...
-
Page 8: Using Instruction
INamb004_ES_EN A91-190 IMPORTANT, RETAIN FOR FUTURE REFERENCE: READ CAREFULLY USING INSTRUCTION... -
Page 9: Daily Maintenance
Important Safety Information DAILY MAINTENANCE 1.Lubricate the parts periodically. 2.Check and tighten all the parts of the product before using it. 3.Use a damp towel to clean the bench after using it and avoid chemical solvents for cleaning. EN-2... -
Page 10: Component Diagram
COMPONENT DIAGRAM EN-3... -
Page 11: Assembly Step
ASSEMBLY INSTRUCTIONS ASSEMBLY STEP (1) Step 1: Remove the main frame group (1) from the package, open the main frame group in the direction indicated by the arrow, and place the main frame group on the ground side in the direction of the above figure and align the corresponding pin holes. Then insert the three pins d10*60(4) into the pin holes respectively(as shown inthe figure above). - Page 12 This is the fully assembled bench EN-5...
- Page 13 TIPS: These 4 wheels with different thickness of edge, can rotate to adjust, if the floor is uneven. Method 1: rotate the black wheel, this can solve the uneven issue in most of the cases. Method 2: If method 1 does not solve the problem, you can try this tip: 1.
- Page 14 EN-7...


Need help?
Do you have a question about the A91-190 and is the answer not in the manual?
Questions and answers