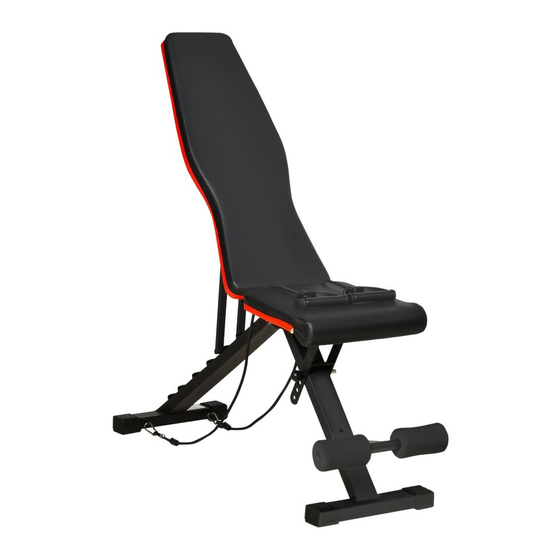
Summary of Contents for HOMCOM A91-191
- Page 1 INamb005_IT_EN A91-191_A91-191V01 IMPORTANT, RETAIN FOR FUTURE REFERENCE: READ CAREFULLY USING INSTRUCTION...
-
Page 2: Istruzioni Di Sicurezza Importanti
Istruzioni di sicurezza importanti IT-2... - Page 3 DIAGRAMMA DEI COMPONENTI ARTICOLO No. NOME PARTE QTA’ Telaio di supporto anteriore Telaio di supporto posteriore Telaio di supporto del sedile Telaio di supporto dello schienale Telaio di regolazione del sedile Telaio di regolazione dello schienale Cuscino del sedile Cuscino dello schienale Tappo piede 30*60 Perno a sfera Bullone ad anello...
- Page 4 IT-4...
-
Page 5: Istruzioni Di Montaggio
ISTRUZIONI DI MONTAGGIO Passo 1: Sollevare da terra l'attrezzatura con il telaio di supporto posteriore (2) e inserire il bullone ad anello (11) nel foro di raccordo, Passo 2: Appoggiare a terra il telaio di supporto anteriore (1) per tenerlo fermo e inserire il perno a sfera (10) nel foro del telaio di regolazione del sedile (5) e nel telaio di supporto anteriore (1). - Page 6 Regolare la posizione del cuscino dello schienale e del cuscino del sedile come illustrato fino a raggiungere la posizione desiderata, in modo da potervi allenare come desiderate. MANUTENZIONE QUOTIDIANA 1. Lubrificare periodicamente le parti, 2.Controllare e stringere tutte le parti del prodotto prima di utilizzarlo. 3.Utilizzare un panno umido per pulire la panca dopo l'uso ed evitare l’uso di solventi chimici per la pulizia.
-
Page 7: Using Instruction
INamb005_IT_EN A91-191_A91-191V01 IMPORTANT, RETAIN FOR FUTURE REFERENCE: READ CAREFULLY USING INSTRUCTION... -
Page 8: Important Safety Information
Important Safety Information EN-2... -
Page 9: Component Diagram
COMPONENT DIAGRAM EN-3... - Page 10 EN-4...
- Page 11 ASSEMBLY INSTRUCTIONS Step1: Lift the equipment with back support frame (2) on the ground and insert the ring bolt (11) in the joint hole. Step2: Put the front support frame (1) on the ground to make it stand still and insert the ball pin (10) into the hole of seat adjustment frame (5) and the front support frame (1).
- Page 12 Adjust the Back Cushion and the Seat Cushion Position as ilustrations to your favorite, so as to reach your workout aims. DAILY MAINTENANCE 1.Lubricate the parts peridically. 2.Check and tighten all the parts of the product before using it. 3.Use a damp towel to clean the bench after using it and avoid chemical solvents for cleaning.


Need help?
Do you have a question about the A91-191 and is the answer not in the manual?
Questions and answers