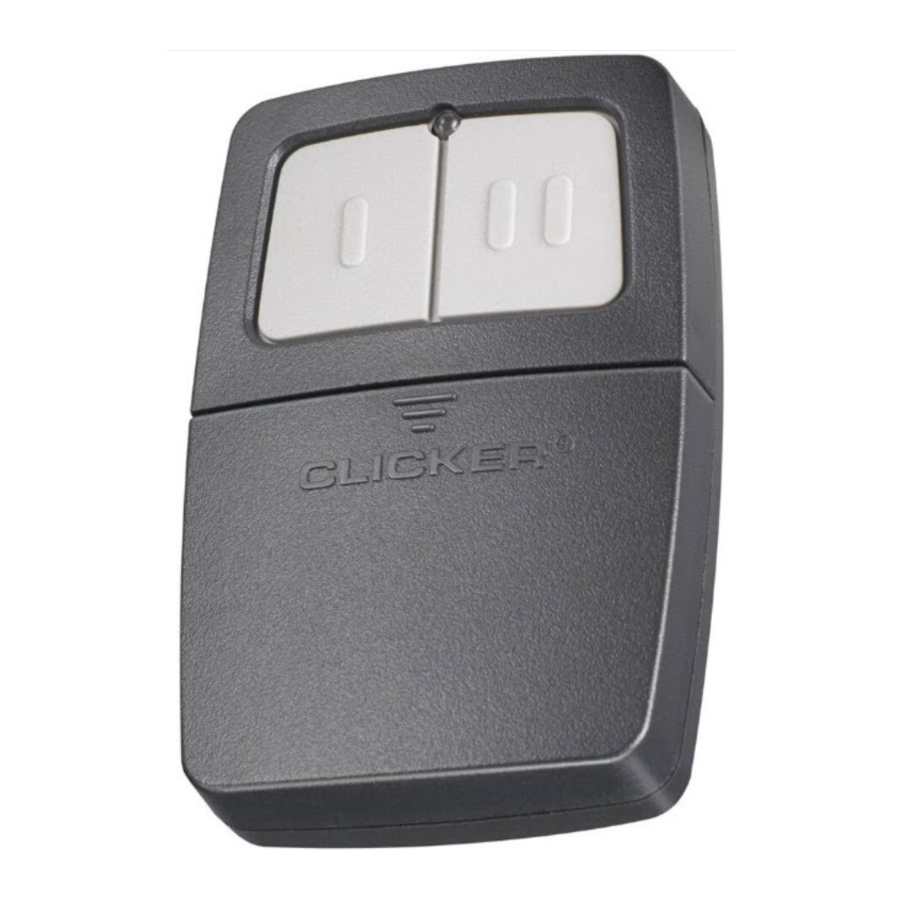
CLICKER KLIK1C - Universal Garage Door Opener Remote Control Manual
- Manual (2 pages)
Advertisement
INTRODUCTION
Thank you for your purchase of a Clicker ® universal remote control.
PLEASE DO NOT RETURN TO THE RETAIL STORE. If for any reason you have questions or need help with troubleshooting please call: 1-800-442-1255. Read instructions thoroughly BEFORE beginning. Start with garage door closed. Identify garage door opener type - Smart/Learn button or DIP Switch. Smart/Learn button or DIP Switches are located on motor unit or external receiver. Refer to owner's manual if necessary.
Clicker products are intended to be used only with garage door openers manufactured after 1993 that utilize photo-eyes safety sensors. These are always located on or near the bottom of the door track. If your garage door does not have the sensors attached and working, the opener is not compliant with current federal safety regulations and should be replaced.
Proceed with instructions according to your type of garage door opener.

To prevent possible SERIOUS INJURY or DEATH from a moving gate or garage door:
- ALWAYS keep remote controls out of reach of children. NEVER permit children to operate, or play with remote control transmitters.
- Activate gate or door ONLY when it can be seen clearly, is properly adjusted and there are no obstructions to door travel.
- ALWAYS keep gate or garage door in sight until completely closed. NEVER permit anyone to cross path of moving gate or door.

- SMART/LEARN BUTTON
-OR- - DIP SWITCH
 NOTE: Your opener may appear different and you may have to remove the light lens to access the learn button.
SMART/LEARN BUTTON
- See Chart A to determine # of times to press button and write in blank on step 5.
![]()
- Press program button until LED lights.
![]()
- Press and release the smart/learn button.

- Select a button to program.
![]()
Press button ___ times ensuring LED stops flashing after each press. Code is accepted when one of the following occurs:- Click
![]()
- -OR:
![]()
- -OR:
![]()
- Click
- Press program button.
![]()
- Programming complete.
Press selected button to test. If unit does not work, return to Step 3.
![]()


CHART A
| # of times to press button | Brand | Type/Color of Smart/Learn | Year |
| 1 | Linear ® | Mega-Code | '97-Current |
| 2 | Chamberlain ® * | Orange | '97-'05 |
| 3 | Chamberlain ® * | Purple | '05-Current |
| 4 | Chamberlain ® * | Green | '93-'96 |
| 5 | Genie ® Overhead Door ® | Intellicode | '95-Current |
| 6 | Genie ® ** Overhead Door ® | Intellicode | '93-Current |
| 7 | Stanley ® | Secure Code | '98 |
| 8 | Chamberlain ® * | Yellow | '11-Current |
| 9 | Wayne Dalton ® | Rolling Code | '99 |
| 11 | Chamberlain ® * | 9 Position | '90-'92 |
*NOTE: LiftMaster, Do-It, Master Mechanic, Raynor, True Value and Sears Craftsman are compatible with Chamberlain technology.
**NOTE: Visit www.clickerproducts.com for Genie Intellicode II instructions.
DIP SWITCH
- See Chart B to determine # of times to press button and write in blank on step 5.
![]()
- Match DIP switches. Turn extra switches OFF.**
![]()
- Press program button until LED lights.
![]()
- Select a button to program.
Press button __ times ensuring LED stops flashing after each press.
![]()
Code is accepted when door activates.
![]()
- Press program button.
![]()
- Programming complete.
Press selected button to test. If unit does not work, return to Step 3.
![]()


CHART B
| # of times to press button | Brand | Description | Year |
| 11 | Chamberlain ® * | 9 Position | '90-'92 |
| 12 | Chamberlain ® * | 9 Position Canada | '83-'89 |
| 13 | Genie ® | 12 Position | '85 |
| 14 | Linear Multicode ® | 10 Position | '76 |
| 15 | Chamberlain ® | 8 Position | '83-'89 |
| 16 | Stanley/Multicode ® | 10 Position | '76 |
| 17 | Genie ® | 9 Position | '85 |
| 18 | Linear ® Moore-O-Matic ® | 8 Position | '76 |
| 19 | Chamberlain ® * | 7 Position | '83-'89 |
NOTE:
2 Position DIP Switch:

If programming fails reverse DIP switches (OFF to ON and ON to OFF).
**3 Position DIP Switch:

For Chamberlain remotes DO NOT use the "0" position, use "+" or "-". If you already have a 3-button remote, DIP switch #1 must be set to "-" if the large button is to open the door. It may be necessary to reprogram original remote controls.
REMOTE CONTROL BATTERY

To prevent possible SERIOUS INJURY or DEATH:
- NEVER allow small children near batteries.
- If battery is swallowed, immediately notify doctor. To reduce risk of fire, explosion or chemical burn:
- Replace ONLY with 3V2032 coin batteries.
- DO NOT recharge, disassemble, heat above 212°F (100°C) or incinerate.
Dispose of batteries properly. Replace ONLY with 3V2032 coin batteries.
PRODUCT REGISTRATION AND TROUBLESHOOTING
1-800-442-1255

Documents / Resources
References

Download manual
Here you can download full pdf version of manual, it may contain additional safety instructions, warranty information, FCC rules, etc.
Download CLICKER KLIK1C - Universal Garage Door Opener Remote Control Manual
Advertisement


Need help?
Do you have a question about the KLIK1C and is the answer not in the manual?
Questions and answers