Reolink RLC-810A - Smarten up Home Security Manual
- Operational instruction (41 pages)
Advertisement
Introduction
Reolink RLC-810A can notify you of the true threats and frees you from other trifles.
Accurate alerts will be pushed to you when a person/vehicle/pet* is detected. The 18 powerful infrared LEDs in this 4K security camera emit invisible lights that pierce the darkness up to 130 feet. Also, the 3D-DNR technology dramatically reduces noise levels-ensuring clearer, sharper and smoother night performance.
Specs

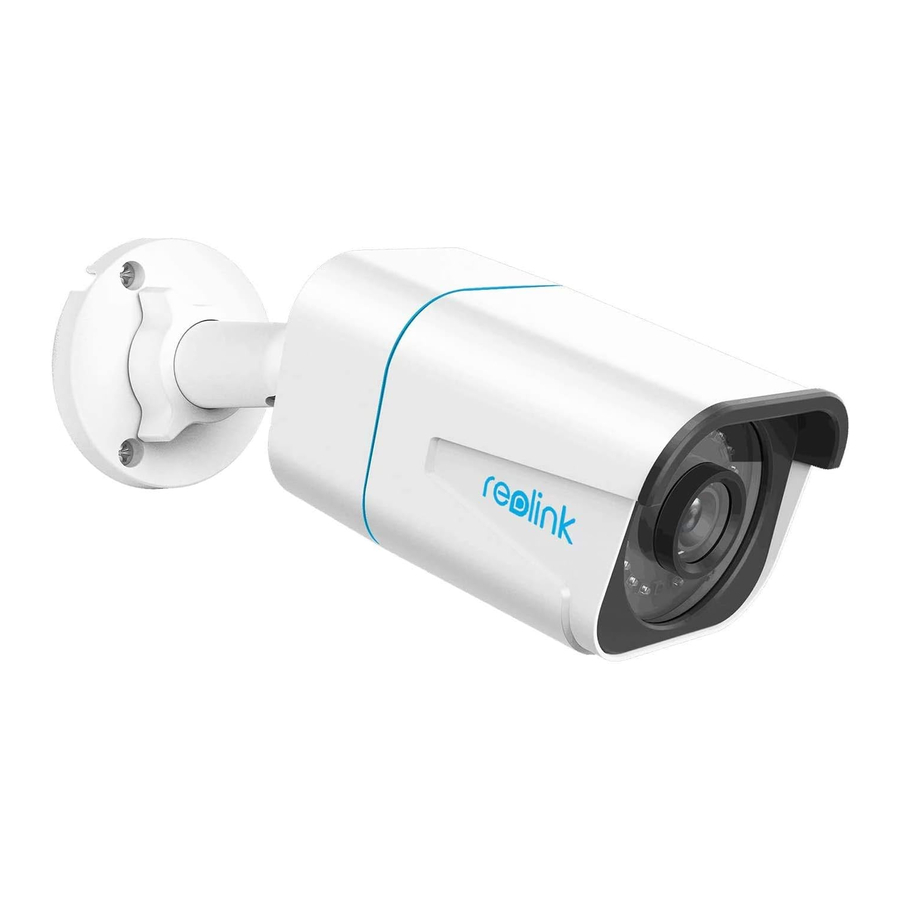
| 1 | Mount |
| 2 | Metal Aluminum Case |
| 3 | 18 IR LEDs |
| 4 | High Definition Lens |
| 5 | Daylight Sensor |

| 1 | Power |
| 2 | Reset Button |
| 3 | Network |
| 4 | Waterproof Lid |
Setup the Unit
What's in the Box
Note: The package content may vary and update with different version and platforms, please take the below information only for a reference. And the actual package content are subject to the latest information on the product selling page.
RLC-810A


Set up the Device on the App
Here is a guide on how to initially set up the camera via Reolink App.
- Tap the icon
![]() in the top right corner.
in the top right corner.
![]()
Note: If you've enabled the Add Device Automatically option on the App's Settings page, you can tap this device on the Devices page and turn to Step 3 directly. - Scan the QR code on the back of the camera. You may tap Light to enable a flashlight when setting up the camera in a dark environment.
If the phone doesn't respond, please tap Input UID/IP and then manually type in the UID (16-digit characters under the QR code of the camera). Then tap Next.

- Create a login password for your camera. Then tap Next.
![]()
- Name your camera. Then tap Next.
![]()
- Initialization finished! You can start live viewing now.
![]()
 in the top right corner.


Install the Device
Please follow the steps below to install the camera.
- Drill holes in accordance with the mounting hole template.

- Install the mount base with the mounting screws included in the package. (For WiFi cameras, please install antenna in advance)

Notes:
Run the cable through the cable notch on the mount base.
As for the WiFi camera, it is recommended that the antennas be installed upward or horizontally for better WiFi connection. - loosen the adjustment knob by twisting it counterclockwise on the security mount, and turn the camera to get an ideal view.

- Turn the knob clockwise to fix the camera in place.

Note: If your camera has another mount without the adjusting knob, please loosen the adjusting screw with the provided hex key and turn the camera as shown below to adjust the angle.


Documents / ResourcesDownload manual
Here you can download full pdf version of manual, it may contain additional safety instructions, warranty information, FCC rules, etc.
Advertisement


Need help?
Do you have a question about the RLC-810A and is the answer not in the manual?
Questions and answers