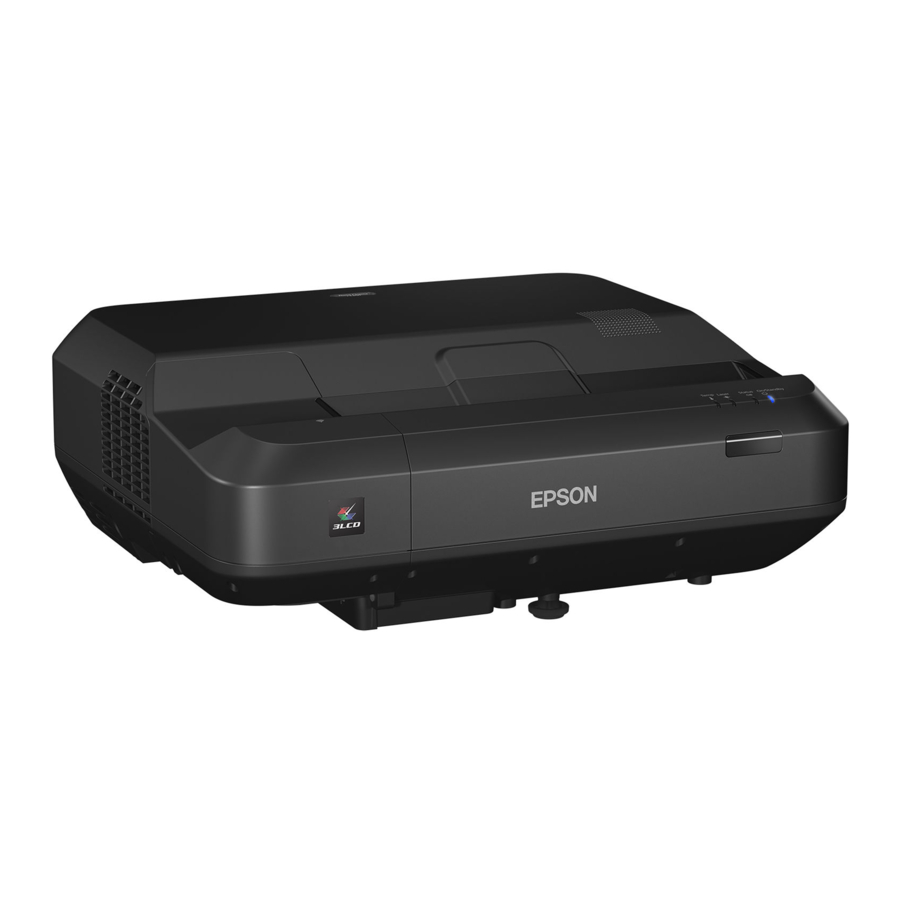
Epson Home Cinema LS100, V11H879520 - Ultra Short-throw Laser Projector Quick Setup Guide Manual
- User manual (207 pages) ,
- Quick setup (4 pages) ,
- User manual (209 pages)
Advertisement
Connect the projector
Choose from the following connections. See the sections below or the online User's Guide for details.
Video device
Connect multiple video devices and use the Source Search button on the projector or remote control to switch between them.

Mobile media device
Connect tablets, smartphones, and other devices that support the MHL™ standard to the HDMI1/MHL port.

Some devices may require an adapter or may not require an MHL cable. Not all features or functions may be supported. Check your device's documentation for more information.
Computer
Connect one end of an HDMI cable to one of the projector's HDMI ports and the other end to an HDMI port on your computer.

Note: For more information on connecting the projector to your computer or other devices (camera, USB flash drive, etc.), see the online User's Guide.
Connect audio
Built-in speaker
The projector has a built-in speaker that can play audio from a video source (DVD player, streaming device, etc.) connected by an HDMI cable. If you do not use an HDMI connection, you must connect your device's audio output to the projector's audio input.

External speakers
Connect your device's audio output to your home theater receiver or powered speakers.
Note: The internal speaker is disabled when an external device is connected.
If you are using an HDMI connection to the projector, you may need to reduce the projector speaker volume to zero (0), or make sure that the correct audio output is selected on your device.
Home theater system

Powered speakers

Note: See your home theater receiver documentation for more information on connections.
Turn on your equipment
- Turn on your video source or computer.
- Plug in the projector. The
![]() power light on the projector turns blue.
power light on the projector turns blue.

- Press the
![]() power button on the projector or remote control. The projector beeps, and the Status light flashes blue and then stays on.
power button on the projector or remote control. The projector beeps, and the Status light flashes blue and then stays on.
Note: To shut down the projector, press the![]() power button twice.
power button twice. - Use the arrow buttons on the remote control to highlight any options on the Home screen that appears, then press to select it. You can switch between projection sources and quickly access various adjustment options from this screen.

- The default language of the menu system is English. To select another language, press the Menu button on the projector or remote control.
Select Extended and press![]() . Select Language and press
. Select Language and press ![]() . Select your language and press
. Select your language and press ![]() . Press the Menu button to exit the menu system.
. Press the Menu button to exit the menu system.


 . Select Language and press
 Adjust the image
- If you don't see an image, press the Source Search button on the projector or remote control to select the image source.
Note: If you still see a blank screen or have other display problems, see the tips in "Troubleshooting" on the back of this sheet. - To adjust the image height, rotate the front or rear feet to raise or lower them.

- To reduce or enlarge the image, press the T (reduce) or W (enlarge) button on the projector.

- If you need to focus the image, first slide the switch on the side of the projector to open the air filter cover. Then raise or lower the focus lever to sharpen the image.

- If your image is uneven on the sides, you can use the keystone correction feature to adjust the image. To use this feature, press the
![]() or
or ![]() button to display the keystone correction screen. Then press the W or T button to correct for horizontal keystone distortion and the
button to display the keystone correction screen. Then press the W or T button to correct for horizontal keystone distortion and the ![]() or
or ![]() button to correct for vertical keystone distortion. See the online User's Guide for details.
button to correct for vertical keystone distortion. See the online User's Guide for details.


 or
or  button to display the keystone correction screen. Then press the W or T button to correct for horizontal keystone distortion and the
Using the remote control
Install the batteries as shown (two AA batteries).

For more information on using the remote control, see the online User's Guide.
Troubleshooting
If you see a blank screen or the No signal message after turning on your computer or video device, check the following:
- Make sure the Status light on the projector is blue and not flashing.
- Press the Source Search button on the projector or remote control to switch to the correct image source, if necessary.
- Press the Home button on the projector or remote control to verify the source input and settings.
- On Windows® 7 or later, hold down the Windows key and press P at the same time, then click Duplicate.
- If you're using a Windows laptop, press the function key on your keyboard that lets you display on an external monitor. It may be labeled CRT/LCD or have an icon such as
![]() . You may have to hold down the Fn key while pressing it (such as Fn + F7). Wait a moment for the display to appear.
. You may have to hold down the Fn key while pressing it (such as Fn + F7). Wait a moment for the display to appear. - If you're using a Mac laptop, open System Preferences and select Displays. Click the Arrangement tab and select the Mirror Displays checkbox.
 . You may have to hold down the Fn key while pressing it (such as Fn + F7). Wait a moment for the display to appear.
Where to get help
Manuals
For more information about using the projector, see the online manuals. You can view or download the manuals from the Epson website, as described below.
Internet support services
Visit www.epson.com/support (U.S.) or www.epson.ca/support (Canada) and search for your product to download software and utilities, view manuals, get FAQs and troubleshooting advice, or contact Epson.
Telephone support
To use the Epson® PrivateLine® Support service, call (800) 637-7661. This service is available for the duration of your warranty period. You may also speak with a support specialist by calling (562) 276-4394 (U.S.) or (905) 709-3839 (Canada).
Support hours are 6 am to 8 pm, Pacific Time, Monday through Friday, and 7 am to 4 pm, Pacific Time, Saturday. Days and hours of support are subject to change without notice. Toll or long distance charges may apply.
Registration
Register today to get product updates and exclusive offers. You can register online at www.epson.com/webreg.
Optional accessories
For a list of optional accessories, see the online User's Guide.
You can purchase screens or other accessories from an Epson authorized reseller. To find the nearest reseller, call 800-GO-EPSON (800-463-7766). Or you can purchase online at www.epsonstore.com (U.S. sales) or www.epsonstore.ca (Canadian sales).

Documents / Resources
References
Epson® Official Support
Epson® Official Support
![www.epson.com]() Epson Product Registration
Epson Product RegistrationBuy Direct from Epson | Epson US
Buy Direct from Epson | Epson Canada
Download manual
Here you can download full pdf version of manual, it may contain additional safety instructions, warranty information, FCC rules, etc.
Advertisement


Need help?
Do you have a question about the Home Cinema LS100 and is the answer not in the manual?
Questions and answers