Table of Contents
Advertisement
Quick Links
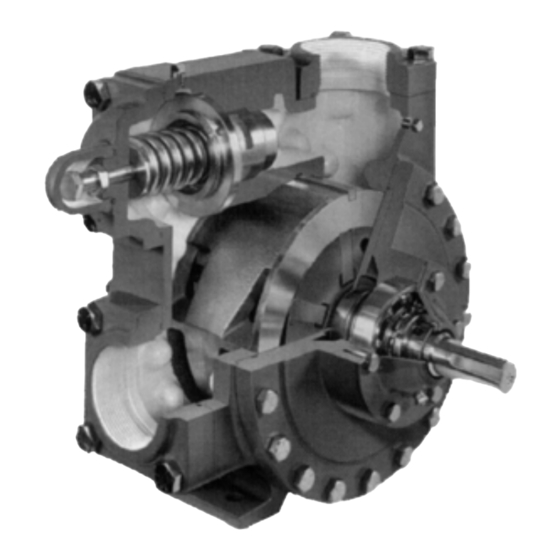
BLACKMER POWER PUMPS
INSTALLATION OPERATION AND MAINTENANCE INSTRUCTIONS
MODELS: XL2B, XL3B, XL4B
DISCONTINUED MODELS: XL(S)2A-N, XL(S)3A-N, XL4, XL4A
April 2008: This IOM covers discontinued models XL(S)2A-N, XL(S)3A-N, XL4B, XL4A & XL4
TABLE OF CONTENTS
NOTE: Numbers in parentheses following individual parts
indicate reference numbers on Blackmer Parts Lists.
Blackmer pump manuals and parts lists may be obtained
from Blackmer's website (www.blackmer.com) or by
contacting Blackmer Customer Service.
Pump Parts Lists
2 and 3 - inch
107-B01
Page
2
2
3
3
3
3
4
4
4
4
4
5
5
5
5
6
6
7
7
7
8
10
4 - inch
107-B02
960260
INSTRUCTIONS NO. 107-B00_oct07
SAFETY DATA
This is a SAFETY ALERT SYMBOL.
When you see this symbol on the product, or in the
manual, look for one of the following signal words and be
alert to the potential for personal injury, death or major
property damage
Warns of hazards that WILL cause serious personal injury,
death or major property damage.
Warns of hazards that CAN cause serious personal injury,
death or major property damage.
Warns of hazards that CAN cause personal injury
or property damage.
NOTICE:
Indicates special instructions which are very
important and must be followed.
NOTICE:
Blackmer Pumps MUST only be installed in systems,
which have been designed by qualified engineering
personnel. The system MUST conform to all applicable
local and national regulations and safety standards.
This manual is intended to assist in the installation and
operation of the Blackmer power pumps, and MUST be
kept with the pump.
Pump service shall be performed by qualified technicians
ONLY. Service shall conform to all applicable local and
national regulations and safety standards.
Thoroughly review this manual, all instructions and hazard
warnings, BEFORE performing any work on the pump.
Maintain ALL system and pump operation and hazard
warning decals.
Section
107
Effective
Oct 2007
Replaces
Apr 2005
Advertisement
Table of Contents

Subscribe to Our Youtube Channel
Related Manuals for BLACKMER XL4B


Summary of Contents for BLACKMER XL4B
-
Page 1: Table Of Contents
Apr 2005 MODELS: XL2B, XL3B, XL4B DISCONTINUED MODELS: XL(S)2A-N, XL(S)3A-N, XL4, XL4A April 2008: This IOM covers discontinued models XL(S)2A-N, XL(S)3A-N, XL4B, XL4A & XL4 SAFETY DATA This is a SAFETY ALERT SYMBOL. When you see this symbol on the product, or in the... -
Page 2: Pump Data
A pump Identification tag, containing the pump serial number, I.D. number, and model designation, is attached to each pump. It is recommended that the data from this tag be recorded and filed for future reference. If replacement parts are needed, or if information pertaining to the pump is required, this data must be furnished to a Blackmer representative. TECHNICAL DATA... -
Page 3: Pre-Installation Cleaning
INSTALLATION PRE-INSTALLATION CLEANING PUMP MOUNTING A solid foundation reduces noise and vibration, and will NOTICE: improve pump performance. On permanent installations it is New pumps contain residual test fluid and rust inhibitor. recommended the pumping unit be secured by anchor bolts If necessary, flush pump prior to use. -
Page 4: Pump Rotation
Verify proper coupling alignment. damage. Blackmer helical gear reducers (if supplied) are shipped Hazardous pressure can cause personal from the factory without oil in the gearcase. Fill with the injury or property damage grade of oil indicated on the reducer tag. -
Page 5: Running The Pump In Reverse Rotation
Replace the valve in the pump and piping. cap. NOTICE: Refer to the individual Blackmer pump parts lists for various Properly dispose of all waste fluids in accordance with spring pressure ranges. Unless specified otherwise, pumps the appropriate codes and regulations. -
Page 6: Maintenance
IF EQUIPPED: Blackmer gear reducers are shipped from the factory without oil in the gearcase. Fill with the grade of oil Disconnecting fluid or pressure indicated on the reducer tag. The oil should be changed after... -
Page 7: Vane Replacement
MAINTENANCE VANE REPLACEMENT 4. Remove the outboard bearing cover capscrews (28) and slide the outboard bearing cover (27) and gasket (26) off NOTICE: the shaft. Discard the bearing cover gasket. Maintenance shall be performed by qualified technicians 5. To remove locknuts and lockwashers (24A and 24B): only. -
Page 8: Pump Assembly
MAINTENANCE DISC – 2 and 3-inch Models PUMP ASSEMBLY Install the disc (71) on the inboard side of the pump with Before reassembling the pump, inspect all component the seal cavity facing outward and the disc relief hole parts for wear or damage, and replace as required. Wash located as shown in Figure 6. - Page 9 Position the disc relief hole so that when the head is 19. Uniformly torque the head capscrews to 30 lbs ft (40.7 mounted on the pump with the “Blackmer” name in Nm), alternating between one side of the head and the an upright position, the disc hole will be towards the other.
-
Page 10: Trouble Shooting
MAINTENANCE 22. Attach a new bearing cover gasket (26) and inboard NOTICE: bearing cover (27A) to the inboard head. Install the The relief valve setting MUST be tested and adjusted outboard bearing cover (27) and a new gasket to the more precisely before putting the pump into service. - Page 11 PUMP TROUBLESHOOTING LOW DELIVERY RATE Probable Cause Corrective Action Relief valve setting too low, causing the liquid to bypass. The relief valve setting should be 20 psi (1.4 bar) higher than the differential pressure. OTHER POSSIBLE CAUSES OF A LOW DELIVERY RATE: •...
- Page 12 Visit www.blackmer.com for complete information on all Blackmer products 1809 Century Avenue, Grand Rapids, Michigan 49503-1530 U.S.A. Telephone: (616) 241-1611 • Fax: (616) 241-3752 E-mail: blackmer@blackmer.com • Internet Address: www .blackmer.com...
Need help?
Do you have a question about the XL4B and is the answer not in the manual?
Questions and answers