Advertisement
Quick Start Guide
Connecting the device and activating the software
KiBox2 Powertrain Analyzing System
Type 2895A...
Content
1.
General notes
2.
Device description
3.
Explanation of the light emitting diodes
4.
Commissioning
5.
Service and support
6.
Conformations
7.
Foreword
Thank you for choosing a Kistler quality product. Please read
these instructions carefully, so that you can take advantage
of the features of this product. The information in this docu-
ment is subject to change at any time without prior notice.
Kistler reserves the right to improve and modify the product
in accordance with technical progress without the obligation
to inform persons and organizations based on these changes.
The present instructions are for rapid commissioning of the
device.
© 2020 Kistler Group. All rights reserved. Kistler Group prod-
ucts are protected by various intellectual property rights. For
more details visit www.kistler.com.
1.
General notes
The Kistler KiBox2 is the leading system to analyze and
characterize combustion systems. It is optimized for mea-
surements across the complete powertrain development
cycle – both in-vehicle and at the test bed. With this gen-
eration of KiBox, the functionality and features of the
predecessor system are fully supported and optimized. The
data acquisition system is configured and operated with an
intuitive Software user interface. During development of the
Kibox2 Cockpit, particular emphasis was placed on creating a
user-centric experience.
These instructions are provided to support rapid commission-
ing of the device, in order to start measuring quickly. This
document compliments the main software and hardware user
manual which explains all technical and functional details in
more depth.
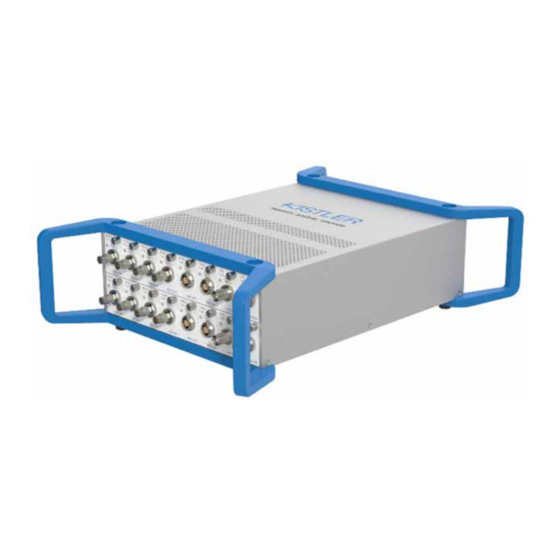
2.
Device description
The following short description explains the basic functions
of the device.
A single KiBox2 supports up to 16 channels. A maximum of
64 channels can be achieved by cascading up to 4 devices.
Each data acquisition module (xAQ module) supports one
measuring channel and can be inserted into any slot position.
The available input modules are
• Type 5075A
PEAQ: Piezo-electric data acquisition
module (Triax or BNC)
• Type 4667A
PRAQ:
Piezo-resistive data acquisition
module (Fischer)
• Type 5270A
VAQ:
Voltage data acquisition module
(BNC)
Do not remove or insert any xAQ module while the
Kibox2 is powered.
Do not touch the electronics of the xAQ module and
store it safely in the ESD protected box in the carrying
case.
Back side – Type 2895A
1 B
Description
WLAN - Antenna connector: Reverse-polarity SMA
1
(RP-SMA), Status LED – see chapter 3
GPS - SMA connector
2
Cascading IN/Out – RJ-45 connector
3
CAN 1&2 - D-Sub 9 pin (male)
4
Crank Angle Inputs - Sensor Analog/RS- 422/
5
Encoder LVDS
2895A_002-963e-05.21
Digital I/O - D-Sub 25 pin (male)
6
USB 1&2 – future use
7
Ethernet - 1 000 Base-T, standard connection KiBox2 – PC
8
Status LED – see chapter 3
9
On/Off - System is switched on by a short push.
Short push of the button will turn off the system while
pressing the button 5 sec. the KiBox2 will power down
immediately.
Power supply - connection, 6 ... 60 VDC
For other optional accessories see data sheet or directly con-
tact your Kistler salesperson.
3.
Explanation of the light emitting diodes
4.
Commissioning
Power supply
The Kibox2 can be used with power supplies with voltages
in a range of 6 ... 60 V. Power can be provided in-vehicle by
an additional battery or by the vehicle power network. For
test bed applications and any stationary use, there is a 24 V
power supply supplied with the device. A single power supply
can be used for up to two devices. It is also possible that the
device or devices could be powered by an automation system
cabinet power supply system.
Cockpit Software Installation
Please install Kibox2 Cockpit on your PC running Windows10
or higher by performing following steps:
1. Open the file KiBox2Installation.zip from the included
USB Stick or from the following link:
https://kibox-update.kistler.com/api/Deployment/
downloadLatestVersion.
2. The install wizard leads you through the installation process.
3. Choose your path for the installation.
4. Next update will be delivered via
-> System update section.
Connect with the KiBox
1. Start the Application by double clicking on the
Kibox.Cockpit.Shell.exe
2. The system informs users when a new software release
is available under Notifications. Download the update
first and execute it afterwards.
3. Click on
4. In the Connection Manager you can directly select one
of the detected devices or manually configure a connec-
tion by entering an IP address.
G
H
I
C D
F
E
Cockpit -> Notifications
in your chosen KiBox2 directory.
"+ Add KiBox"
to setup a connection to a KiBox2.
The connection must be configured accordingly.
This is done by comparing the IP addresses between
KiBox2, and the notebook. If required, the IP address
of the Kibox2 can be changed to suit the network
requirements.
Licensing
1. For the first connection it is necessary to connect the
Cockpit to the Internet to activate the software licence.
2. By clicking on the button
Kistler Website automatically synchronizes the available
License package for your KiBox2 device.
3. Clicking on an unlocked application package opens the
default template.
The system is now ready to start measuring tasks. The soft-
ware is installed, the hardware is connected, and the licence
is activated. Next step is that it is necessary to parametrise
the system for the measurement application. Please refer to
the user manual in the Help Menu for advice and support on
how this can be done.
5.
Service and support
Please contact your sales partner directly for additional prod-
uct information. The help function in the Software is invoked.
This is context sensitive and is possible with the key "F1"to
any point in the Cockpit Software. In addition Kibox2 related
topics can be send to the support hotline
Repairs at Kistler
Repairs at the Kistler factory can be arranged via the local
sales company. Information can be found at www.kistler.com.
Please contact your sales partner directly for additional prod-
uct information.
Disposal instructions for electronic devices
Old electronics devices may not be disposed of with house-
hold refuse/residual waste. Please return obsolete devices to
the nearest electronics disposal centre for disposal or contact
your Kistler Sales Representative.
6.
Conformations
CE (Europe)
Hereby, Kistler Instrumente AG declares that the radio equip-
ment type 2895A.. is in compliance with Directive 2014/53/EU.
The full text of the EU declaration of conformity is available
at the following Internet address:
https://www.kistler.com/de/produkt/type-2895A/
FCC (USA)
This device complies with Part 15 of the FCC Rules. Operation
is subject to the following two conditions:
1. This device may not cause harmful interference, and
2. This device must accept any interference received, includ-
ing interference that may cause undesired operation.
IC (Canada)
Operation is subject to the following two conditions: this
device may not cause interference, andthis device must
accept any interference, including interference that may
cause undesired operation of the device
Son utilisation est soumise aux deux conditions suivantes: Cet
appareil ne doit pas causer d'interférences et il doit accepter
toutes interférences reçues, y compris celles susceptibles
d'avoir des effets indésirables sur son fonctionnement
"Activate/renew Licenses"
a
kibox@kistler.com
Advertisement
Table of Contents

Subscribe to Our Youtube Channel
Related Manuals for Kistler KiBox2


Summary of Contents for Kistler KiBox2
- Page 1 Connect with the KiBox 1. Start the Application by double clicking on the accept any interference, including interference that may A single KiBox2 supports up to 16 channels. A maximum of Kibox.Cockpit.Shell.exe in your chosen KiBox2 directory. cause undesired operation of the device 64 channels can be achieved by cascading up to 4 devices.
- Page 2 Please contact your Kistler Sales Center if you have any ques- If a product is not installed, used or maintained in the proper • Rechargeable batteries must be protected against major tions about disposal.
Need help?
Do you have a question about the KiBox2 and is the answer not in the manual?
Questions and answers