Table of Contents
Advertisement
Advertisement
Table of Contents

Related Manuals for Electrolux EKC603602X


Summary of Contents for Electrolux EKC603602X
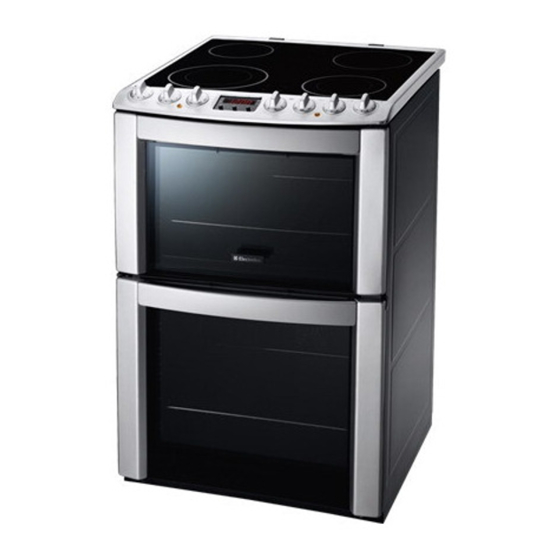
- Page 1 user manual Cooker EKC603602...
-
Page 2: Table Of Contents
2 electrolux Share more of our thinking at www.electrolux.com CONTENTS Safety information Product description Before first use Hob - Daily use Hob - Helpful hints and tips Hob - Care and cleaning Oven - Daily use Oven - Clock functions... - Page 3 • Be careful when you remove or install the accessories to prevent damage to the appliance enamel. • Cookware made of cast iron, cast alumi- nium or with damaged bottoms can electrolux 3...
- Page 4 4 electrolux scratch the hob surface if you move them on the surface. • Discoloration of the enamel has no effect on the performance of the appliance. • To prevent damage or discoloration to the enamel: – do not put any objects directly on the appliance floor and do not cover it with aluminium foil;...
-
Page 5: Product Description
Air vents for cooling fan Heating element Oven lamp Rating plate Heating element Oven lamp Fan and heating element Shelf positions of the main oven Shelf positions of the top oven Main oven temperature control Temperature indicator Top oven / Grill indicator electrolux 5... -
Page 6: Before First Use
6 electrolux COOKING SURFACE LAYOUT 140/210 ACCESSORIES • Deep grill roasting pan To bake and roast or as pan to collect fat. BEFORE FIRST USE Warning! Refer to "Safety information" chapter. INITIAL CLEANING • Remove all parts from the appliance. -
Page 7: Hob - Helpful Hints And Tips
• The bottom of pans and cooking zones must have the same dimen- sion. EXAMPLES OF COOKING APPLICATIONS The data in the table is for guidance only. Time Hints as re- Cover quired 5-25 Mix occasionally 10-40 Cook with a lid on electrolux 7... -
Page 8: Hob - Care And Cleaning
8 electrolux Heat Use to: set- ting Simmer rice and milkbased dishes, heating up ready-cooked meals Steam vegetables, fish, meat Steam potatoes Cook larger quantities of food, stews and soups Gentle fry: escalope, veal cordon bleu, cutlets, rissoles, sausages, liver, roux,... - Page 9 Lights up without any cooking function. The full grill element is on. To grill flat food items in large quantities. To make toasts. Heats both from the top and bottom element. To bake and roast on one oven level. electrolux 9...
-
Page 10: Oven - Clock Functions
10 electrolux Oven function Thermaflow® Thermal Grilling Fan cooking Bottom heating el- ement Defrost OVEN - CLOCK FUNCTIONS ELECTRONIC PROGRAMMER Clock function Time of day Minute minder Duration Duration and End the same time, if the oven is to be switched on and off automatically later. -
Page 11: Oven - Using The Accessories
Push the deep roasting pan between the guide-bars of one of the oven levels. GRILLING SET The grilling set includes the roasting pan grid and the deep roasting pan. You can use the roasting pan grid in two positions: turned up and down. electrolux 11... -
Page 12: Oven - Helpful Hints And Tips
12 electrolux To roast larger pieces of meat or poultry on one level: Put the roasting pan grid in the deep roasting pan. The supports of the roasting pan grid must point up. 2. Put the deep roasting pan in the appli- ance, on the necessary shelf level. - Page 13 90 - 100 160 - 170 130 - 150 170 - 180 160 -170 160 - 180 Follow manufacturer`s instructions 170 - 190 electrolux 13 Remedy Approx Cook Time [°C] (mins) 10 - 20 30 - 35 10 -15 18 - 25...
- Page 14 14 electrolux Food Fish Pie (Potato Top- ped) Fruit Pies, Crumbles Milk Puddings Pasta Lasagne etc. Pastry: Choux Pastry: Eclairs, Profit- eroles Pastry: Flaky/Puff Pies Shortcrusts: Mince Pies Shortcrusts: Meat Pies Shortcrusts: Quiche, Tarts, Flans Scones Shepard`s Pie Souffles Vegetables: Baked...
- Page 15 170 - 190 170 - 190 180 - 200 170 - 190 180 - 200 170 -190 170 - 190 electrolux 15 Shelf Position 8 - 12 1 / 3 (IF AVAILABLE) Cooking Time 20-35 minutes per 0.5 kb (1 lb) and 20-30 minutes over 20-35 minutes per 0.5 kb (1 lb) and...
- Page 16 16 electrolux GRILLING Always use the grilling function with maximum temperature setting Important! Always grill with the oven door closed Always pre-heat the empty oven with the grill functions for 5 minutes. • Set the grilling set in the shelf level as recommended in the grilling table.
-
Page 17: Oven - Care And Cleaning
SHELF SUPPORT RAILS Removing the shelf support rails 1. Pull the front of the shelf support rail away from the side wall. electrolux 17 Comments Cream can be whipped even if it is still slightly frozen. - Page 18 18 electrolux 2. Pull the rear shelf support rail away from the side wall and remove it. Installing the shelf support rails Install the shelf support rails in opposite se- quence. The rounded ends of the shelf support rails must point to the front! Caution! Make sure that the longer fixing wire is in the front.
-
Page 19: What To Do If
The necessary data for the service centre is on the rating plate. The rating plate is on the front frame of the oven cavity. electrolux 19 Remedy Set the heat setting Switch on the oven Set the clock Control the settings Control the fuse. -
Page 20: Installation
20 electrolux INSTALLATION Warning! Refer to "Safety information" chapter. TECHNICAL DATA Dimensions Height 893 – 912 mm Width Depth Top oven capacity Main oven capacity LOCATION OF THE APPLIANCE You can install your freestanding appliance with cabinets on one or two sides and in the corner. -
Page 21: Environment Concerns
The packaging material is environmen- tally-friendly and recyclable. Plastic parts are marked with international ab- breviations such as PE, PS, etc. Dis- pose of the packaging material in the containers provided for this purpose at your local waste management facility. electrolux 21... -
Page 22: Great Britain & Ireland - Guarantee
Standard guarantee conditions: We, Electrolux, undertake that if within 12 months of the date of the purchase this Electrolux appliance or any part thereof is proved to be defective by reason only of faulty workmanship or materials, we will, at... -
Page 23: Www.electrolux.com
• The appliance is installed and used in ac- cordance with instructions issued by Electrolux and is only used within the home, i.e. is not used for commercial purposes. WWW.ELECTROLUX.COM Albania Belgique/België/Belgien Česká republika... - Page 24 Slovensko Suomi Sverige Türkiye Россия Україна +421 2 32 14 13 34-5 Electrolux Slovakia s.r.o., Electrolux Do- máce spotrebiče SK, Galvaniho 17/B, 821 04 Bratislava www.electrolux.fi +46 (0)771 76 76 76 Electrolux Service, S:t Göransgatan 143, S-105 45 Stockholm +90 21 22 93 10 25 Tarlabaşı...
- Page 25 25...
- Page 26 26 electrolux...
- Page 27 27...
- Page 28 892937840-N-292011...