Advertisement
Introduction
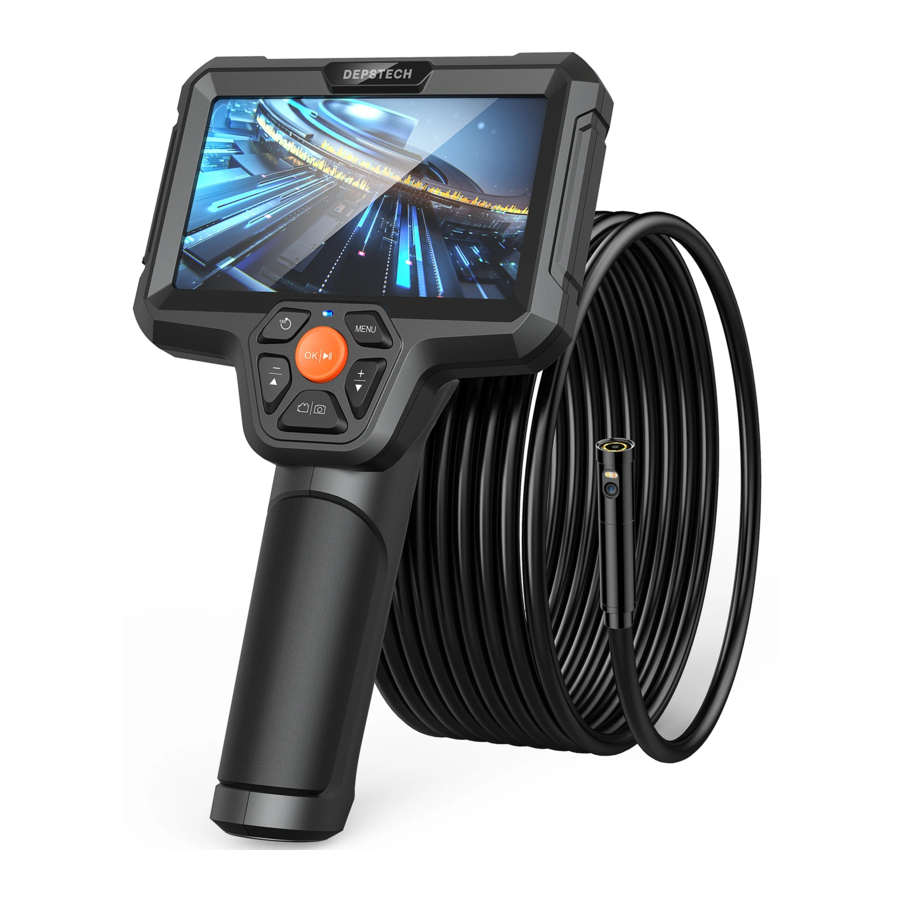
Depstech DS500 equipped with 5" 720P HD IPS Screen Display/ FED Camera, which was invented to help car maintenances or pipeline repairing. We hope that you can use this efficiency tool to save some teatime yourself, as well as helping you discover some joyful tiny-world around!
In purpose of reducing greenhouse effect as well as protecting forest, ![]() we would recommend
we would recommend
Downloading The Multi-Language E-User Manual Of your endoscope by log in our official website: www.depstech.com
You can find the Navigation on the Top - Click into Endoscope — Click into Video Endoscope - Roll and choose Model Number: DS500 — Click Download Button for the E-User Manual
Any suggestions or customer service needs are warmly welcomed by us, You can feel free contacting us via
Email: support@depstech.com
Facebook Official Page: @DEPSTECH.FANS
Please remember to provide your Product Model NO.
And Order ID to us!
Quick Overview of Your New Endoscope


- Power Button
Hold this button for 3s to power on/off the endoscope. - Photo Shoot/ Video Record Button
HoId this button to Start video record. Single press to take a photo/ end the video record, - "
![]() " Button
" Button
Click to brighten the LED lights of the - "
![]() " Button
" Button
Click 10 dim the LED lights Of the camera or move the cursor up. - 180 Image Rotate Button
Click to rotate the real-time image IBO'/
Hold this button to switch main/side camera. - OK/ Play Button
Click to confirm choices in the menu: Hold this button to enter/ close the album, - Menu Button
Click to enter the menu for more settings. - Working Status LED indicator & Charging Status LED indicator
![]()
- Aluminum Alloy Interface
Connect the snake cable camera probe with this interface. - TF Card Slot
Support up to 32G TE card.
(Enclosed with the package, please format it at the first lima of usage) - Type-C Charging Port
Charge the endoscope via USB-A to Type-C cable.
(Enclosed in the package) - Reset Button
- Click the reset button for 5s with the reset pin to reboot the endoscope.
- Fill Light Button
Click to control the external LEO fill lights on/off
 " Button
 " Button
*The package enclosed with 32G IF Card/ Reset pin/ Type-C Data&Charging Cable/ 3*Efficiency tools like magnet, hook and side mirror (Mirror for single camera version only)/Toolbox
FAQ
Q1: Can I connect the computer with the endoscope for files checking purpose?
A1: Definitely yest but you've to insert the TF card into the TF card Slot first. After finishing the connection between the endoscope and your PC/ Laptop (Via the USB-A to Type-C cable which was enclosed in the package), wait for few second and the device will get into "Card Reader Mode" automatically. You can check the files in your PC/ Laptop once you've entered this mode.
Q2: Can it be used for inspection when charging? Will it work normally?
A2: Yes, it can be used. But be aware do not frequently used it in such situation, which may do damage to battery lifespan. Besides, if there is no operation happened per 15s during the charging process, the screen backlight and the button light will turn off and get into "Power Saving Mode", but you can wake up the backlight simply by pressing any button.![]()
Note:
- The endoscope will be activated once the connection to the power adapter finished, to fasten the charging process, please wait till the endoscope get into "Power Saving Mode" and leave it alone.
- You couldn't Shut down the endoscope by holding the power button if you're using it inspection during Charging process.
Q3: I can't get the image of the camera, or it keeps showing no signal on the screen.
A3: Please make sure the camera probe was connected correctly to the 5" screen display before open it. Plus, if the camera part fell apart from the display accidentally, you can try to reconnect it and wait for a few seconds, If it's still showing no signal, you can shut down the device and opened it again. Or turn to reset function for the fastest response.
Specifications
| Model | DS500 QHD | DS500 Dual Camera |
| Screen Spec | 5" 720P IPS Screen with 178" view of angle | |
| Battery Life | 6-7H | |
| Waterproof | IP67 Rating for the Probe | |
| Camera Diameter | 0.31 in | 0.31 in/0.35in |
| LED | 6 x LED | 7 x LED |
| Beat Focal Range | 2.75-15.7in | Main cam: 1.2-3.9 in Side cam: 4/5~2.4 in |
| Max Pixel | 5MP/8MP | Dual 2MP/5MP+1MP |
| Cable Range | 16.5 ft | |
| Charging Voltage and current | DC 5V/2A (Please note that the endoscope can only charged by USB A TO C cable) | |
| Working Range | 0.22-17.71 ft | 0.16-16.73 ft |
| LED Indicator Status | Blue LED Indicator flash: Low battery status Blue LED Indicator on: Working status Red LED Indicator: Charging status Red LED Indicator on: Charging finished | |
Documents / Resources
References
Download manual
Here you can download full pdf version of manual, it may contain additional safety instructions, warranty information, FCC rules, etc.
Advertisement


Need help?
Do you have a question about the DS500 and is the answer not in the manual?
Questions and answers