Inateck P7 - Bluetooth Wireless Barcode Scanner with 100M Ultra Long Transmission Distance Manual
- User manual (84 pages) ,
- User manual (88 pages)
Advertisement
- 1 Device Оverview
- 2 Use of Inateck P7
- 3 Connection Modes
- 4 Function Setup
- 5 Status indication
- 6 Vibration Notification
- 7 Setting for Keyboard Language
- 8 Setting for Prefix/Suffix
- 9 Frequently Used Prefix/Suffix Barcodes
- 10 Delete Character(s) on Output Result
- 11 Inventory Mode
- 12 Frequently Used Barcodes
- 13 Documents / Resources
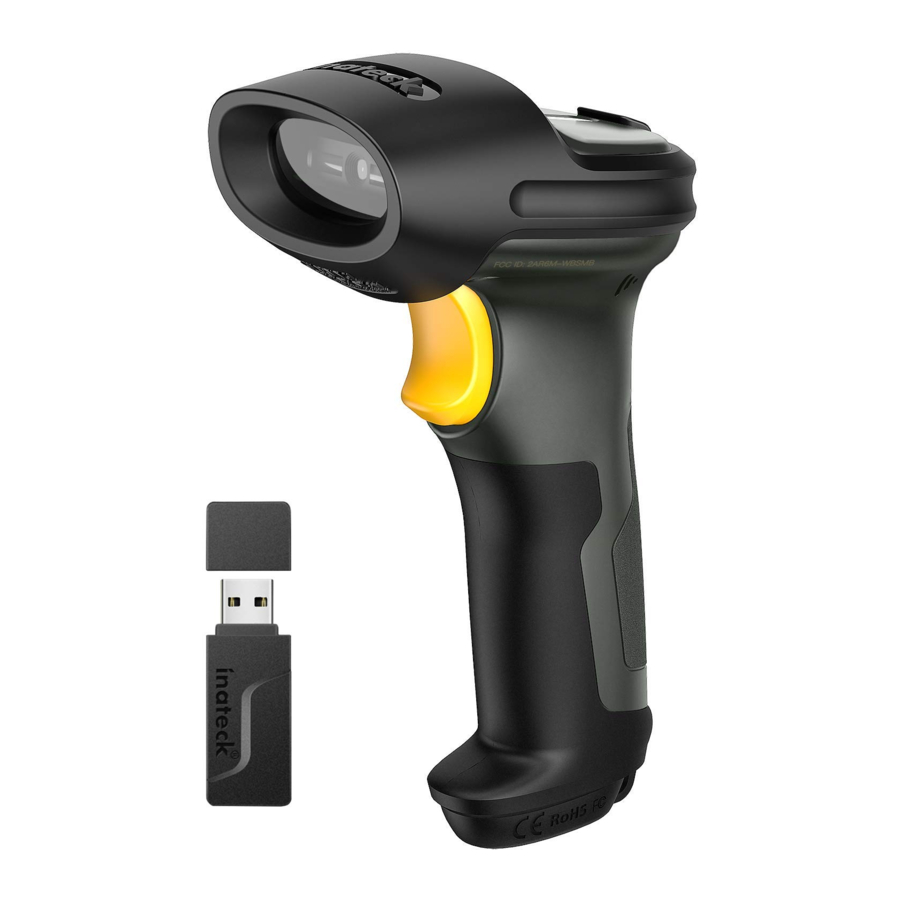
Device Оverview

Use of Inateck P7
Startup
 Note:
Note:
- Inateck P7 will start sleep mode if there is no operation on it over 3 minutes. Short press on the trigger can wake it up.
- When the distance between Inateck P7 and its adapter exceeds the effective range, scanned data will be kept in the buffer of Inateck P7. Quickly double press on the trigger can upload data from buffer.
Connection Modes
There are 3 kinds of modes for the P7 barcode scanners to connect with another device. They are Wired Mode, Wireless Adapter Mode, and Bluetooth Mode. As long as you connect the P7 barcode scanner to a device via the USB cable, the scanning data will be transmitted via the cable, while Wireless Adapter Mode and Bluetooth Mode will not work.
Wireless Adapter Mode(Plug and Play)
Wireless Adapter Mode is the default connection mode. To use this mode please refer to the details below.

- Power on Inateck P7 by toggling switch from OFF to ON
- Plug the USB adapter into a computer. If the indicator light flashes once, it means the connection is successfully built. Short press the trigger on the barcode scanner and it will emit red light beam, and then the barcode scanner can work under Wireless Adapter Mode.
- Open a file on the computer and move cursor to the place where scanning result should be displayed and saved.
Note:
- Wireless Adapter Mode is the default connection mode of P7 barcode scanner. If you are using Bluetooth connection mode and want to switch it back to the Wireless Adapter Mode, please scan the setting barcodes in sequence "Enter Setup" - "Wireless Adapter Mode" - "Exit with Save".
- Step 1")
- Pair one or more scanners with one USB adapter
- Step 2")
- Plug the adapter into your computer
- Scan "Enter Setup" barcode
- Scan the barcode " Pair one or more scanners with one USB adapter", and get the Inateck P7 as close as possible to the USB adapter (within 2 meters).
![]()
Pair one or more scanners with one USB adapter
- three-chord sound (from low to high) indicates a successful pairing. Once there is a long high tone, it means the pairing fails and a repeated operation is needed.
To pair more scanners with the adapter, please operate as the steps mentioned above.
- Pair one scanner with multiple USB adapters
- Step 3")
- Scan "Enter Setup" barcode
- Scan the barcode "Pair one scanner with multiple USB adapters", and get the Inateck P7 as close as possible to the USB adapter (within 2 meters)
- Step 1")
- Step 2")

- Step 3")

Pair one scanner with multiple USB adapters
- Insert the USB adapter into a computer. The indicator of the adapter flashes once along with a long high tone, which indicates a successful pairing. Unplug the adapter and then pair the next one with the P7 barcode scanner. No operation is required on the barcode scanner in this process.
- If all the adapters have been paired with the P7 barcode scanner, please short press the trigger on the barcode scanner, and the pairing stops.
Note : The more USB adapters a P7 barcode scanner is connected with, the longer transmission time it takes. A P7 barcode scanner can pair with 8 adapters at the most.
Bluetooth Mode(HID)
The Bluetooth mode (HID) is not a default mode. To switch to this mode, please scan the setting barcodes in sequence " Enter to setup" - "Bluetooth Mode (HID) " - " Exit with Save"
 - Step 1")
- Power on Inateck P7 by toggling switch from OFF to ON.
- Scan "Enter Setup" barcode and then "Bluetooth Pairing", P7 will enter Bluetooth pairing status.
 - Step 2")
- Enable the Bluetooth of the device to be connected, e.g. PC, cellphone or tablet. You can do that like below.
Windows XP: Click Control Panel->Printers and Other Hardware->Add Bluetooth Device
Windows 7/8/8.1: Click Control Panel->Add Devices Windows 10: Click Setting->Devices->Bluetooth macOS: Click System Preference->Bluetooth
iOS: Click Setting->Bluetooth android: Click Setting->Bluetooth
Enable the Bluetooth on host device and it will automatically search for P7. After a few seconds 'P7******' will appear in the list of available devices. Pair the two devices. A chords sound means successful pairing. - Open a file on computer and move cursor to the blank where scanning output should be placed. Scanning results can be displayed on computer then.
 - Step 2")
Note:
- Normally P7 can re-connect to previously connected device automatically. If it fails, please remove the paring history of P7 in the list of host device. Afterwards, pair them again.
- HID and SPP are two modes of Bluetooth. The pairing method mentioned above refers to HID, which is the most commonly used mode. If you want to use P7 under SPP mode, please contact our customer service.
Wired Mode

- Connect Inateck P7 with computer via USB cable
- Power on Inateck P7 by toggling switch from OFF to ON and short press the trigger. Inateck P7 will continuously beep. Beep stops after successful connection.
- Open a file on computer and move cursor to the blank where scanning output should be placed. Scanning results can be displayed on computer then.
Function Setup
( Note: The barcode marked by "*"means default setting of Inateck P7.)
Users must read setup barcodes in order to change the default settings in Inateck P7 Barcode Scanner.

- Scan"Enter setup"barcode;
- Change scanner setting by scanning certain function setup barcode;
- Scan "Exit with save" barcode to finish the setup.
Status indication
Buzzer Indication
| Beeping | Meaning |
| One short high note(100ms) | Read barcode successfully |
| One short high note(20ms) | Data upload from scanner to Computer |
| One long high note(400ms) | Wrong Setup (on setup status, blue LED stays on) Invalid scanning due to full buffer (Scanned barcode not saved.) Pairing Failure (Occurs only during the pairing process) |
| Two short notes(tone from low to high) | Correct Setup |
| Two short beeps (tone from high to low) | The connection between Inateck P7 and computer is disrupted. |
| Two or more long high tones(800ms) | USB being set up(in Wired Mode) |
| Three-chord sound(from low to high) | Enter setup(Blue LED is on) Exit setup(Blue LED is off) |
| Three-chord sound(from high to low) | Bluetooth connected successfully |
| Two short tones(the same tone) | Bluetooth connection disrupted |
LED Indication
| Indicator color | Meaning |
| Green LED flashes once (LED2) | Barcode successfully read and uploaded to computer |
| Blue LED flashes once (LED2) | Barcode successfully read and saved in buffer, but not uploaded to computer |
| Blue LED stays on (LED2) | Inateck P7 scanner on setup status |
| Yellow LED blinks (light/shade ratio0.5s: 0.5s) (LED1) | Low battery |
| Red LED stays on (LED1) | Inateck P7 scanner in charge (Red LED off when battery is full) |
| Green LED flashes(LED2) | The Bluetooth has been recognized but not connected, please delete the pairing records on the phone or the computer and pair again. |
| Blue LED flashes(LED2) | The Bluetooth is in pairing status and the barcode scanner can be found on phones and computers |
Vibration Notification
The vibration notification is turned on by default. P7 barcode scanner will vibrate when scanning barcodes. You can turn off the vibration or adjust its intensity.

How to turn off the vibration notification
- Scan " Enter to Setup"
- Scan " Turn off the vibration notification"
- Scan "Exit with Save"


Setting for Keyboard Language
P7 is compatible with Windows, Android, mac OS and iOS. Under default setting it is compatible with Windows and Android. If you need use it with other OS, please select and scan corresponding barcodes below.

Note:
- When use P7 with iOS devices, long press the trigger to pop virtual keyboard. An additional long press can have it hidden.
- When use P7 with Android device, please use Gboard (Google) as the input method, and set the keyboard of P7 to "US Keyboard".
Please set keyboard like below:
- Read 'Enter setup' Barcode
![]()
- Select and Scan your keyboard language Barcode

- Scan"Exit with Save" Barcode to end language setting
![]()


Note: The keyboard language of Inateck P7 should keep consistent with that on computer, otherwise, garbled might appear in scanning result.
Setting for Prefix/Suffix
Users can add prefix/suffix to scanning result. The prefix/suffix can have 1 to 32 digits. More details are as below.
- Scan "Enter setup'" Barcode
![]()
- Scan "Prefix Setting" or "Suffix Setting"

- Scan the character barcode (32 characters at the most). For instance, "H#" is the prefix/suffix to be added to the scanning result, scan the character barcode of "H" and "#" below.

- Scan "Exit with Save" Barcode to end the setting
![]()


Frequently Used Prefix/Suffix Barcodes

Note:
Scanning result will come with prefix/suffix after the setting. Nevertheless, prefix/suffix can be hidden or recovered. To hide prefix/suffix, scan "Enter Setup" barcode, "Hide Prefix/ Suffix" barcode, and then "Exit with Save" barcode. To recover prefix/suffix, scan "Enter Setup" barcode, "Recover Prefix/Suffix" barcode, and then "Exit with Save" barcode.

Delete Character(s) on Output Result
Inateck P7 can help users delete character(s) on output result, either beginning characters or the ending ones. 0 to 99 digits can be deleted. As default setting, no character, or say 0 digit is deleted as output result. More details are as below.
- Scan "Enter Setup" Barcode
![]()
- Scan "Delete Beginning Character(s)" Barcode or "Delete Ending Character(s)" Barcode
 on Output Result - Step 1")
- Scan the digit(s)barcode to be deleted.
 on Output Result - Step 2")
- Scan "Exit with Save" Barcode to end the setting
![]()

 on Output Result - Step 1")
 on Output Result - Step 2")

Note: Refer to the setting of "delete 0 digit character" if no character should be deleted.
Inventory Mode
Users may use inventory mode to keep scanned barcodes in the buffer of Inateck P7, and upload them to computer in batches. Under inventory mode users are not restricted to the time and location when upload data. Of course, history data can be cleared in buffer. More details about inventory mode are as below.
- Scan the barcode to enter Inventory Mode
![]()
- Scan the barcode to return to Common Mode
![]()
- Scan the barcode to clear data in buffer (for Inventory Mode only).Clear Data in Buffer(for Inventory Mode only)
![]()
- Scan the barcode to upload data from buffer (for Inventory Mode only) Data Upload (for Inventory Mode only)
![]()
- Scan the barcode to upload the number of scanned barcodes (for Inventory Mode only)
![]()


Note:
- To use inventory mode, users just need scan "Enter Inventory Mode" barcode; and do not have to scan "Enter Setup" barcode before that.
- To end inventory mode, users just need scan "Return to Common Mode" barcode.
Frequently Used Barcodes


Documents / ResourcesDownload manual
Here you can download full pdf version of manual, it may contain additional safety instructions, warranty information, FCC rules, etc.
Advertisement


Need help?
Do you have a question about the P7 and is the answer not in the manual?
Questions and answers