Advertisement
Table of Contents
PARTS INCLUDED
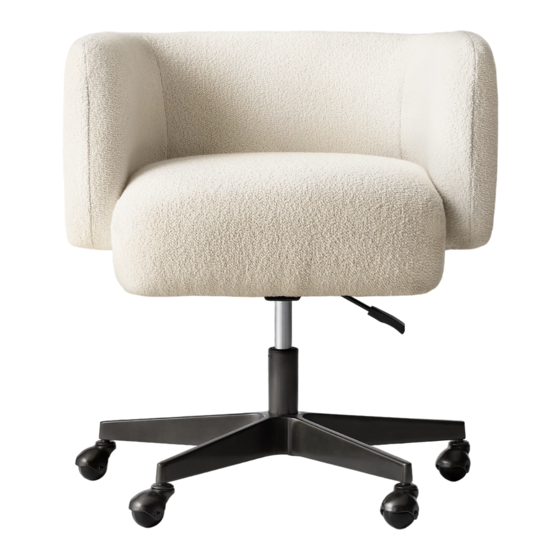
A. CHAIR TOP (1)
B. SWIVEL PLATE (1)
C. GAS LIFT (1)
D. 5-ARM BASE (1)
E. CASTERS (5)
a s M M ASSEMBLY INSTRUCTIONS
1. Carefully unpack all parts and remove plastic coverings.
2. Put the 5-Arm Base (D) on a flat surface with the top down.
(Note: Cover the work surface with a protective material to
prevent damage to it and the chair base.)
3. Attach the Casters (E) underneath the 5-Arm Base (D) as shown in the sketch.
4. Repeat step 3 with the 5-Arm Base (D) and the other Casters (E).
5. Turn the chair base upright.
6. Remove the blue plastic dust cover cap from the top of the Gas Lift (C) and
attach it to the 5-Arm Base (D).
7. Attach the Swivel Plate (B) to the assembled base.
8. Position the assembled base underneath the Chair Top (A) and align the holes
on the Swivel Plate (B) with the holes on the chair.
9. Attach the seat to the base so that the height-adjusting handle is on the right
side when sitting down.
10. Insert the Allen-Head Bolts (1) and Flat Washers (2) into the holes. Tighten using
the Allen Wrench (3).
11. Adjust the chair's height by pulling up on the trigger at the bottom of the Chair
Top (A) as shown in the sketch.
12. Assembly is complete.
HENNING DESK CHAIR - ASSEMBLY INSTRUCTIONS
Allen-Head Bolts
Flat Washers
Allen Wrench
Advertisement
Table of Contents

Summary of Contents for RH Baby&child RH TEEN HENNING
- Page 1 HENNING DESK CHAIR - ASSEMBLY INSTRUCTIONS PARTS INCLUDED A. CHAIR TOP (1) Allen-Head Bolts B. SWIVEL PLATE (1) C. GAS LIFT (1) Flat Washers D. 5-ARM BASE (1) E. CASTERS (5) Allen Wrench a s M M ASSEMBLY INSTRUCTIONS 1. Carefully unpack all parts and remove plastic coverings. 2.
- Page 2 HENNING DESK CHAIR - ASSEMBLY INSTRUCTIONS a s M M CARE INSTRUCTIONS 1. Clean periodically by wiping the chair lightly with a soft, clean cloth. 2. Do not use abrasive cleaners, as they may damage the finish.


Need help?
Do you have a question about the RH TEEN HENNING and is the answer not in the manual?
Questions and answers