Table of Contents
Advertisement
Quick Links
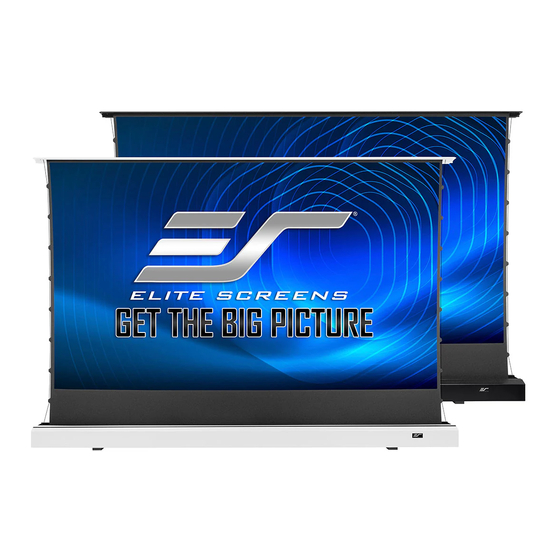
Kestrel Tab-Tension 2 CLR
Floor Rising Ceiling/Ambient Light Rejecting (CLR
IMPORTANT SAFEGUARDS
Read these instructions carefully and retain them for future use. If this product is passed to a third
party, then these instructions must be included.
Caution:
The screen's Black Bottom Drop is already set to its maximum drop distance. There is
NO extra Black Bottom Drop in the roller. Please be aware of this as it will void your
warranty with Elite Screens
the power cord for hardwire installations) to this unit are prohibited and will void your
warranty.
• To avoid damaging the unit, do not use with any unauthorized accessories not recommended by
the manufacturer.
• Handle the unit carefully during transportation to avoid any damages.
• To ensure safe and reliable operation, direct connection to a properly grounded power source is
advised.
• The power outlet supplying power to the unit should be close to the unit and easily accessible.
• Do not install the unit on uneven or inclined surfaces.
• Do not put heavy objects on the power cord and position it properly to avoid creating a trip
obstacle.
• Never overload the power cord to prevent an electric shock or fire due to a loose contact or a
short circuit.
• There are not user serviceable parts in this unit. Do not attempt to disassemble this unit by
yourself. No one except authorized technicians can open and make repairs to this unit.
• Make sure the power source this unit is connected to has a continuous power flow.
• If there is need to use an extension cord, make sure the cord has an equal rating as the
appliance to avoid overheat.
• Do not handle the power plug when your hands are wet, or your feet are in contact with water.
Rev. V03152023DT (DS0345)
Tab-Tensioned Motorized Screen
Visit
www.elitescreens.com
®
. Unapproved changes or modifications (except for cutting
www.elitescreens.com
User's Guide – E/H Type (RC1)
for latest updated version.
®
Series
®
/ALR)
V1.0
1
Advertisement
Table of Contents

Subscribe to Our Youtube Channel
Summary of Contents for Elite Screens Kestrel Tab-Tension 2 CLR Series
- Page 1 NO extra Black Bottom Drop in the roller. Please be aware of this as it will void your ® warranty with Elite Screens . Unapproved changes or modifications (except for cutting the power cord for hardwire installations) to this unit are prohibited and will void your warranty.
- Page 2 WARNING Individual modifications to this product are prohibited and will void the manufacturer’s warranty. Please ® contact the Elite Screens Customer Service Team with any questions. SCREEN MAINTAINANCE Dust, dirt, and scratches on the projection screen surface will affect the quality and performance of the projection image.
-
Page 3: Fcc Regulatory Compliance
User’s Guide Kestrel Tab-Tension 2 CLR ® Series FCC Regulatory Compliance This device complies with Part 15 of the FCC Rules. Operation is subject to the following two conditions: (1) this device may not cause harmful interference, and (2) this device must accept any interference received, including interference that may cause undesired operation. -
Page 4: Parts Identification
User’s Guide Kestrel Tab-Tension 2 CLR ® Series PARTS IDENTIFICATION Front of screen ® Material Tab/Strings Bottom black masking border Power terminal / Power switch Back of screen Closing Panel/Lid Cross-rising spring scissor mechanism Case/Housing Feet Note: Please always store the screen flat horizontally. Never store the screen in a vertical position as it will permanently damage the screen’s structure, shift the material, and cause wrinkles/folds which will void the warranty. -
Page 5: Screen Operation
User’s Guide Kestrel Tab-Tension 2 CLR ® Series ® Kestrel Tab-Tension 2 CLR Series | Controls and Accessories A. IR (InfraRed) B. RF (Radio C. Wall box D. RJ50 Cable E. AAA batteries Remote Control Frequency) Remote controller ZZR1-RJ50 ZRC1-IR control ZRC1-RF ZRC1-WB SCREEN OPERATION... -
Page 6: Back View
User’s Guide Kestrel Tab-Tension 2 CLR ® Series How to synchronize/pair a new RF remote: • Press & hold the “Programming Key”, then press the “Up Key” on the Wall box controller (wall- box LED flashes). Reference the wall box controller section for programming key location. •... - Page 7 User’s Guide Kestrel Tab-Tension 2 CLR ® Series 4. Wired 5-12 volt trigger (Fig.4): Requires a 3.5mm to 3.5mm mono cable (Not included) Step 1: Connect one end the RJ50 cable to the screen and the other end to the Wall box controller. Step 2: Then connect one end the 3.5mm mono cable to the wall box controller and the other to the projector.
- Page 8 User’s Guide Kestrel Tab-Tension 2 CLR ® Series ADVANCED Programming Key Instructions: (FOR ADVANCED USERS ONLY) ※ Wall box controller must be connected to the screen. ATTENTION: Reducing the factory’s full screen drop may produce waves/wrinkles on the projection surface on tab-tension screens. The full drop is recommended to allow the screen to rely on the tab-tension system to maintain the projection surface flat and taut on all sides.
-
Page 9: Notice To Installer
User’s Guide Kestrel Tab-Tension 2 CLR ® Series Notice to Installer: PROPER PROJECTOR PLACEMENT The StarBright CLR ® is exclusively for tabletop/bottom mounted ultra-short throw projectors. See illustrations below for limits and criteria. 1) Tabletop mounted ultra-short throw projection illustration IMPROPER PROJECTOR PLACEMENT Overhead placement or a standard throw projector will make the image very dark on account of the screen’s absorbent layer deflecting light that is not aligned with its reflective angle. - Page 10 Series 2) Ceiling mounted Short and Standard throw Projector Illustration Note: Images are not up to scale and are for illustrations purposes only ® For more information, technical support or your local Elite Screens http://www.elitescreens.com/ contact, please visit www.elitescreens.com Rev. V03152023DT (DS0345)


Need help?
Do you have a question about the Kestrel Tab-Tension 2 CLR Series and is the answer not in the manual?
Questions and answers