Table of Contents
Advertisement
Quick Links
USER MANUAL
Enjoy peace of mind.
Register your appliance today.
Stay updated on better living services, safety notices and
shop for accessories.
1. Open the camera app on your smartphone and
point at the QR code to scan
Product Registration QR code is located on the
front of your appliance or inside the door rim*.
2. Tap the notification or link to open the registration form
3. Complete your details and enjoy peace of mind
*Exact location of QR code may vary depending on oven model
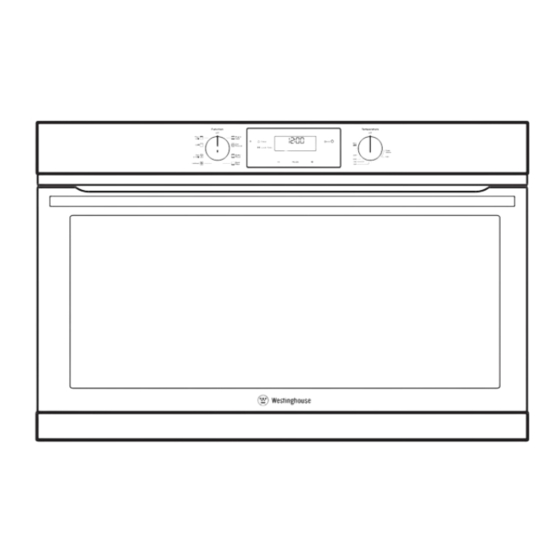
90cm ELECTRIC
BUILT-IN OVENS
WVE9515SD
1
Advertisement
Table of Contents

Subscribe to Our Youtube Channel
Related Manuals for Westinghouse WVE9515SD


Summary of Contents for Westinghouse WVE9515SD
- Page 1 2. Tap the notification or link to open the registration form 3. Complete your details and enjoy peace of mind *Exact location of QR code may vary depending on oven model 90cm ELECTRIC BUILT-IN OVENS WVE9515SD...
-
Page 2: Table Of Contents
Westinghouse manufacturer’s warranty provided with your product. Products must be used, installed and operated in accordance with this manual. -
Page 3: Important Safety Instructions
IMPORTANT SAFETY INSTRUCTIONS DESCRIPTION OF YOUR APPLIANCE (continued) WVE9515SD W ARNING WARNING Knob control electric oven Oven Child safety • During use the appliance becomes hot. Care should • This appliance is not intended for use by persons be taken to avoid touching the hot surfaces inside (including children) with reduced physical, sensory the oven. -
Page 4: Installation Of The Appliance
INSTALLATION OF THE APPLIANCE INSTALLATION (continued) Cabinet requirement Underbench installation Vertical cabinet installation IMPORTANT Models are designed to be built into cabinetry either Your underbench oven looks best when the control The oven can be built into a vertical cabinet in the To minimise the weight of the oven for easier panel is directly under the benchtop. -
Page 5: Wiring Requirements
Plastic clip cooking range. Securing points Supply cord size required: WVE9515SD - 2.5mm The Data plate gives information about rating and is located behind the bottom of the oven door. Hard wiring detail •... -
Page 6: Before Operating Your Appliance For The First Time
After electrically connecting the appliance, you must set the time of the day before you can operate your oven. Touch control electronic clock model WVE9515SD After the appliance has been electrically connected “12.00” will be displayed and the “clock” indicator will flash. -
Page 7: Using Your Oven
Understanding your oven functions Defrost Operating the touch control clock model Cooking with timer WVE9515SD Rapid Heat/AirFry Select the cooking function Turn the function selector in any direction to the desired cooking function. The oven cavity light will come on. -
Page 8: Cooking Test
USING YOUR OVEN COOKING TEST COOKING GUIDE (continued) Setting the cooking duration Get to know your new oven with this • For best baking results preheat oven for 30 minutes. ‘Simple Test Cake’ • Select the correct shelf location for food being cooked. Check the clock displays the correct time of day. - Page 9 COOKING GUIDE (continued) Choosing the best oven settings Easy Bake Steam function The following table is intended as a guide and experience may show some variation in cooking times necessary to WATER IN CAVITY TEMPERATURE OVEN SHELF FOOD TIME IN MINUTES •...
-
Page 10: Dealing With Cooking Problems
COOKING GUIDE DEALING WITH COOKING PROBLEMS (continued) (see also TROUBLESHOOTING) Roasting Meat As a method of cooking, grilling can be used to: PROBLEM CAUSES REMEDIES • Enhance the flavours of vegetables, fish, poultry Place the meat in the oven and set the temperature Uneven cooking: •... -
Page 11: Cleaning Your Oven
CLEANING YOUR OVEN CLEANING YOUR OVEN (continued) Oven Cleaning your oven door Cleaning your oven door W ARNING • Always keep your appliance clean. Ensure that fats The oven door has been designed to allow the two • Always switch off power to the oven before and oils do not accumulate around elements or fans. -
Page 12: Troubleshooting
(ix) failure to comply with any additional instructions supplied with (c) ‘ASC’ means Electrolux’s authorised serviced centres; the Appliance; (d) ‘Westinghouse’ is the brand controlled by Electrolux Home Products Controls incorrectly set Reset controls In addition, Electrolux is not liable under this warranty if: Pty Ltd of 163 O’Riordan Street, Mascot NSW 2020, ABN 51 004... - Page 13 0800 10 66 10 email: customercare@electrolux.co.nz web: westinghouse.co.nz and WESTINGHOUSE are trademarks of Westinghouse Electric Corporation. Used under license by Electrolux Home Products Pty Ltd. All Rights Reserved. © 2023 Electrolux Home Products Pty Ltd ABN 51 004 762 341...
Need help?
Do you have a question about the WVE9515SD and is the answer not in the manual?
Questions and answers