Advertisement
Quick Links
Advertisement

Related Manuals for ADIROffice ADI629-02 Series


Summary of Contents for ADIROffice ADI629-02 Series
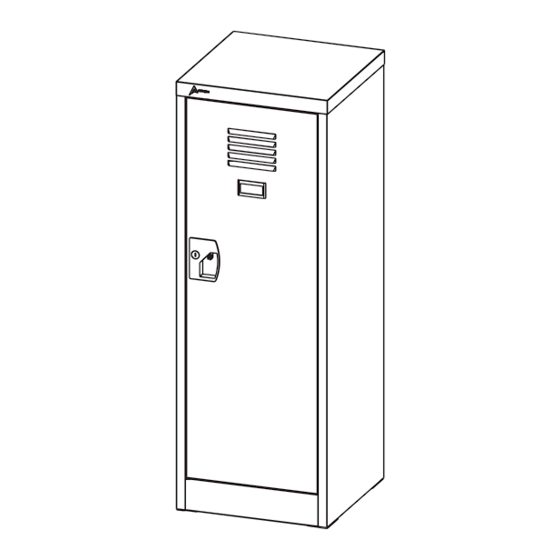
- Page 1 24” Small Kids Locker ADI629-02-SERIES ADI629-02 USER GUIDE...
- Page 2 Thank you for your purchase. furniture and equipment. We understand starting and maintaining a business is expensive enough. We can help you make it cost effective and beautiful. Plus, our expert team...
- Page 3 Table of Contents Parts List Assembly Instructions Mounting Instructions 10 Limited Warranty 12 Disclaimer...
-
Page 4: Parts Included
Parts Included PARTS Check your package and your carton should contain all items shown in the parts list below - if not, consult the retailer who sold you the product. Front Leg (5) Door (1) Left Side Back Right Side Back Leg (6) Panel (2) Panel (3) - Page 5 Assembly Instructions STEP 1: Turn the Left Side Panel (2) and the Right-Side Panel (4) upside-down. Insert the Back Leg (6) into the shorter holes of both side panels, apply pressure. Insert the Front Leg (5) into the deeper slots and apply pressure.
- Page 6 Assembly Instructions STEP 2: Flip the locker to the upright position and align the Back Panel (3) between Left Side Panel (2) and the Right-Side Panel (4).
- Page 7 Assembly Instructions STEP 3: Insert the Top Panel (7) onto the locker. Ensure that the locker’s edges are aligned with the lips found underneath the Top Panel (7). Push the top portion into place by applying some pressure. Make sure all...
- Page 8 Assembly Instructions STEP 4: Insert the Small Hinge Pin (F) in the hole on the locker’s bottom right side, as shown. Place the Door (1) onto the Small Hinge Pin (F) in the hole at the bottom of the Door (1). Next, take the Large Hinge Pin (E), insert it into the hole on the top of the Door (1), and lock it into place by passing it through the...
- Page 9 Assembly Instructions STEP 5: STEP 6: Insert the Base (8) into the locker by pressing down with edges pointing down and the smooth side up.
- Page 10 Assembly Instructions STEP 7: Attach the Double Hook (A) with the Small Screws (C).
- Page 11 Assembly Instructions STEP 8: Insert the two Rubber Buffer’s (I) in the top and bottom corners of the Door (1), as shown.
-
Page 12: Mounting Instructions
Mounting Instructions There are two holes near the top of the Back Panel (3) of your locker. Place your locker where you want to install it. Using a pencil, mark the location of each of these holes on the wall. Remove the locker(s) from the wall. -
Page 13: Warranty
Warranty Adir Corp (the “Company” or “Tiger Companies”) warrants to the purchaser that the product will be free from defects in workmanship and materials for a period of 1 year from the date of purchase. The warranty period is not extended if we repair, replace, exchange, or provide a refund for the product (as determined in our sole discretion). - Page 14 ADI629-02-SERIES © 2023 AdirCorp adircorp.com...
Need help?
Do you have a question about the ADI629-02 Series and is the answer not in the manual?
Questions and answers